In this article I'd like to introduce you to a React Testing Tool - Jest. As it's well covered on Wiki - Jest is a JavaScript testing framework maintained by Facebook, Inc. with a focus on simplicity. Basically it is designed to test React components. The library that comes very well with Jest which is Enzyme - all docs available on Github repo if you want to learn more about it. Enzyme is a JavaScript Testing tool created by Airbnb for React, which helps to do assertions, manipulations, and traversals in React Components’ output.As you follow we'll cover a bunch of Jest testing paths. In the first part you'll become familiar with theory that stays behind testing as well as creating and configuring files structure for testing basic React components cases. In the future parts we'll cover best practices, snapshot testing and dive deeper into Enzyme.
This post can be extremely helpful for you especially if you're testing newbie 'cause we will start just from scratch. By the end, you’ll be up and running, testing React applications using Jest and Enzyme. You should be familiar with React in order to follow this tutorial.
Let's just jump right into it! Testing to the rescue 🦸♂️
Software Testing in general
Testing software can be defined as an activity to check whether the actual results match the expected results and to ensure that the software system is defect free. It involves the execution of a software component or system component to evaluate one or more properties of interest. Software testing also helps to identify errors, gaps, or missing requirements in contrary to the actual requirements. It can be either done manually or using automated tools.
Different Types of Software Testing
We can go over and explain some of the types of testing methods:
1. Unit Testing
Testing each component or module of your software project is known as unit testing. To perform this kind of testing, knowledge of programming is necessary. So only programmers do this kind of tests, not testers.
You have to do a great deal of unit testing as you should test each and every unit of code in your project.
2. Integration testing
After integrating the modules, you need to see if the combined modules work together or not. This type of testing is known as integration testing. You need to perform fewer integration tests than unit tests.
3. End-to-end Testing
End-to-end testing is the functional testing of the entire software system. When you test the complete software system, such testing is called end-to-end testing. You need to perform fewer end-to-end tests than integration tests.
Pros & Cons of Testing
As it every software mechanism also testing has advantages and disadvantages.
Pros
- it prevents unexpected regression,
- it allows the developer to focus on the current task, rather than worrying about the past,
- it allows modular construction of an application that would otherwise be too complex to build,
- it reduces the need for manual verification.
Cons
- you need to write more code, as well as debug and maintain,
- non-critical test failures might cause the app to be rejected in terms of continuous integration.
React Testing Tools
Jest
- test runner, which can run tests in parallel to maximize the performance,
- assertion library, where you do not need to install Chai, Should.js, etc. to do the assertions,
- mocking library, where you do not need to install separate libraries like proxyquire, sinon, testdouble etc,
- provides the facility to create coverage reports as built-in functionality. Fewer configurations to be done when using Jest.
Enzyme
- can only be used with React whereas Jest can be used to test any JavaScript app,
- needs to be paired with Jest or any other test runner in order to function while Jest can be used without Enzyme,
- provides additional functionality when interacting with elements while testing.
Before moving onto the testing part, it would be great if you have a basic understanding of “How to create a simple React application using Create React App?” and the structure of a React App. Please refer the official documentation
Getting Started
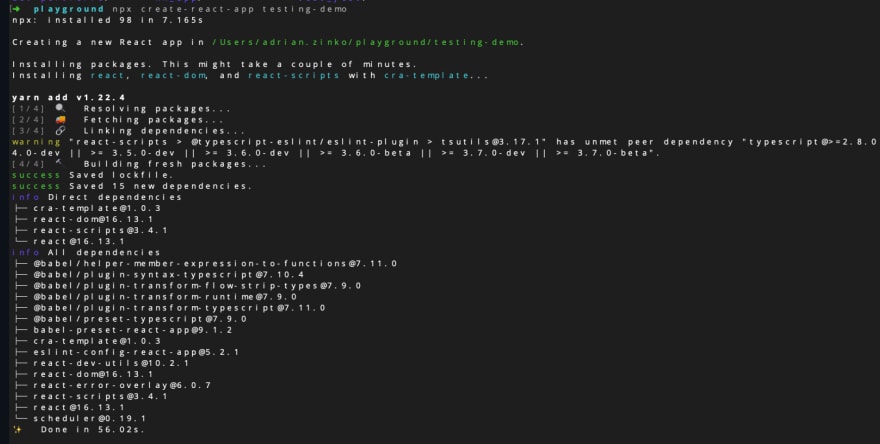
Step 1 — Create a React Application with create-react-app
- Open up a terminal in the desired path and type the following to create a new react application
npx create-react-app testing-demo
Note - npx it's a package runner tool that comes with npm 5.2+
- The above command will create a React project named as “testing-demo”.
- Switch to the folder created for demo testing
cd testing-demo/
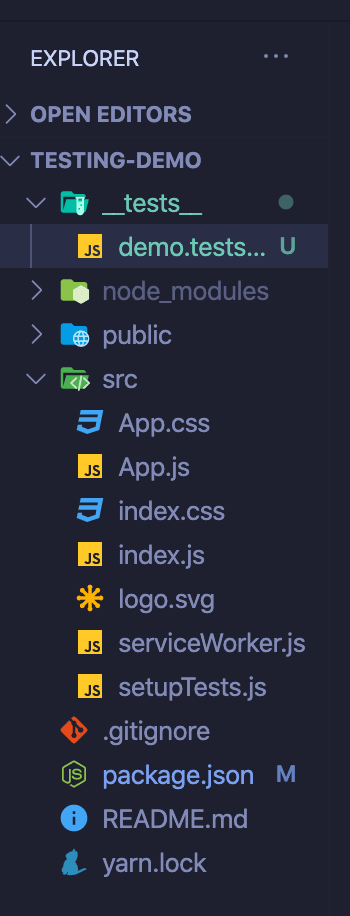
- This is how the folder structure should looks like
Step 2 - Running a demo test with React Testing Tool - Jest
Delete the App.test.js file from the src directory.
Open up the package.json file from the root folder and change the test property under scripts into jest.
- Create a new directory named as “test” inside the root folder and create a file named demo.test.js inside the test directory. (check the folder structure)
- Now type the following code segment in demo.test.js file.
it("adds correctly", () => {
   expect(1+1).toEqual(2);
});
- Open up a terminal and run the tests by typing the following command.
npm test
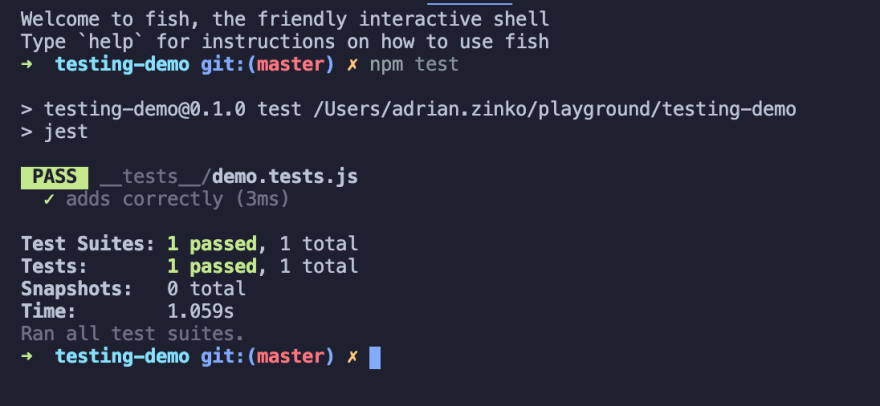
- You should see the following output in your terminal
How does it work?
When you execute
npm test, it starts to run Jest.It's a good practice/advice to name the test files either with .test or .spec
<filename>.test.js or <filename>.spec.js
- In here we used demo.test.js. So the Jest has the ability to automatically detect the tests (because of this naming pattern) and run them.
- This simple test checks whether when 1 and 1 are added, is it equal to 2
- You can see that the above test is passed, which means our expectation has met.
Now you're on a great way to start practice with testing
In the next lecture, I'll continue with best practices, snapshot testing, and dive deeper into Enzyme.
I've got you covered 🔥
Maybe a little bit more interested in testing. What are your thoughts about testing? Share your opinion in the comments section. See you 🙈👋


Top comments (1)
Good one can you please help how to find the snippet