Introduction
Hello everyone, my dear programmers, today we will step by step make from the standard vim, a full-fledged tool capable of replacing VSCode if desired.
I often hear this question from my friends. Why not use a ready-made config like LazyVim or NVChad? Well, firstly, I am the kind of person who likes to have control over all aspects of what I use. Secondly, when you say that you made your own config from scratch - it sounds cooler than just installing a couple of plugins (─‿‿─).
Can this replace VSCode? Maybe, as for me Vim is more convenient and faster to use than VSCode, but then again sometimes I also use VSCode, for some specific cases.
If you have any questions about the code, you can use my repository as a reference.
Configuration
First, you need to prepare your working environment (terminal) for correct work with vim. Preparation consists in the fact that you need to install fonts for displaying icons. Using Nerd Fonts download the fonts that you like best, but I recommend JetBrainsMono, I tried Hack, but it did not have all the icons, which is why I did not use it. Set the font in your terminal settings.
Next, install NeoVim itself on your device via the official website, or if you have homebrew, you can install it via the appropriate command brew install neovim, Linux users have their own package managers for installing packages, but I will not list them :)
And now we go to .config directory and create here the new nvim folder, this is where we will write all our code.
Basic setup
And finally we can start writing the configuration, create the init.lua file in the nvim folder. For convenience, we will split our config into different modules, but ultimately all modules will be imported into the init.lua file. For example, let's create a new file default.lua, in order for lua to recognize this file as a module we must create it in a folder called lua, otherwise it will not be visible to the main file when imported.
├── init.lua
└── lua
   └── default.lua
In this file we will write some basic commands:
--default.lua

vim.opt.number = true
vim.opt.relativenumber = true
vim.opt.scrolloff = 5
vim.opt.sidescrolloff = 5
vim.opt.hlsearch = true
vim.opt.incsearch = true
vim.opt.tabstop = 2
vim.opt.shiftwidth = 2
vim.opt.expandtab = true
vim.opt.autoindent = true
vim.opt.ignorecase = true
vim.opt.smartcase = true
vim.opt.swapfile = true
vim.opt.autoread = true
vim.opt.cursorline = true
vim.opt.termguicolors = true
vim.bo.autoread = true
vim.opt.clipboard = "unnamedplus"

vim.api.nvim_create_autocmd("TextYankPost", {
  callback = function()
    vim.highlight.on_yank({
      higroup = "incSearch",
      timeout = 100,
    })
  end,
})
To import this file we write this in init.lua:
--init.lua

require("default")

-- in the future I will not show that I import this or that file into init.lua, just know that if I write that a new file is created, then in most cases it will be imported into init.lua
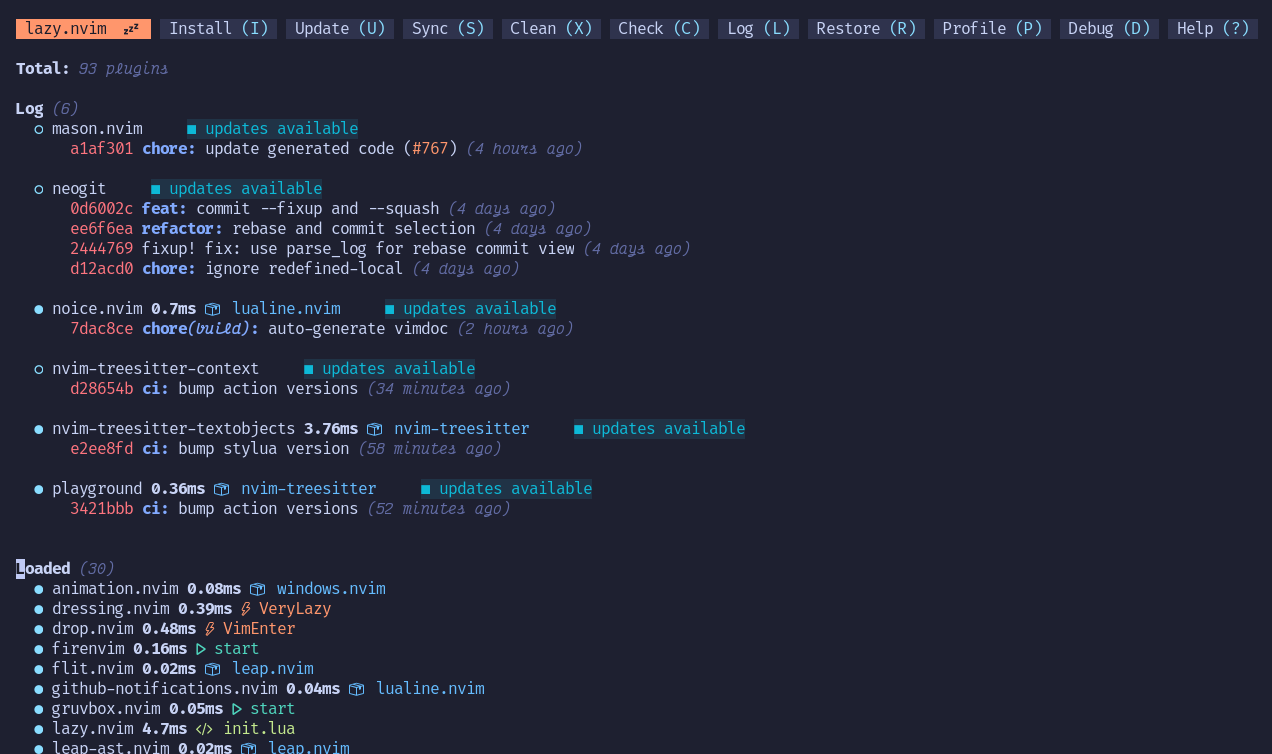
Ok, let's go back to our init.lua, and install our first plugin, or rather the lazy.nvim plugin manager, through it we will install all our plugins in the future.


lazy.nvim is a modern plugin manager for Neovim.
✨ Features
- 📦 Manage all your Neovim plugins with a powerful UI
- 🚀 Fast startup times thanks to automatic caching and bytecode compilation of Lua modules
- 💾 Partial clones instead of shallow clones
- 🔌 Automatic lazy-loading of Lua modules and lazy-loading on events, commands, filetypes, and key mappings
- ⏳ Automatically install missing plugins before starting up Neovim, allowing you to start using it right away
- 💪 Async execution for improved performance
- 🛠️ No need to manually compile plugins
- 🧪 Correct sequencing of dependencies
- 📁 Configurable in multiple files
- 📚 Generates helptags of the headings in
README.mdfiles for plugins that don't have vimdocs - 💻 Dev options and patterns for using local plugins
- 📊 Profiling tools to optimize performance
- 🔒 Lockfile
lazy-lock.jsonto keep track of installed plugins - 🔎 Automatically check for updates
- 📋 Commit, branch, tag, version…
to install it you need to write the following piece of code:
--init.lua

local lazypath = vim.fn.stdpath("data") .. "/lazy/lazy.nvim"
if not (vim.uv or vim.loop).fs_stat(lazypath) then
  vim.fn.system({
    "git",
    "clone",
    "--filter=blob:none",
    "https://github.com/folke/lazy.nvim.git",
    "--branch=stable",
    lazypath,
  })
end
vim.opt.rtp:prepend(lazypath)
For further installation of plugins, we add a structure from the plugin manager and inside it we will add new plugins:
--init.lua

require("lazy").setup({})
For example, let's set a color scheme, I like TokyoNight, you can set any you like:
--init.lua

require("lazy").setup({
---
  {
    "folke/tokyonight.nvim",
    lazy = false,
    priority = 1000,
    opts = {
      style = "night",
      styles = {
        comments = { italic = true },
      },
    },
  },
---
})

-- to apply the color scheme we write this
vim.cmd([[colorscheme tokyonight]])
Restart our nvim and all done! <( ̄︶ ̄)>
In neovim you can set your own keymap, create a new file keymap.lua, my standard layout looks like this:
--keymap.lua

local kmap = vim.keymap

vim.g.mapleader = " "

kmap.set("n", "<leader>q", "<cmd>q<cr>")
kmap.set("n", "<leader>w", "<cmd>w<cr>")

kmap.set("i", "jk", "<esc>")
kmap.set("n", "<leader>h", "<cmd>noh<cr>")
The next step is to install and configure the Mason package manager, it allows you to easily manage external editor tooling such as LSP servers, DAP servers, linters, and formatters through a single interface.
 williamboman
/
mason.nvim
williamboman
/
mason.nvim
Portable package manager for Neovim that runs everywhere Neovim runs. Easily install and manage LSP servers, DAP servers, linters, and formatters.
![]()


Portable package manager for Neovim that runs everywhere Neovim runs.
Easily install and manage LSP servers, DAP servers, linters, and formatters.
:help mason.nvim
Latest version: v1.10.0
Table of Contents
Introduction
mason.nvim is a Neovim plugin that allows you to easily manage external editor tooling such as LSP servers, DAP servers,
linters, and formatters through a single interface. It runs everywhere Neovim runs (across Linux, macOS, Windows, etc.),
with only a small set of external requirements needed.
Packages are installed in Neovim's data directory (:h standard-path) by default. Executables are
linked to a single bin/ directory, which mason.nvim will add to Neovim's PATH during setup, allowing seamless access
from Neovim builtins (shell, terminal, etc.) as well as other 3rd party plugins.
For a list of all available packages, see https://mason-registry.dev/registry/list.
How to
…first of all, let's install it:
--init.lua

  require("lazy").setup({
---
  { "williamboman/mason.nvim" },
  { "williamboman/mason-lspconfig.nvim" },
  { "neovim/nvim-lspconfig" },
  { "WhoIsSethDaniel/mason-tool-installer.nvim" },
---
  })
Restart our nvim and it should install normally. Now let's write the configuration of the package manager itself. Create a new file mason_config.lua and here we write this:
---mason_config.lua

require("mason").setup({
    ui = {
        icons = {
            package_installed = "✓",
            package_pending = "➜",
            package_uninstalled = "✗",
        },
    },
})
require("mason-lspconfig").setup()
Okay, now let's set up our first language server, here you choose for which language you need to install a server, for example, I need servers for html, css, typescript, rust, tailwind and lua, in addition I will install emmet for faster work with html.
How do you find the configuration for your language? This package manager has a List with all supported language servers, look for the language you need there, in nvim through the command :Mason look for the package name as in the table, and install, then in the next column open the link to the language server, and take the configuration from there. Let's install the language server for all languages that i use as an example
For language servers sometimes you need to install additional plugins, for example, for rust you need to install rustaceanvim, or for TS - typescript-tools, and additionally a linter, so if you need to work with these languages, here are these plugins, for other languages look in the repository link to which is above
--init.lua

  require("lazy").setup({
---
   {
    "mrcjkb/rustaceanvim",
    version = "^4", -- Recommended
    ft = { "rust" },
  },
  {
    "pmizio/typescript-tools.nvim",
    dependencies = { "nvim-lua/plenary.nvim", "neovim/nvim-lspconfig" },
  },
  {
    "mfussenegger/nvim-lint",
    linters_by_ft = {
      javascript = { "eslint_d" },
      javascriptreact = { "eslint_d" },
      typescript = { "eslint_d" },
      typescriptreact = { "eslint_d" },
    },
  },
---
  })
---mason_config.lua

---

require("mason-lspconfig").setup_handlers({
  function(server_name)
    require("lspconfig")[server_name].setup({})
  end,

  ["rust_analyzer"] = function()
    require("rustaceanvim").setup({})
  end,

  ["tailwindcss"] = function()
    require("lspconfig").tailwindcss.setup({})
  end,

  ["tsserver"] = function()
    require("typescript-tools").setup({})

    vim.keymap.set("n", "<leader>to", "<cmd>TSToolsOrganizeImports<cr>")
    vim.keymap.set("n", "<leader>tr", "<cmd>TSToolsRemoveUnusedImports<cr>")
    vim.keymap.set("n", "<leader>ta", "<cmd>TSToolsFixAll<cr>")

    local api = require("typescript-tools.api")
    require("typescript-tools").setup({
      handlers = {
        ["textDocument/publishDiagnostics"] = api.filter_diagnostics({ 6133 }),
      },
    })
  end,

  ["html"] = function()
    local capabilities = vim.lsp.protocol.make_client_capabilities()
    capabilities.textDocument.completion.completionItem.snippetSupport = true

    require("lspconfig").html.setup({
      capabilities = capabilities,
    })
  end,

  ["emmet_ls"] = function()
    require("lspconfig").emmet_ls.setup({})
  end,

  ["cssls"] = function()
    local capabilities = vim.lsp.protocol.make_client_capabilities()
    capabilities.textDocument.completion.completionItem.snippetSupport = true

    require("lspconfig").cssls.setup({
      capabilities = capabilities,
    })
  end,

  ["lua_ls"] = function()
    require("lspconfig").lua_ls.setup({
      on_init = function(client)
        local path = client.workspace_folders[1].name
        if not vim.loop.fs_stat(path .. "/.luarc.json") and not vim.loop.fs_stat(path .. "/.luarc.jsonc") then
          client.config.settings = vim.tbl_deep_extend("force", client.config.settings, {
            Lua = {
              diagnostics = {
                globals = { "vim" },
              },
              runtime = {
                version = "LuaJIT",
              },
              workspace = {
                checkThirdParty = false,
                library = {
                  vim.env.VIMRUNTIME,
                },
              },
            },
          })
        end
        return true
      end,
    })
  end,
})
The first language server is ready, congratulations. Let's now add formatting to our code so that it looks more structured. To do this, install it via lazy.nvim and immediately write its config in a separate file formatter.lua
--init.lua

require("lazy").setup({
---

  {"stevearc/conform.nvim",},

---

})
Now we write its configuration, for this we need to install the corresponding formatters via Mason, for example prettier for JS/TS or stylua for lua. Some language servers have ready-made formatters, for example rust_analyzer, so there is no need to configure code formatting for them. In our case, we need to install stylua for lua, which is what we are doing.
--formatter.lua

require("conform").setup({
    formatters_by_ft = {
        lua = { "stylua" },
    },
    format_on_save = {
        timeout_ms = 500,
        lsp_fallback = true,
    },
})
Lastly for this chapter, let's set up autopairs so that when you type an opening parenthesis, a closing parenthesis is automatically created.
--init.lua

require("lazy").setup({
---

  {
    "windwp/nvim-autopairs",
    event = "InsertEnter",
    config = true,
  },

---

})
There is no need to configure anything here, everything works out of the box.


Top comments (0)