In the world of backend development, security is of utmost importance. Just ask Taylor Swift, the popstar and security expert behind SwiftOnSecurity. To protect sensitive data, developers work tirelessly to prevent unauthorized access to data stored in the backend. Different backend frameworks and libraries have different ways of adding a security layer to protect that data. However, when looking at the Node.js world, NestJS has by far one of the most straightforward ways to handle this.
With NestJS, Guards are classes with a single goal to determine whether the route handler should handle a request. Of course, determining if a request should be allowed is entirely up to you, but typically it's made based on certain conditions, like the user's role, specific permissions, ACLs, and so on.
In this blog post, we will discuss NestJS Guards and how to implement them to provide security to your application.
What are NestJS Guards?
NestJS Guards are similar to middleware, like those found in Express application. They protect routes in your application. Guards add various security measures such as authentication, authorization, and rate limiting. For example, they can be used to prevent unauthorized access to endpoints in your application by checking if a user has the necessary permissions to access a specific resource.
Unlike middleware, though, Guards in NestJS have a lot more context. Middleware has no idea which handler will execute next, whereas Guards have access to the ExecutionContext instance and therefore know exactly what handler will run next.
How to Create a NestJS Guard
In NestJS, guards are classes that implement the CanActivate interface. Interfaces are a contract in an application. They define the syntax of what a class must have, so any class that implements an interface must have all of its required properties and methods. For example, the CanActivate interface contains a single method called canActivate, which takes one argument, the ExecutionContext. The canActivate method runs whatever logic you desire to decide whether a route handler should execute by returning either a boolean, a Promise<boolean>, or an Observable<boolean>.
Below is an example of a Guard that checks to see if a request occurs in 2024. If it wasn't, the guard returns false, and the request will fail.
import { Injectable, CanActivate } from '@nestjs/common';

@Injectable()
export class IsIt2024 implements CanActivate {
  canActivate(): boolean {
    const now = new Date();
    return now.getFullYear() === 2024;
  }
}
The Guards we write can protect either individual route handlers or a group of route handlers. For example, individual route handlers would be mapped to methods, whereas a group of route handlers would be mapped to a class. In either case, Guards are bound to handlers using the UseGuards decorator.
How To Implement a NestJS Guard
As mentioned before, Guards are bound to NestJS handlers through decorators. Decorators are a feature specific to TypeScript, though we may see them implemented into JavaScript soon. Decorators use the form @expression, where expression evaluates to a function called at runtime with information about the decorated declaration. TypeScript Decorators add annotations and metadata to existing code in a declarative way.
When adding a Guard to a handler in NestJS, we must import the UseGuards decorator from the @nestjs/common package. Then, bind the UseGuards decorator right before the class or method you want to protect. Finally, feed into the UseGuards decorator any Guard you want to run to validate the request of a handler.
See below for an example.
import { Controller, Get, UseGuards } from '@nestjs/common';
import { IsIt2024 } from './isIt2024.guard';

@Controller('happy2024')
@UseGuards(IsIt2024)
export class Happy2024 {
  @Get()
  happy2024() {
    return 'Happy 2024!';
  }
}
Implementing a NestJS Guard in an Amplication Service
Now's the time to write a NestJS Guard, and we'll create one that we can quickly drop into any Amplication-generated project. First, we'll create a Guard that confirms whether the user making a request is the admin based on their username. If they are the admin, they'll be allowed to complete the request; otherwise, it will fail. Then, we'll use this Guard to ensure only the admin can create, read, update, or delete user data.
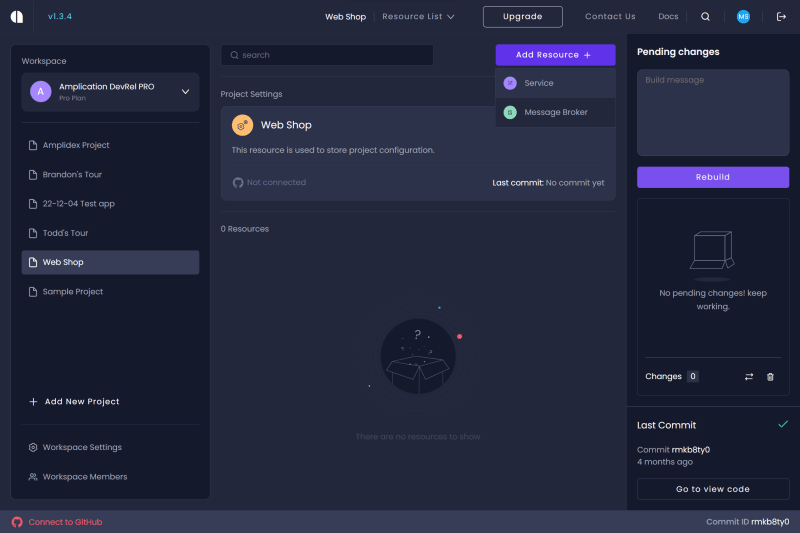
Sign in to your Amplication account and create a new project. Then add a new resource to the project, and we'll create a service. For this service, we'll only use the Admin UI to demo our custom guard, which depends on GraphQL, so feel free to turn off the REST API & Swagger UI generation. Finally, so we have a more realistic project, we'll use the "Order Management" sample so that this project will be fully fleshed out.
You'll want to run the code locally with the service we created to continue this guide. This requires syncing code to GitHub and then cloning it locally. Assuming you're comfortable with git commands, such as git clone, check out this article on the Amplication docs site to learn how to sync your code to GitHub.
Once cloned, open the repository in the IDE of your choice, and in the terminal, navigate into the server directory. Included by default in the server directory is a file called docker-compose.db.yml with the configuration required to spin up a PostgreSQL instance. When you run the backend locally, it'll be configured to connect to this instance. The only catch is that you must have Docker installed and running. If you still need to set up Docker, check out their getting started guide.
With Docker installed and running, we'll quickly run the following commands to get the project running.
npm i
npm run prisma:generate
npm run docker:db
npm run db:init
Now let's create our IsAdminGuard. In the server directory, in src/user, make a file called is-admin.guard.ts and copy into it the following code.
import { ExecutionContext, Injectable, CanActivate } from '@nestjs/common';

@Injectable()
export class IsAdminGuard implements CanActivate {
  canActivate(context: ExecutionContext): boolean { }
}
This is the base of our Guard. It implements the CanActivate interface; however, the canActivate method doesn't have any associated code. We'll need to get the request data from the ExecutionContext to get the user's information, so add the following line to the method.
const request = context.switchToHttp().getNext().req;
We can access the user object from our request object, assuming the request is authenticated. So from the user object, we'll attempt to get the username of the user making the request. Add this line to the canActivate method.
const username: string | undefined = request.user?.username;
Finally, we want to ensure that the user is the admin. We can take the user's username and run a strict equality check. If the username is admin, the result will be true, and the request will be allowed; if not, the request will fail, and the result will be false. So add to the method this return which will execute the equality check.
return username === 'admin';
With the Guard written, we'll want to implement it so that it can protect all handlers associated with users. The first step in this process is to add the IsAdminGuard into the providers of the UserModule. Update the code in server/src/user/user.module.ts as follows.
import { Module } from "@nestjs/common";
import { UserModuleBase } from "./base/user.module.base";
import { UserService } from "./user.service";
import { UserResolver } from "./user.resolver";
+ import { IsAdminGuard } from "./is-admin.guard";

@Module({
  imports: [UserModuleBase],
- providers: [UserService, UserResolver],
+ providers: [UserService, UserResolver, IsAdminGuard],
  exports: [UserService],
})
export class UserModule {}
Now that the UserModule has the Guard, we can apply the IsAdminGuard to the user handler. So, update the code in server/src/user/user.resolver.ts as follows.
import * as graphql from "@nestjs/graphql";
import * as nestAccessControl from "nest-access-control";
import * as gqlACGuard from "../auth/gqlAC.guard";
import { GqlDefaultAuthGuard } from "../auth/gqlDefaultAuth.guard";
import * as common from "@nestjs/common";
import { UserResolverBase } from "./base/user.resolver.base";
import { User } from "./base/User";
import { UserService } from "./user.service";
+ import { IsAdminGuard } from "./is-admin.guard";

- @common.UseGuards(GqlDefaultAuthGuard, gqlACGuard.GqlACGuard)
+ @common.UseGuards(GqlDefaultAuthGuard, gqlACGuard.GqlACGuard, IsAdminGuard)
@graphql.Resolver(() => User)
export class UserResolver extends UserResolverBase {
  constructor(
    protected readonly service: UserService,
    @nestAccessControl.InjectRolesBuilder()
    protected readonly rolesBuilder: nestAccessControl.RolesBuilder
  ) {
    super(service, rolesBuilder);
  }
}
Let's finally test the code. First, run the code in the server directory with the npm run start command. Then, in a separate terminal window, navigate to the admin-ui directory in the repository's root and run the following commands.
npm i
npm run start
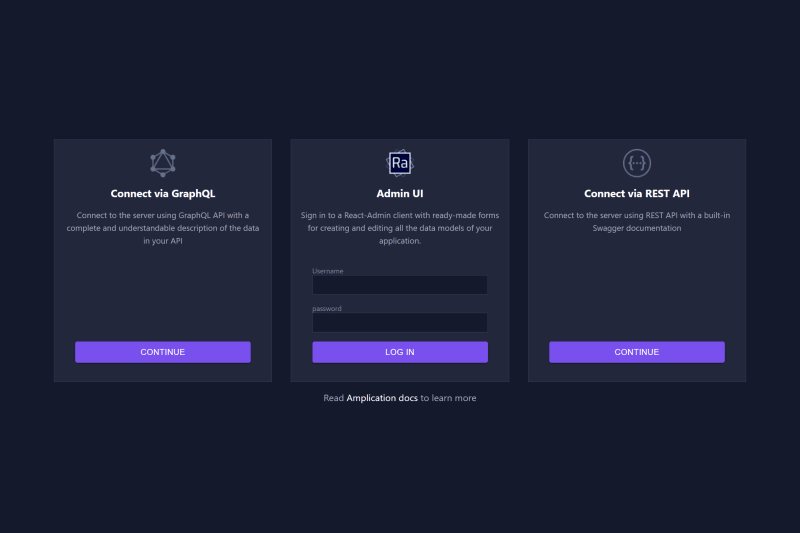
Now in your browser, navigate to localhost:3001 to access the Admin UI, and sign in with the username and password of admin.
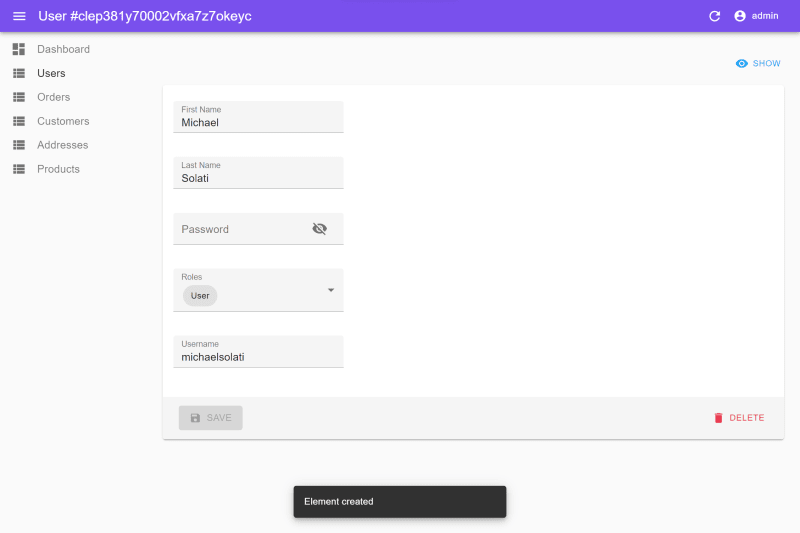
On the left-hand panel, navigate to the User view, which will work, and create a new user. The user's details do not matter; just be sure to include a username and a password and assign them the "User" role.
Now go ahead, sign out of the admin account, and sign back in with your newly created user. If you try to access the User view, you'll be greeted with an error saying "Forbidden Resource." However, you will be able to access anything and everything else.
Wrapping Up
Congratulations. You've learned everything you need to know about Guards in NestJS and successfully implemented one into an Amplication-generated service.
Remember to join our developer community on Discord; if you like the project and what we're doing, give us a star on GitHub!
Finally, the source code for this project is available on GitHub, and there's a video guide that you can follow along with the build your own NestJS Guard available on YouTube.


Top comments (0)