In this 3-part article on ECR Repository, I am going to show you
1. How to create a Docker Image with Nginx from an EC2 Instance and Push to ECR Repository
2. Create Task Definition in ECS and Application Load balancer (ALB) for the Task which is to be run on Fargate Cluster
3. Create Fargate Cluster, Service and access Docker image with Nginx from both - Application Load Balancer and Fargate Cluster
In this 1st article, we will launch an EC2 instance, install Docker, and create a Private Elastic Container Registry (ECR) and push nginx image to ECR.
Amazon Elastic Container Registry (ECR) is a fully managed Docker container registry that makes it easy for developers to store, manage, and deploy Docker container images.
- Amazon ECR is integrated with Amazon Elastic Container Service (ECS) and Amazon EKS.
- Amazon ECR hosts your images in a highly available and scalable architecture, allowing you to reliably deploy containers for your applications.
- Integration with AWS Identity and Access Management (IAM) provides resource-level control of each repository
- You can use Docker tools and Docker CLI commands such as push, pull, list, and tag
- Can be accessed from any Docker environment – in the cloud, on-premises, or on you machine
Some time back, I have shown a similar article on the Docker image accessed from Cloud9 EC2 environment.
Please visit my GitHub Repository for Docker/ECS/ECR articles on various topics being updated on constant basis.
Let’s get started!
Objectives:
1. Launch and EC2 instance, install Docker and pull latest image of nginx
2. Create role for EC2 instance in order to be able to push the image to ECR Registry
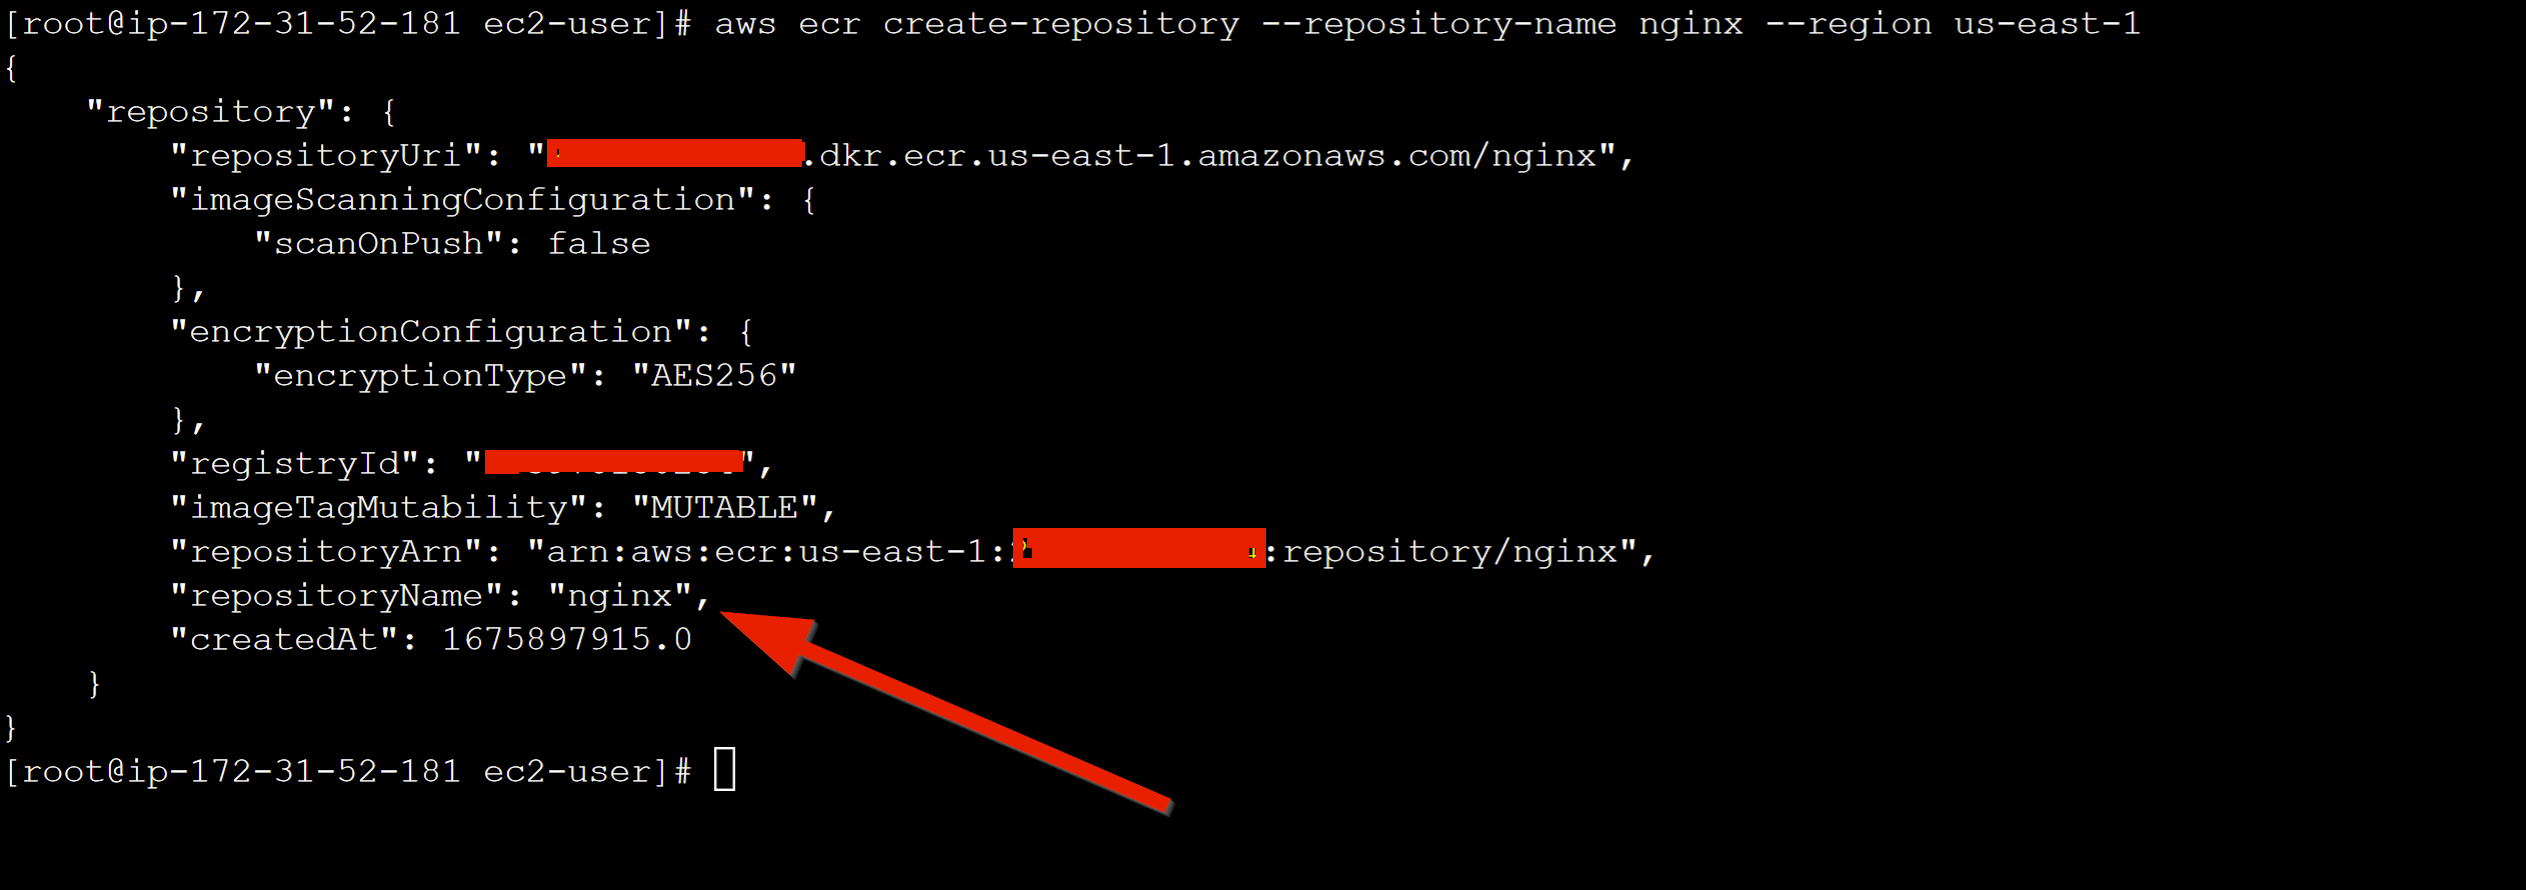
3. Create a Private Repository - nginx in region us-east-1
4. Tag the container with the latest nginx image
5. Get authenticate the Docker Client to ECR
6. Push the image using the docker push command
Pre-requisites:
- AWS user account with admin access, not a root account.
- AWS CLI.
Resources Used:
What is Amazon Elastic Container Registry?
Amazon Elastic Container Service
Steps for implementation to this project:
1. Launch an EC2 instance, install Docker and pull latest image of nginx
Launch an EC2 instance
Go to EC2 Dashboard, Launch instance, ecr-instance, Select t2.micro. NVirKey, default vpc, subnets - no preference, Auto-assign public IP - enable, Create Security group, SSH with 0.0.0.0/0Launch instance
Connect to EC2 Instance
Go to EC2 Dashboard, select Ec2 instance, Actions, Connect, EC2 Instance Connect, Connect
Install Docker and pull latest image of nginx
- Run the following CLI commands on the EC2 instance
sudo su
yum update
yum install docker
systemctl enable docker.service
systemctl start docker.service
docker pull nginx
docker images
2. Create role for EC2 instance in order to be able to push the image to ECR Registry
On IAM dashboard, Policies, Create policies, delete the default text and paste this code, Next: Tags, Next: Review, ecr-policyCreate policy
ecr-policy
{
    "Version": "2012-10-17",
    "Id": "ecr-policy",
    "Statement": [
        {
            "Sid": "AllowAll",
            "Effect": "Allow",
            "Action": "ecr:*",
            "Resource": "*"
        }
    ]
}
On IAM dashboard, Roles, Create role, Use case - EC2, Next, select ecr-policy, Next, ecr-roleCreate role
Add Role to EC2 instance
-
Go to EC2 Dashboard, select Ec2 instance, Actions, Security, Modify IAM role, choose ecr-role, Update IAM role
3. Create a Private Repository - nginx in region us-east-1
- Run this command on the EC2 instance ```
aws ecr create-repository --repository-name nginx --region us-east-1

- Validate this from ECR Dashboard

## 4. Tag the container with the latest nginx image
- Run this command on the EC2 instance
docker tag nginx:latest .dkr.ecr.us-east-1.amazonaws.com/nginx:latest
docker tag nginx:latest 123456789012.dkr.ecr.us-east-1.amazonaws.com/nginx:latest

## 5. Get authenticate the Docker Client to ECR
- Run this command on the EC2 instance
aws ecr get-login-password --region us-east-1 | docker login --username AWS --password-stdin .dkr.ecr.us-east-1.amazonaws.com/nginx
aws ecr get-login-password --region us-east-1 | docker login --username AWS --password-stdin 123456789012.dkr.ecr.us-east-1.amazonaws.com/nginx

## 6. Push the image using the docker push command
- Run this command on the EC2 instance
docker push .dkr.ecr.us-east-1.amazonaws.com/nginx:latest
docker push 123456789012.dkr.ecr.us-east-1.amazonaws.com/nginx:latest

- Validate from ECR Dashboard

# What we have done so far
- We have successfully launched an EC2 instance, installed Docker, and created a Private Elastic Container Registry (ECR) and pushed nginx image to ECR.


Top comments (4)
This was helpful!! I find your articles very explanatory... thank you
Thank you
This helped me a lot. Thank you mam
Thank you.