The Azure Command-line Interface is a cross-platform open source command-line tool that we may use to build and manage resources in the Azure portal.
This application allows us to issue commands and manage Azure resources directly from the Windows command prompt. Since this application is cross-platform users can easily install it on windows, linux or macOS.
It is nearly identical to Azure Powershell in capability and function.
In this guide we will be using Azure CLI to create a resource group and virtual machine, execute commands in the cloud shell.
Creating Resource Group and Virtual Machine with Azure CLI
Step 1:
Visit portal.azure.com, login or sign up if you don't have an account, you can get a free account at azure.microsoft.com/en-us/free/
Step 2:
On the Azure portal page click the icon on the top right corner, then select bash
Step 3:
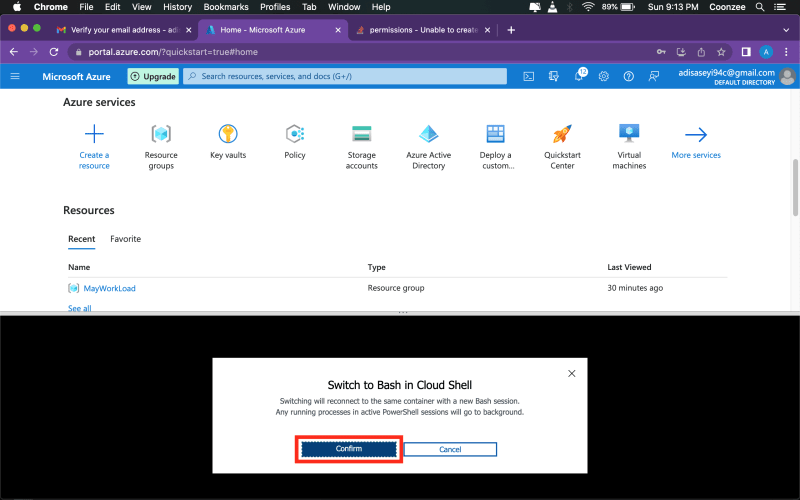
Click confirm to switch to bash
Step 4:
To create a resource group paste these codes into your Azure CLI:
az group create --name mycoolRg --location EastUS
Step 5:
To create a Virtual Machine paste these codes into your Azure CLI:
az vm create \
--resource-group mycoolRg \
--name myVMcli \
--image UbuntuLTS \
--generate-ssh-keys
in the code above i used mycoolRg and myVMcli as my resource group name and my virtual machine name respectively, you can use any name of your choice
Confirming the Resource group and Virtual Machine created
Step 1:
Go to Azure portal page and search for resource group and click it
Step 2:
Here is the resource group created, click it
Step 3:
As you can see here is the Virtual Machine we created with Azure CLI
Thank you for reading!!! 🙏


Top comments (1)
good