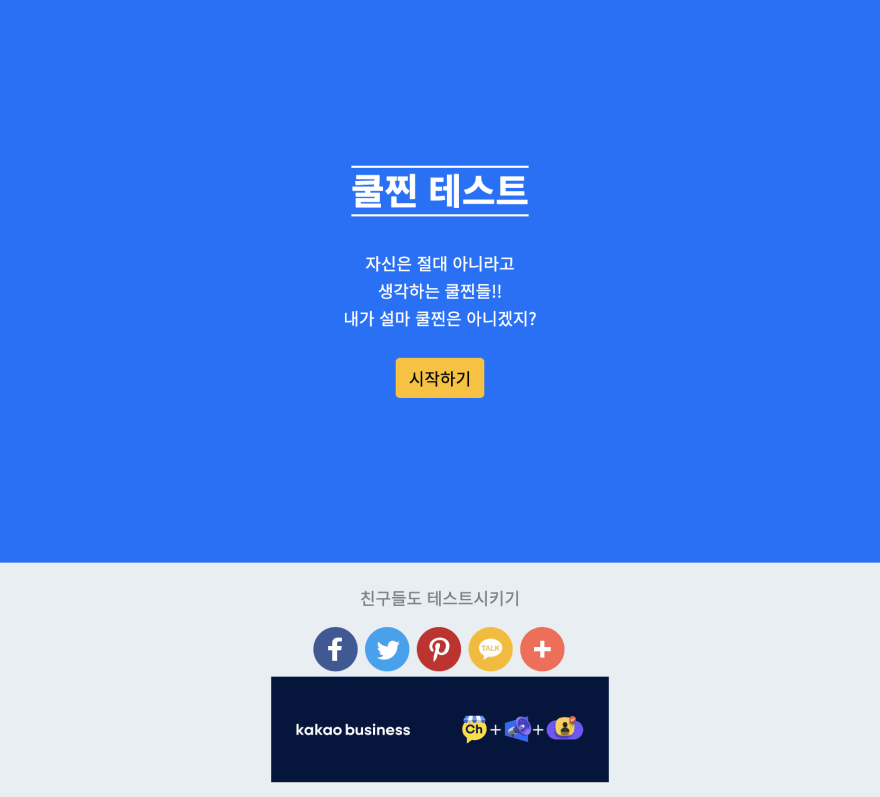
It's quite popular doing personality tests in Korea for fun. The most famous one is MBTI test from 16personalities and there are many different kinds. The reason I mentioned this is because we had special class which was making this kind of app and for that class, a famous programmer/youtuber came as a lecturer today! If you are curious about him and the app, check this video and his channel JoCoding - they also have English subtitles.
Making the web app was quite easy and fun. I will think about some idea and if I come up with something new, I am gonna try to make another one next time.
A few things I learnt today.
Using Bootstrap.
I haven't been really using libraries(I tried to avoid using it since I thought I should know basic stuff first) so it was almost the first time using bootstrap today. I think it's quite good to use if you want to make something very fast and want to release or test it because it's very easy and simple. We used it for radio buttons, buttons and somme basic styling. For example, to give margin top, we just gave class="mt-3", how easy! also, if we had to write code for these radio buttons below in CSS only, it would take much more time but with bootstrap, it just took one minute.

<div class="btn-group mt-3" role="group" aria-label="Basic radio toggle button group">
  <input type="radio" class="btn-check yes" name="q1-btnradio" id="q1-btnradio1" autocomplete="off">
  <label class="btn btn-outline-primary" for="q1-btnradio1">Yes</label>

  <input type="radio" class="btn-check no" name="q1-btnradio" id="q1-btnradio2" autocomplete="off">
  <label class="btn btn-outline-danger" for="q1-btnradio2">No</label>

  <input type="radio" class="btn-check maybe" name="q1-btnradio" id="q1-btnradio3" autocomplete="off">
  <label class="btn btn-outline-success" for="q1-btnradio3">Maybe</label>
</div>
+ making favicon!
You can make favion here
Deploying through Netlify
I have used Netlify once when I made my portfolio website but it was only to include it in my CV and I haven't released any service that many people can use. I almost forgot how to use it but it was very simple to use and free! We bought really cheap domain and connected to it. I might use that domain for my apps to test :)
Adding share buttons for social media
We used addthis for that!

What we used was 'share buttons' but there are many other features as well. You just have to select types of button you want to add(which social media button you'd like to add, how want it to be in the website - e.g: inline, etc) and then this will give you a few lines of code that you need to copy and paste into your html file and I added it inside footer.

*As you can see on the picture above, the share buttons are added and there's also ads inside footer.
Adding ads on your app
For this, we used kakaoAdFit. I could sign up with my kakao id without signing up again. It was also very easy and simple to do it. You just have to add a few lines of code into your html for this as well. I think we used this because it's the easiest and most simple way to add ads but I'd like to try adding google ads later on my project.
SEO(Search Engine Optimisation)
In Korea, we use Naver a lot(it's like Korean google which is search platform) so we learnt how to add our website/webapp to appear on Naver when it gets searched. Search Advisor
- Add the URL for the website you'd like to add.
- Confirm that you are the owner of the website(You can download html file they provide, add it to your project folder and deploy it or can copy and paste the html meta tag to your html file and deploy)
- When it's confirmed, go to 검증(Verification) > robots.txt. download robot.txt(they have a tool and button that you can create and download it simply) and put it inside your project folder(this needs to be at root directory)
- Now we need sitemap file! Search 'create site map' on google and open what's appear to be the first result which is xml-sitemaps, add the URL and click start. Download the sitemap file and need to add this sitemap file to the root directory of project as well.
- Deploy again and go to Naver's Search Advisor. Go to 검증(Verification) > robots.txt and then click 수집요청(Ask for collecting) to verify robots.txt
- When these are done, go to 요청(Request) > 사이트맵제출(Submit sitemap) and add your sitemap file name. About Serch Engine & SEO
-
SEO checkup
 You can check your seo and find out what you can improve.


Top comments (0)