Azure CLI is a command-line tool for managing Azure resources, allowing you to create, configure, and manage resources across Azure services efficiently using scripts and automation.
Prepare Your ARM Template
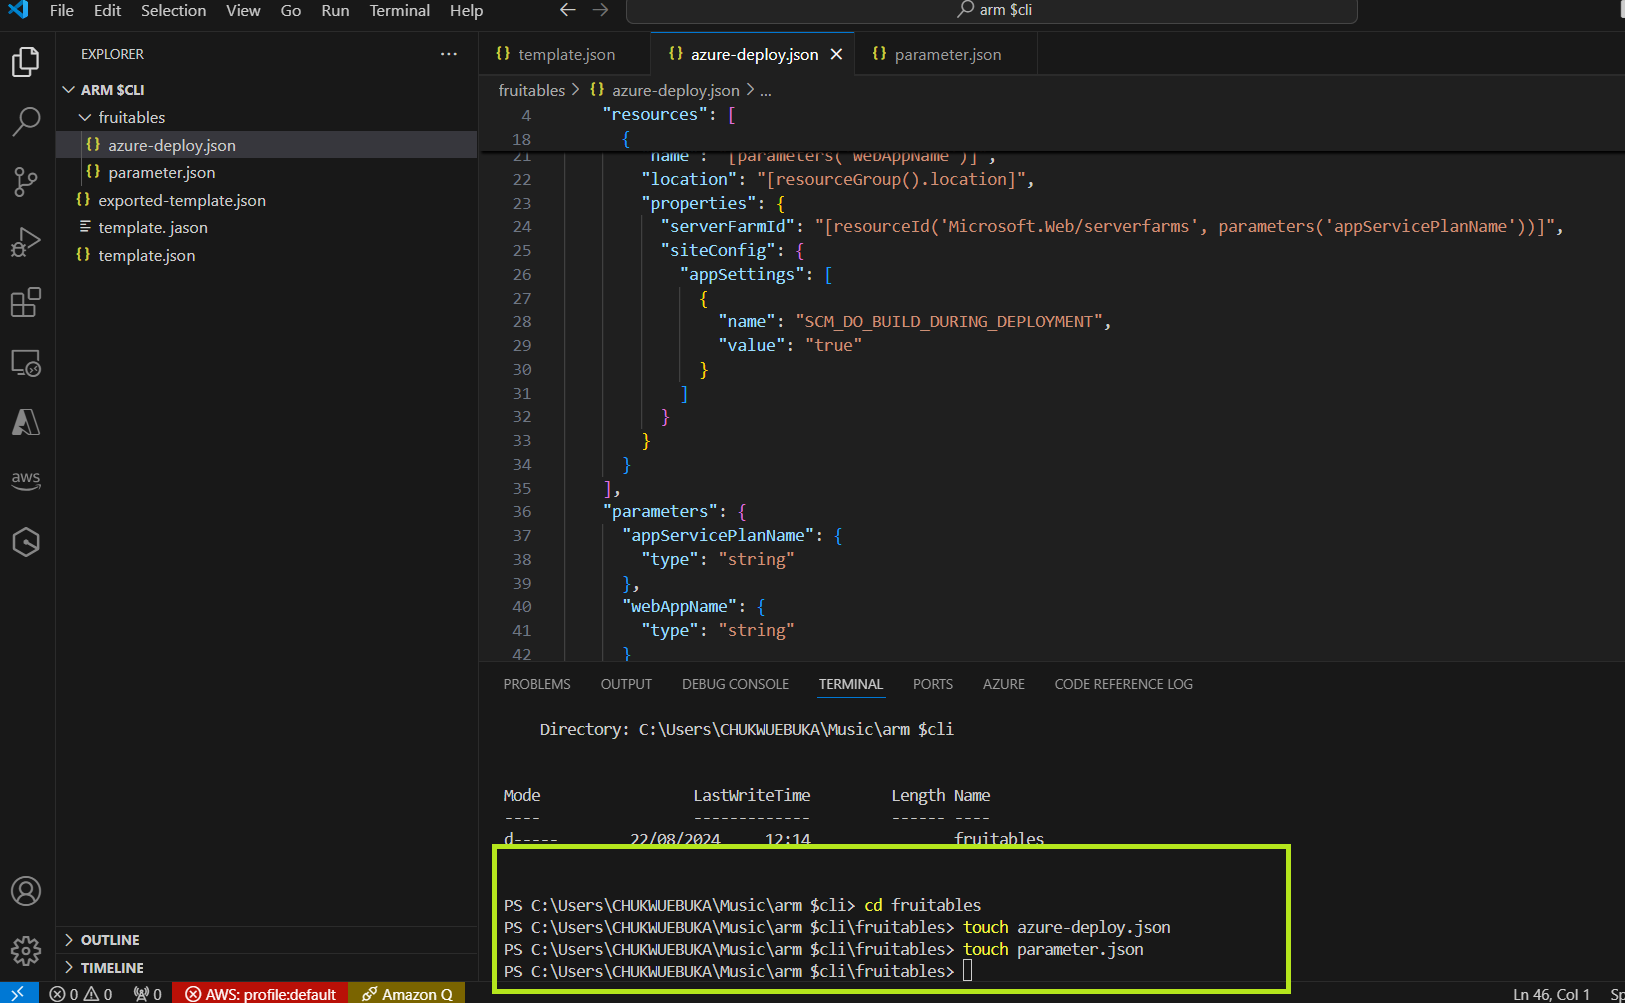
First, you need an ARM template that defines your Azure resources. Here’s a basic example to deploy an App Service Plan and a Web App:
{
    "$schema": "https://schema.management.azure.com/schemas/2019-04-01/deploymentTemplate.json#",
    "contentVersion": "1.0.0.0",
    "resources": [
      {
        "type": "Microsoft.Web/serverfarms",
        "apiVersion": "2021-01-15",
        "name": "[parameters('appServicePlanName')]",
        "location": "[resourceGroup().location]",
        "sku": {
          "name": "F1",
          "tier": "Free",
          "size": "F1",
          "family": "F",
          "capacity": 1
        }
      },
      {
        "type": "Microsoft.Web/sites",
        "apiVersion": "2021-01-15",
        "name": "[parameters('webAppName')]",
        "location": "[resourceGroup().location]",
        "properties": {
          "serverFarmId": "[resourceId('Microsoft.Web/serverfarms', parameters('appServicePlanName'))]",
          "siteConfig": {
            "appSettings": [
              {
                "name": "SCM_DO_BUILD_DURING_DEPLOYMENT",
                "value": "true"
              }
            ]
          }
        }
      }
    ],
    "parameters": {
      "appServicePlanName": {
        "type": "string"
      },
      "webAppName": {
        "type": "string"
      }
    }
  }
Prepare Your Parameters.json file:
{
  "$schema": "https://schema.management.azure.com/schemas/2019-04-01/deploymentParameters.json#",
  "contentVersion": "1.0.0.0",
  "parameters": {
    "appServicePlanName": {
      "value": "myAppServicePlan"
    },
    "webAppName": {
      "value": "myPhpWebApp43564"
    }
  }
}
Install and Configure Azure CLI
If you haven’t already installed the Azure CLI, download and install it learn microsoft.com for your operating system. After installation, configure it by logging in:

bash
Copy code
az login
Create Resource Group
If you don’t already have a resource group, create one using Azure CLI:
bash
Copy code
az group create --name myResourceGroup --location eastus
Replace myResourceGroup and eastus with your desired resource group name and location.
Deploy the ARM Template
Deploy the ARM template to the resource group using the Azure CLI:
bash
Copy code
az deployment group create \
  --resource-group myResourceGroup \
  --template-file azuredeploy.json \
  --parameters @azuredeploy.parameters.json
Prepare your Git repository
You download the website from Themewagon and on your VSCode, you open the downloaded, extracted file and push to your repository on github using the git/github comprehensive guide in one of my blog(comprehensive guide to git/github).
Git Deployment:
Configure Git deployment if you prefer deploying via Git. After you Set up a Git repository and push your code, enter the follwing command to deploy your website using github.
bash
Copy code
az webapp deployment source config \
  --name myWebApp \
  --resource-group myResourceGroup \
  --repo-url https://github.com/username/repo \
  --branch main \
  --git-token your-git-token
Replace the placeholders with your repository details and access token.
Verify Deployment
Check the deployment status and ensure your web app is running correctly:
Azure Portal: Navigate to your web app in the Azure Portal to check the deployment status and view logs.
bash
Copy code
az webapp show --resource-group myResourceGroup --name myWebApp
This command provides details about your web app, including its status and URL.
Clean Up Resources (Optional)
If you want to delete the resources after testing or if they are no longer needed, you can delete the resource group, which will remove all resources within it:
bash
Copy code
az group delete --name myResourceGroup --yes --no-wait
By follwoing these steps above, you should be able to succesfully deploy a webapp using Azure CLI.


Top comments (0)