Introduction
Hello! In this tutorial I will show you how to implement basic authorization using the laravel framework. 😃
Requirements
For this tutorial you will need the following:
- PHP and composer installed on your system (The installation process varies depending on your OS)
- Basic knowledge of PHP
- PHP driver to connect to your database (This example uses PostgreSQL)
Creating The Project
Creating the project is as easy as just running the following command:
composer create-project --prefer-dist laravel/laravel auth-example
This will create a project called "auth-example" in the directory you ran the above command in. Next we need to set up the database that will used to store the user's credentials.
Creating And Configuring The Database
This tutorial will be focusing on PostgreSQL, but feel free to change it to mysql etc.
First we need to actually create the database used, to do that run the following commands:
psql postgres

# This will log you in to the postgresql database
# Next create the database
create database laravel_example;

# Next we need to create a role that can access the created database.
create role laravel with LOGIN PASSWORD 'password' SUPERUSER;
The above will create a new database called "laravel_example", and a new user called "laravel" with the password "password", obviously in a production environment you would want a much harder to guess password. 😉
Next you will need to change your laravel ".env" file to let it know about the database that was just created. Open up ".env" file and edit the following:
DB_CONNECTION=pgsql
DB_HOST=127.0.0.1
DB_PORT=5432
DB_DATABASE=laravel_example
DB_USERNAME=laravel
DB_PASSWORD=password
Now we can continue on creating the project.
Finishing Up The Project
Now we need to actually set up the UI for the project, this can be done by running the following commands:
yarn
composer require laravel/ui
php artisan ui react --auth
yarn
The above commands initialize the node packages and then implements the React UI (You can use other UI frameworks but React is probably the most popular). Once implemented we run yarn again to finish off the installation. You may get asked to replace the current views, if so type yes to all of them.
Next we need to run migrations for the database, this can be done via the following command:
php artisan migrate
Then we can start the development server with the following:
# Start Laravel
php artisan serve

# Start react UI
yarn dev
Now if you point your browser to "http://localhost:8000" you should see the following:
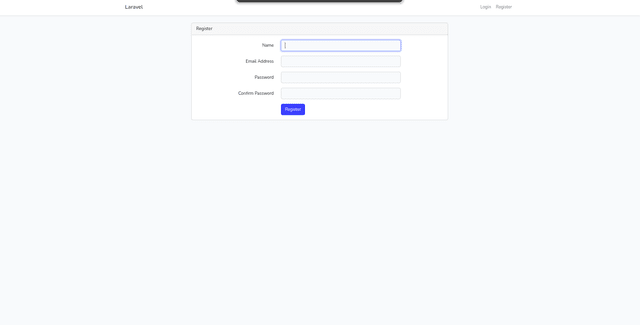
If you click on Register you should see the following:
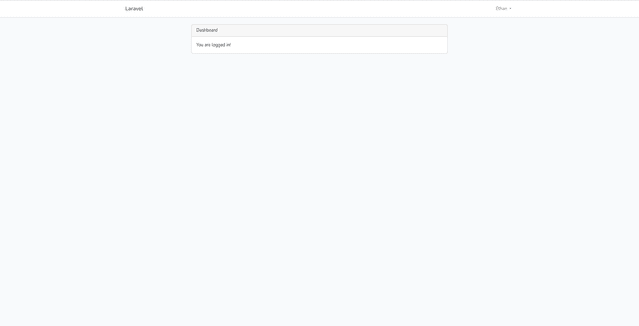
Feel free to try and register an account, on success you will be taken to the dashboard page:
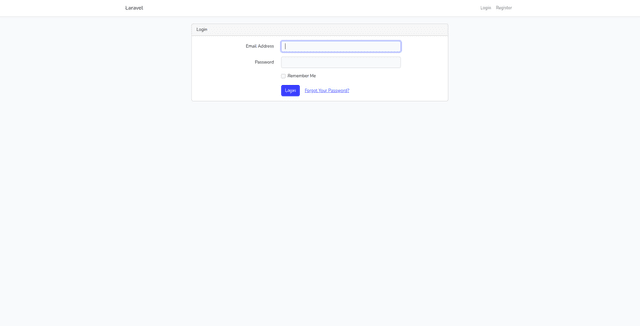
Feel free to try logging out and logging back in via the login page:
Well done you have now implemented basic authorization with laravel 😎
Conclusion
In this tutorial I have shown how to implement basic authorization using the Laravel framework. I hope you learned something from this, as I had a lot of fun implementing it. 😄
I'm a beginner when it comes to Laravel so if you have any feedback, please let me know in the comments.
You can find the source for this project on my Github page:
https://github.com/ethand91/laravel-auth-example
Happy Coding! 😄
Like me work? I post about a variety of topics, if you would like to see more please like and follow me.
Also I love coffee.
If you are looking to learn Algorithm Patterns to ace the coding interview I recommend the following course


Top comments (0)