In this tutorial, we'll be talking about how to create a simple application with a frontend and backend component in Typescript.
The frontend will be created using Next.JS 13.4 (with the new /app router) while the backend uses Node.JS.
Node.JS Prerequisite
First, make sure you have Node.JS installed on your laptop.
To verify, run:
node --version
and that should give you the current Node version, e.g. v18.14.2.
If not, I recommend installing it via the Node Version Manager (NVM) so you can easily install new versions of Node. In Linux for example,
curl https://raw.githubusercontent.com/creationix/nvm/master/install.sh | bash  # install the node version manager (nvm)
source ~/.bashrc  # restart the Terminal so we can load the nvm environment
nvm install 18
or check out these installation instruction.
Afterwards, it can also be helpful to update the version of your NPM which is the Node package manager for your NPM packages:
npm install -g npm@latest
File structure goal
Our goal is to create the frontend and backend file structure as follows:
📦my-app
 ┣ 📂backend
 ┃ ┣ 📜index.js
 ┃ ┣ 📜package.json
 ┃ ┗ 📜yarn.lock
 ┗ 📂frontend
 ┃ ┣ 📂src
 ┃ ┃ ┗ 📂app
 ┃ ┃ ┃ ┣ 📜favicon.ico
...
At this stage, create a folder named my-app.
Frontend
In the my-app/ directory, create the Next.JS app:
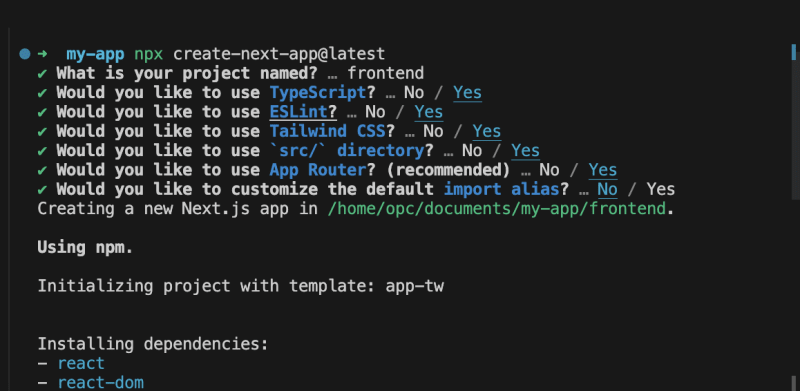
npx create-next-app@latest
These are my settings when prompted:
In the newly created frontend/ directory, launch the app using:
npm run dev
You will see this page at URL http://localhost:3000:
We can start making changes on file frontend/src/app/page.tsx to the following simple page:
export default function Home() {
  return <main>Hello world</main>;
}
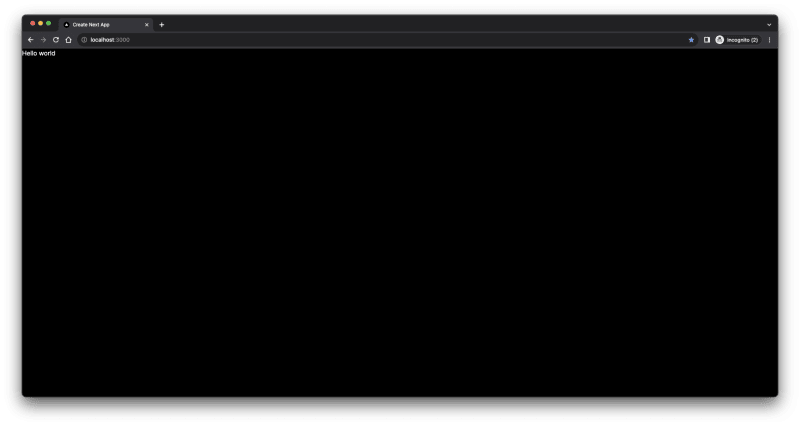
Opening the same page again, we'll see the boring:
Now you can make changes to this page!
Backend
Create a new folder in my-app/, titled backend/.
Run this in the backend/ directory:
npm init -y
which will create a simple NPM project for you. Let us install a few simple packages, again in backend/:
npm i cors @types/cors nodemon ts-node express @types/express
We use nodemon here so we can edit the backend files and have the changes be automatically applied without the need to refresh the page. In the frontend, this is already automatically done.
And then add a new file index.ts inside backend/:
import express from "express";
import cors from "cors";

// Create express app
const app = express();

app.use(express.json());
app.use(cors());

app.get("/helloText", (req, res) => {
  res.send({ myResponse: "Hello World!" });
});

app.listen(8000, () => {
  console.log(`Server is running on port ${8000}`);
});
I would also recommend adding this start line under scripts in backend/package.json:
...
 "scripts": {
    "start": "nodemon index.ts",
    "test": "echo \"Error: no test specified\" && exit 1"
  },
...
Now you can start the program using:
npm start
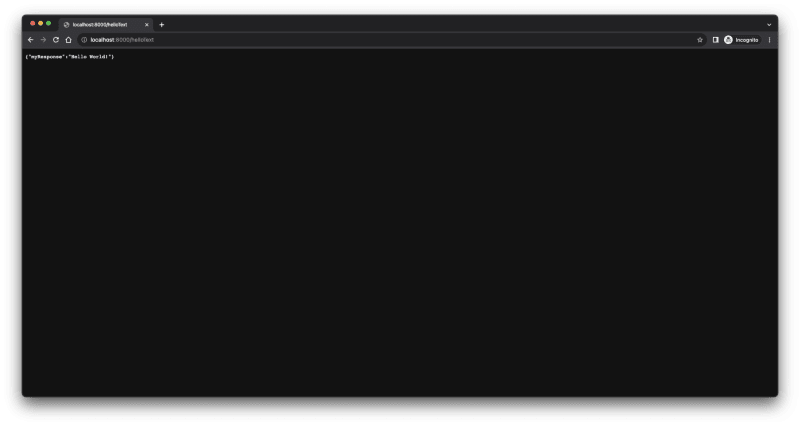
Going to http://localhost:8000/helloText, we can see the backend live and sending data:
Connecting the frontend and backend
Now, we simply query some data from the backend and display it on the frontend.
We change the contents of frontend/src/app/page.tsx to the following:
"use client";
import { useEffect, useState } from "react";

export default function Home() {
  const [data, setData] = useState("");

  // fetch data from API
  useEffect(() => {
    fetch("http://localhost:8000/helloText")
      .then((res) => res.json())
      .then((data) => setData(data));
  });

  return <main>{`Hello world: ${JSON.stringify(data)}`}</main>;
}
Note since we are using client rendering ("use client") here since we are using React hooks.
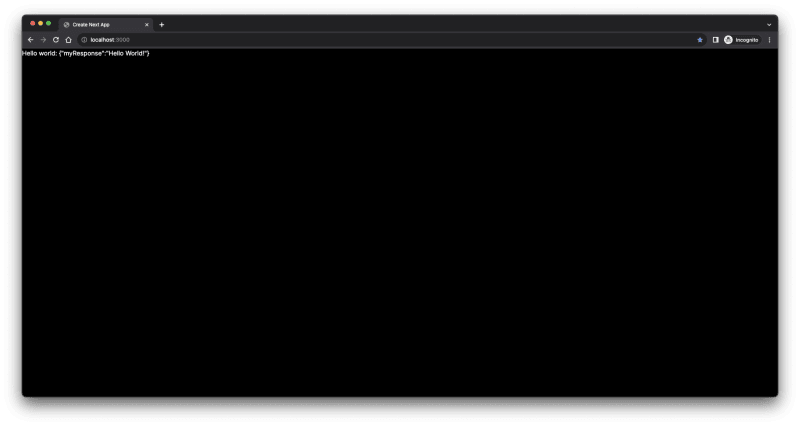
Refreshing the page with both the frontend and backend running, we see the backend data being displayed:
That's all! Good luck!
Safe harbor statement
The information provided on this channel/article/story is solely intended for informational purposes and cannot be used as a part of any contractual agreement. The content does not guarantee the delivery of any material, code, or functionality, and should not be the sole basis for making purchasing decisions. The postings on this site are my own and do not necessarily reflect the views or work of Oracle or Mythics, LLC.
This work is licensed under a Creative Commons Attribution 4.0 International License.


Top comments (0)