In this beginner-friendly article, you can find out how to deploy your React App to AWS S3 using GitHub Actions.
Photo by Lautaro Andreani on Unsplash
After reading different articles, it was a little bit difficult to get all the pieces of the puzzle together so I have decided to create a step-by-step guide for beginners so you can deploy your app in less than 10 minutes.
This is what is covered in case you want to jump to a particular section:
- Create React App
- AWS: Create IAM user
- AWS: Create S3 Bucket
- GitHub Actions
1. Create React App
From your favourite terminal, run:
yarn create react-app test-aws-github-actions --template typescript
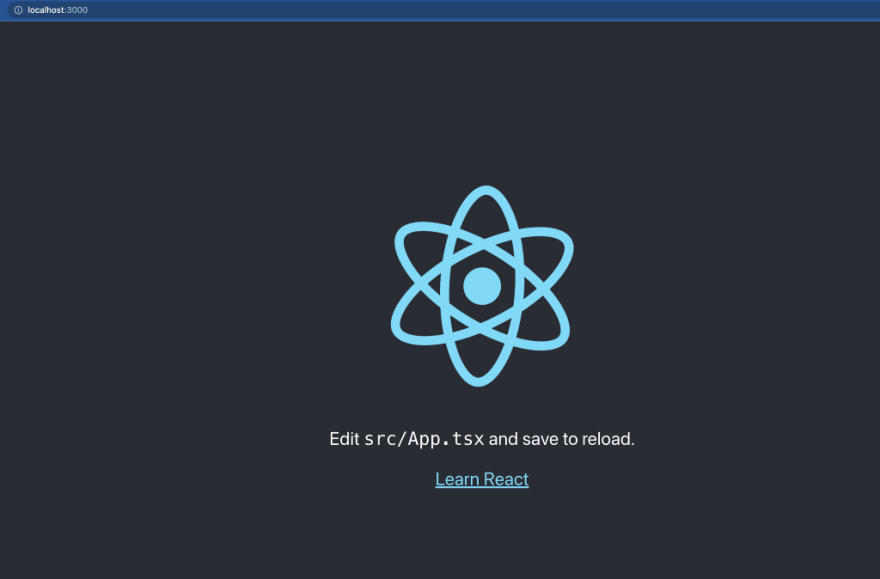
For more information about the script, you can visit the documentation of create react app. If you run the project with yarn start you should be able to see the classic template.
I also want to cover how to use environment variables so I’m going to add a .env file and update the main text. The environment variable is:
REACT_APP_MAIN_TEXT="Testing AWS"
It’s a very simple text but it will help us understand the process. You can see the change in the git history in the image. It’s just displaying the text on the main screen.
As you can see, the text from the environment variable is displayed on the main page below the React icon.
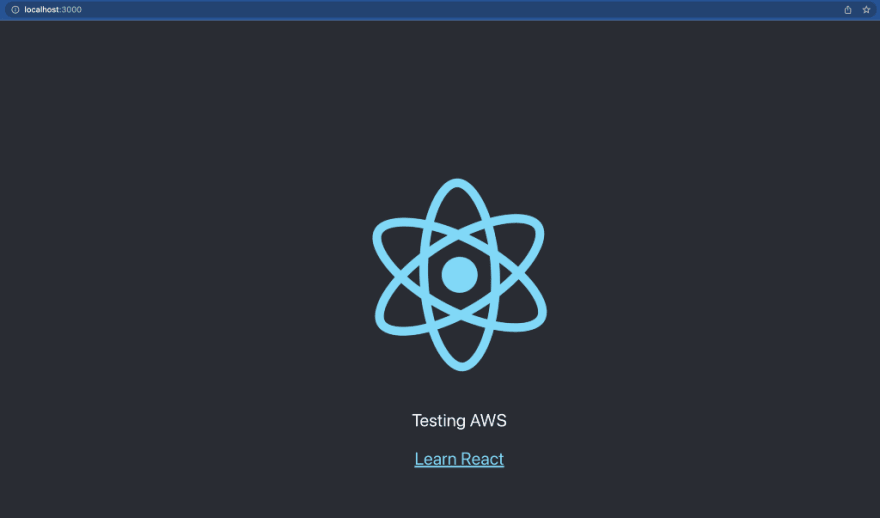
React with environment variable
Now you can push the code to a Github repository and let’s start looking at the AWS side of things.
2. AWS: Create IAM user
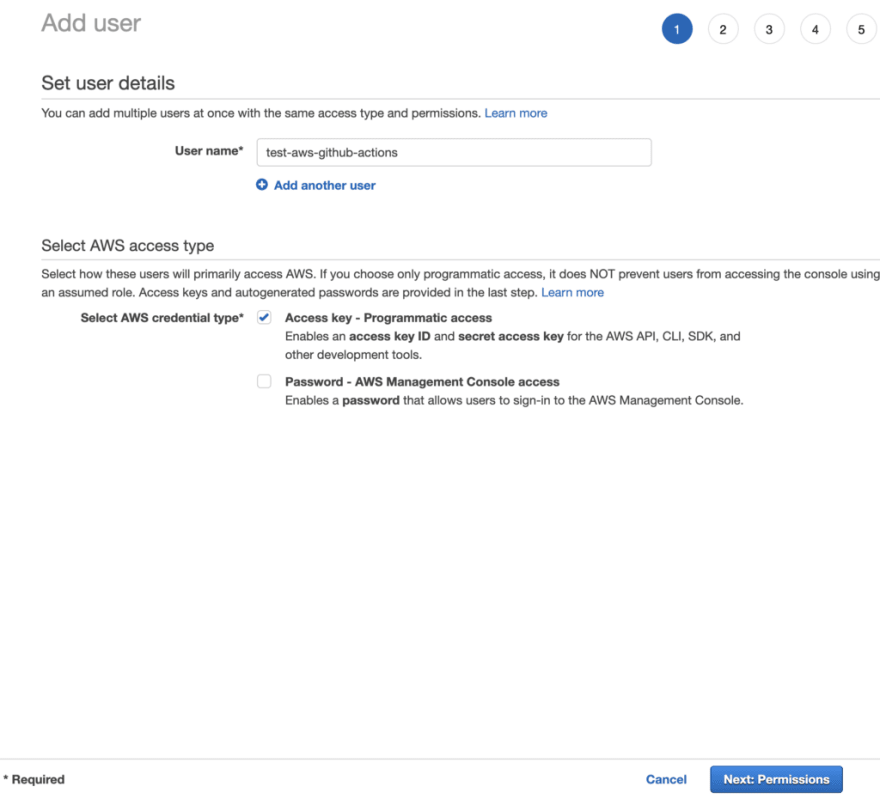
The first thing that you need is a user in AWS. From the IAM console, add a user. There are 5 steps in the process of creation
Create User Step 1
Name the user as you want. I’m creating a user only for this project so I have named it the same way. In GitHub actions, we need a key so you can select it in the initial screen.
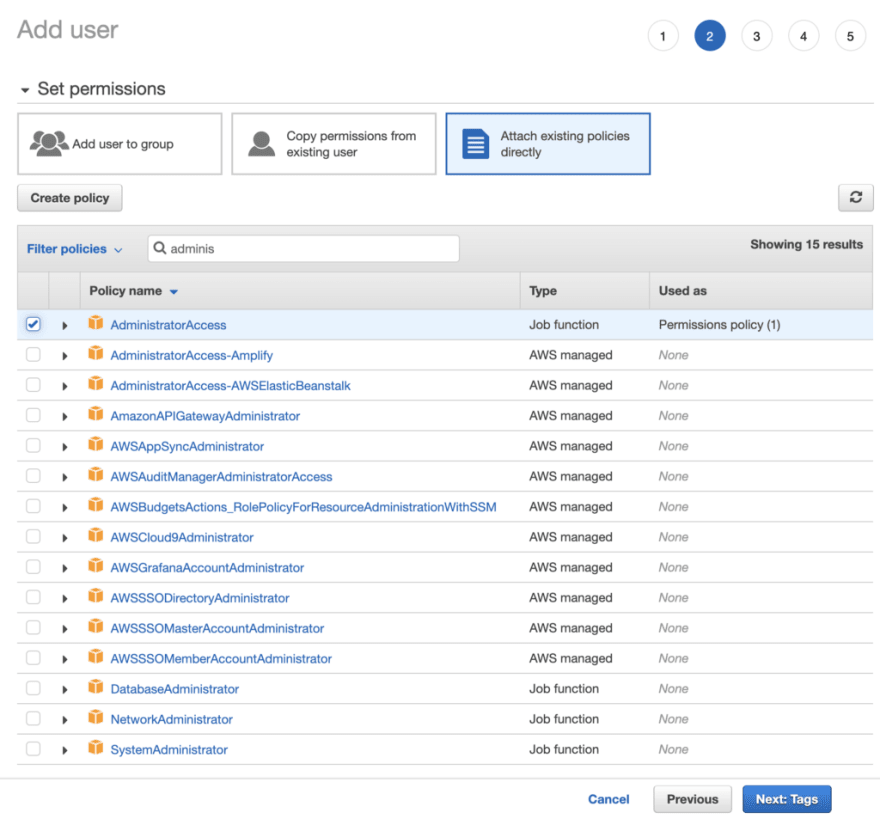
Create User Step 2
The second step is to provide permissions to the user. You can select AdminsitratorAccess
Create User Step 3
This step allows you to add tags. Feel free to add any relevant things that can be useful for your admin.
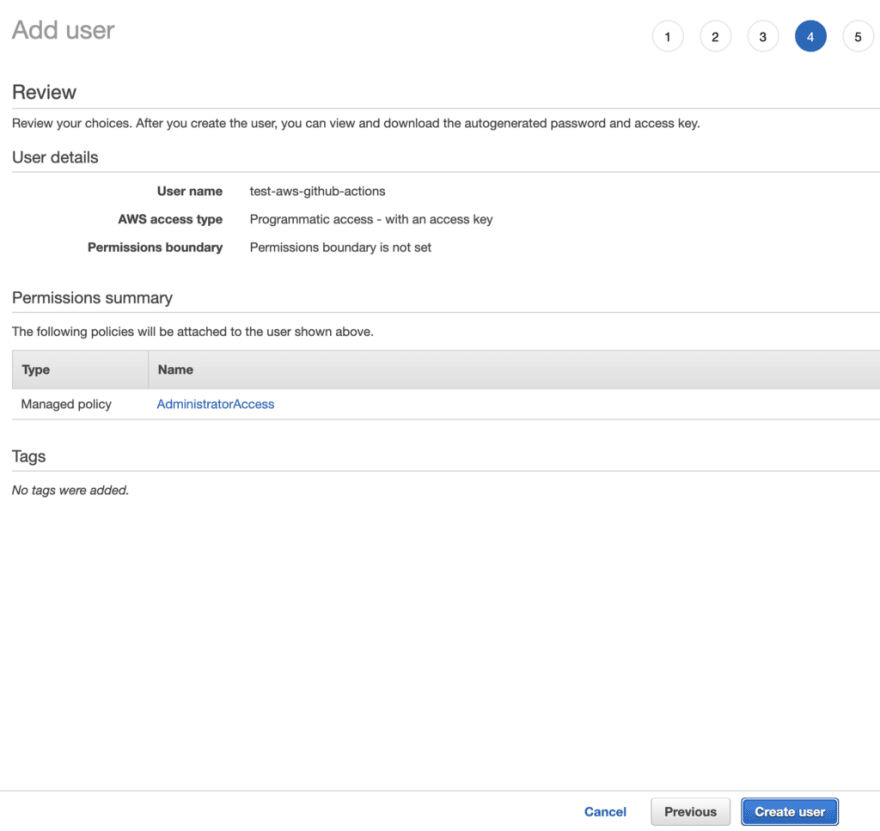
Create User Step 4
Now you can review the information provided in the previous steps. This will create the user for you so check the details to ensure it’s all correct.
Create User Step 5
This is the summary of the user. You’ll see an access key and a secret that you need to save as it will be used by the GitHub actions.
3. AWS: Create S3 Bucket
In AWS, create an S3 bucket: https://s3.console.aws.amazon.com/s3/bucket/create
Here, it’s important to enable the ACLs; otherwise, you’ll get an error from GitHub actions.
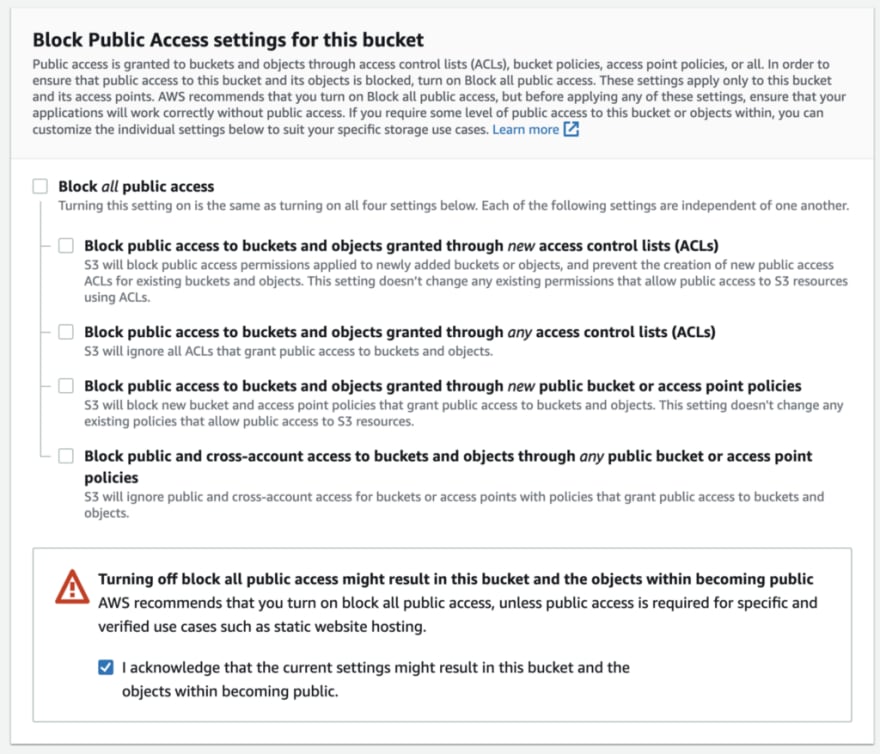
And unblock the public access.
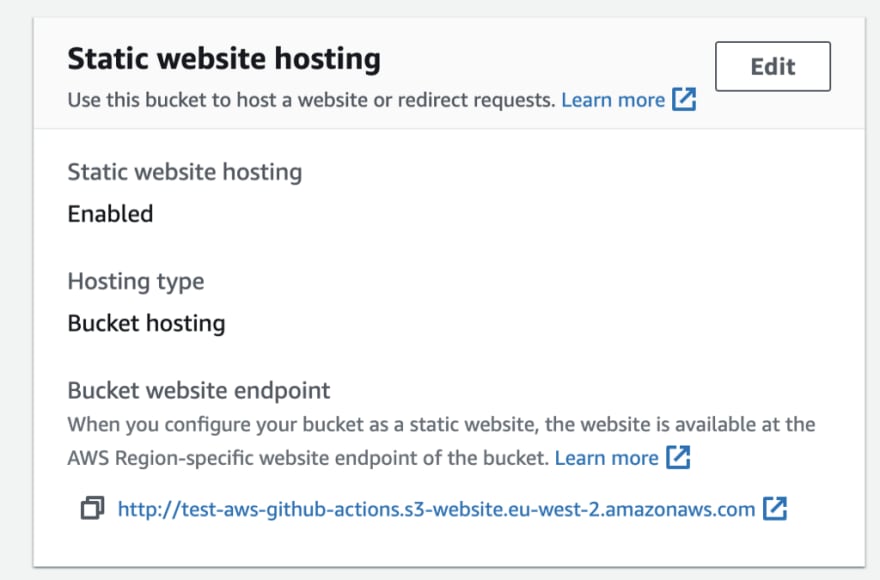
In the properties area, you can find a section for static website hosting. Enable the static website hosting and update the Index document and Error document to index.html.
After you save the changes, you will see the URL for the hosting.
That is all with AWS.
4. GitHub actions
In the repo, create a new file.
name: Deploy AWS
on:
  push:
    branches:
      - main

env:
  REACT_APP_MAIN_TEXT: "Successfully deployed in AWS"
  AWS_S3_BUCKET: ${{ secrets.AWS_BUCKET_NAME }}
  AWS_ACCESS_KEY_ID: ${{ secrets.AWS_ACCESS_KEY_ID }}
  AWS_SECRET_ACCESS_KEY: ${{ secrets.AWS_SECRET_ACCESS_KEY }}
  AWS_REGION: ${{ secrets.AWS_REGION }}
  SOURCE_DIR: "build"

jobs:
  build:
    runs-on: ubuntu-latest

strategy:
      matrix:
        node-version: [16.x]

steps:
    - uses: actions/checkout@v1
    - name: Use Node.js ${{ matrix.node-version }}
      uses: actions/setup-node@v1
      with:
        node-version: ${{ matrix.node-version }}

- name: Yarn Install
      run: yarn install

- name: Staging Build
      run: yarn build

- name: Deploy to S3
      uses: jakejarvis/s3-sync-action@master
      with:
        args: --acl public-read --follow-symlinks --delete
In GitHub, update the action secrets including:
- AWS_BUCKET_NAME
- AWS_ACCESS_KEY_ID
- AWS_SECRET_ACCESS_KEY
- AWS_REGION
Once you commit and push, you’ll see the action running:
If you check your S3 bucket, you’ll see all the files from the build folder:
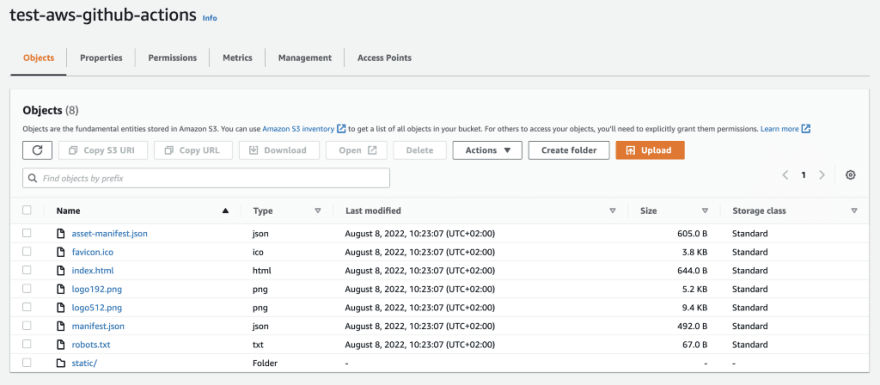
AWS S3 Files deployed from GitHub Actions
And you’ll be able to see your React app working:
Troubleshooting
Issues with paths
If you haven’t set up the hosting, you will see an issue with some paths. This is because the bucket will manage the URLs and with React, as it’s a single-page app, it needs all the routes pointing at the index.html so React can manage the routing by itself.
This XML file does not appear to have any style information associated with it. The document tree is shown below.
<Error>
<Code>AccessDenied</Code>
<Message>Access Denied</Message>
</Error>
To fix it, you need to make a small update in the S3 configuration in the area of Website Hosting. See the step.
Issues with ACL
If you are getting an error related to ACL in your GitHub actions, it is because ACLs are disabled. You need to enable them in the AWS S3 config.
upload failed: build/asset-manifest.json to s3://***/asset-manifest.json An error occurred (AccessControlListNotSupported) when calling the PutObject operation: The bucket does not allow ACLs
upload failed: build/robots.txt to s3://***/robots.txt An error occurred (AccessControlListNotSupported) when calling the PutObject operation: The bucket does not allow ACLs
upload failed: build/logo512.png to s3://***/logo512.png An error occurred (AccessControlListNotSupported) when calling the PutObject operation: The bucket does not allow ACLs
upload failed: build/static/js/787.e67aebaf.chunk.js.map to s3://***/static/js/787.e67aebaf.chunk.js.map An error occurred (AccessControlListNotSupported) when calling the PutObject operation: The bucket does not allow ACLs
upload failed: build/static/css/main.e6c13ad2.css to s3://***/static/css/main.e6c13ad2.css An error occurred (AccessControlListNotSupported) when calling the PutObject operation: The bucket does not allow ACLs
To fix it, you need to make a small update on the AWS S3 config enabling ACLs.
That’s it, thank you.









Top comments (0)