This article is part of #ServerlessSeptember. You'll find other helpful articles, detailed tutorials, and videos in this all-things-Serverless content collection. New articles from community members and cloud advocates are published every week from Monday to Thursday through September.
Find out more about how Microsoft Azure enables your Serverless functions at https://docs.microsoft.com/azure/azure-functions/.
If our organization has a YouTube channel with videos, users may comment on them with questions or doubts. If only one person checks the channel, regular notifications may be enough. But what would happen If we want to notify other people whenever a user posts a comment in one of our videos?
In this article, we'll use Azure Functions and a couple of third-party APIs to create a JavaScript serverless application to send emails when new comments are added in any video from a YouTube channel. We will call the YouTube API from the app, using a Google Developer Project to get an API Key.
As we don't have anything like push notifications to get new comments automatically, we will create a serverless application to do that. It will run on a schedule (seconds, minutes, or hours), and it will verify If we have new comments in any of the videos of a specific channel. To do that we will call the YouTube API. If we get new comments, this app will send a notification email to a list of people using SendGrid API.
If you want to see the final source code, you can check out the repository on GitHub
We will use Node's package manager to install the dependencies we need for this demo.
Create Google Developer Project to get a YouTube API Key
- Go to https://developers.google.com/ and log in with your Google Account (or create an account, if necessary).
- Go to https://console.developers.google.com/project and click on Create Project. Put the details you prefer for the project.
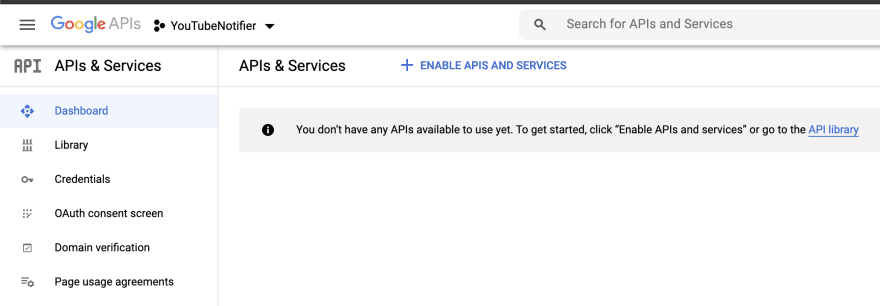
- Go to the project you just created and click on Enable APIs and Services and look for YouTube Data API v3. Select it and click on Enable.
- Go to Credentials and click on Create Credentials -> API Key. Save the generated key. We will need it in our Azure Functions app.
Create SendGrid account to get an API Key
SendGrid is a powerful tool used to send emails, but it can also track user interaction. You can create marketing campaigns, generate reports, and see different types of statistics.
- Sign Up on SendGrid. You don't need a credit card to create an account. The free tier will be enough to go through this tutorial.
- Go to https://app.sendgrid.com/settings/api_keys and click on Create API Key. Set a name for it and give it Full Access.
- Click on Create and View. Copy the generated key somewhere safe since it won't be displayed again.
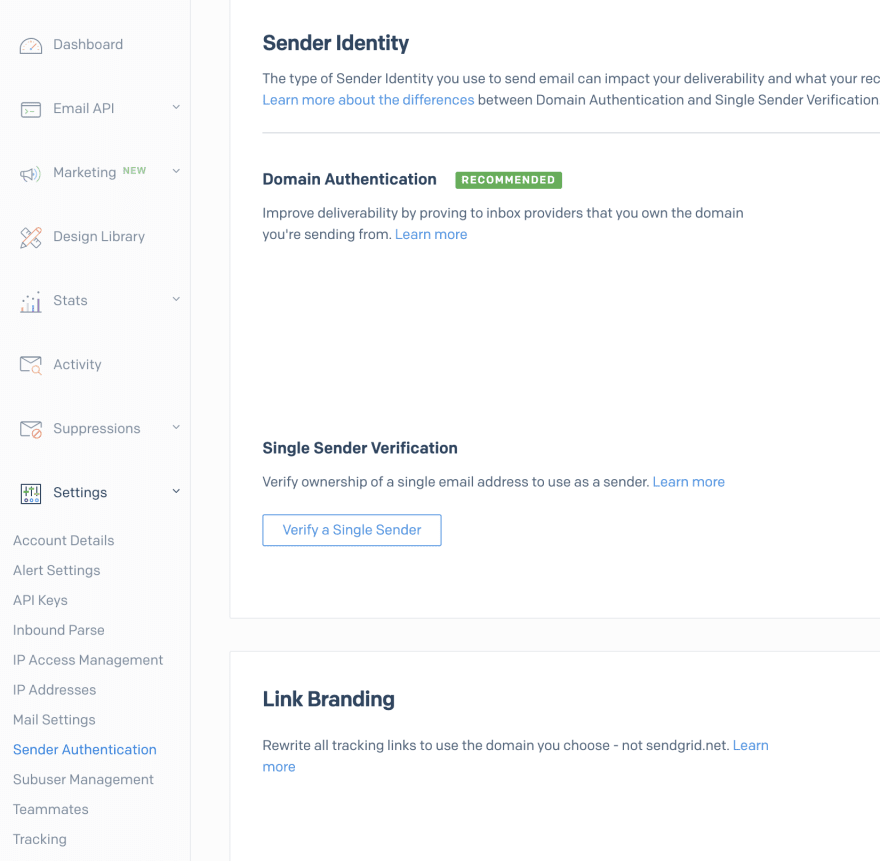
After that, you will need to Verify a Single Sender. We need to add some information to clarify which email account we will use later in the app to be the sender of our notifications, and some details related to that account.
Create an Azure Account
Microsoft Azure is a cloud computing service for building, testing, deploying, and managing applications. It offers different products to help us with our applications. For our project, we will use Azure Functions, the serverless application service from Azure. Different languages are supported to create these Functions. We will use JavaScript.
- Sign Up on Microsoft Azure. There is a free tier for many of the services offered, and a trial period for other features. You won't need to pay anything for this demo.
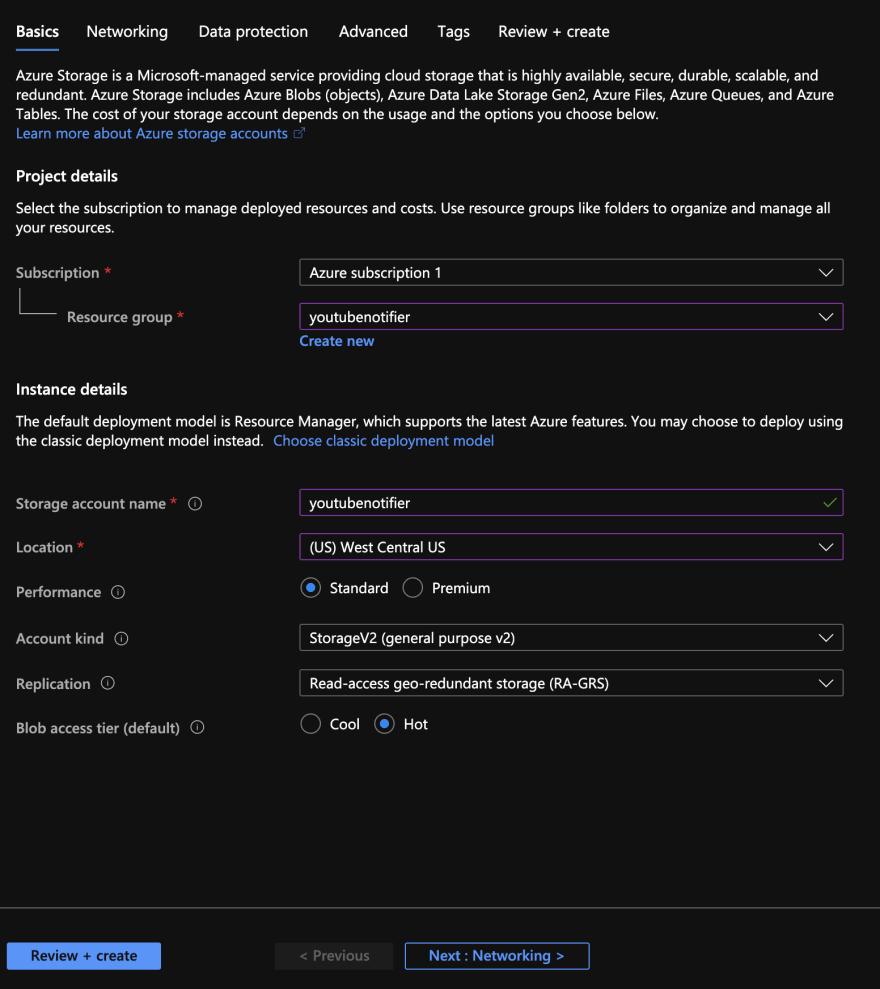
- After setting up your account, let's create an Azure Storage account. This will be the space you will use to host the Function.
- Select your storage account, select Access keys in Settings, then copy the first Connection string. We will need it later.
Install Azure Functions Extensions
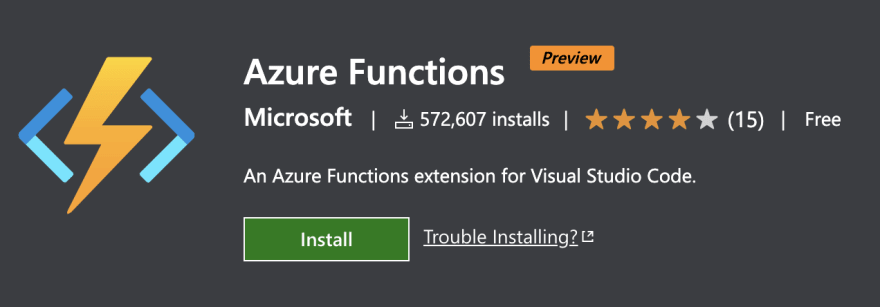
The IDE I use is Visual Studio Code. It's a powerful editor with many plugins and customizations. I recommend using it for this demo because there's an Azure Functions Extension, which will make our job easier and will help us create and deploy the Function.
After installing the extension, in the left menu, you should have an Azure icon. Click on it and sign in with your Azure Account, so the IDE links your personal account.
Finally, to enable local debugging, we need to install the Azure Functions Core Tools.
Now it's time to code!
Create a new Azure Function Project
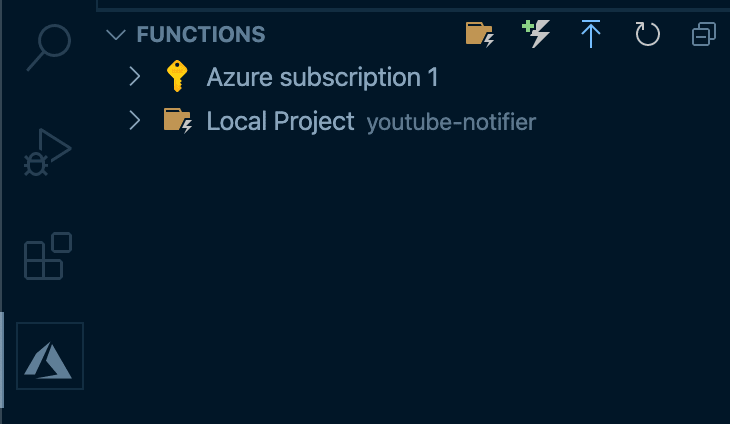
In Visual Studio Code, in the same menu, you signed in, now you should see your Azure Subscription. Click on the icon with a folder and a thunder that says Create New Project and follow the steps:
- Name your project.
- The language we'll use is JavaScript.
- You should select the template Timer Trigger.
- I want my Function to run every 5 hours, so I set the time interval cron as "0 0 */5 * * *". You can read more about the cron format here. You will be able to change this later in the function.json file.
After following these steps, we should have all the initial files of our Azure Function Project generated.
Install NPM packages
To call the YouTube API, we will use Google APIs Node.js Client. We need to run npm install --save googleapis in the terminal to install the package so our Azure Function can use it.
For the SendGrid API, we also have an NPM package that we will use to send the emails. Run npm install --save @sendgrid/mail to install [Mail Service for the SendGrid v3 Web API.
Define Environment variables
We will need some key values to be stored as environment variables. Go to local.settings.json file and add these keys inside "Values":
"YouTubeAPIKey": "[YOUTUBE_API_KEY]", // The API Key generated in your Google Developer Project.
"YouTubeChannelID": "[YOUTUBE_CHANNEL_ID]", // The ID of the YouTube channel you want to watch.
"SendGridAPIKey": "[SENDGRID_API_KEY]", // SendGrid API Key.
"EmailFrom": "[SENDER_EMAIL]", // The sender email for the notifications.
"EmailTo": "[RECEIVER_EMAIL]" // The receiver email for the notifications.
The channel ID is the identifier of the YouTube channel you want to keep track of. If you see, the URL of a channel looks like https://www.youtube.com/channel/[ChannelID].
"EmailTo" could contain more than one email address. You have to separate them with commas, ','.
Also, you will need to set the connection with your Azure Storage account. To do this, paste the connection string you previously generated as the value of the key AzureWebJobsStorage.
The Function
Let's go now to the index.js file inside the project directory. We will start coding our app.
First, we will initialize the YouTube and SendGrid API clients. We will use the NPM packages we installed in the previous section, and the environment variables we defined. This is how the code inside our function should look like:
  const { google } = require("googleapis");
  const sendGridClient = require("@sendgrid/mail");

  const youtubeClient = google.youtube({
    version: "v3",
    auth: process.env["YouTubeAPIKey"],
  });

  sendGridClient.setApiKey(process.env["SendGridAPIKey"]);
After that, we will call the YouTube API to get a list of the last comments (and replies) posted in all the videos of a specific channel.
  const response = await youtubeClient.commentThreads.list({
    part: "snippet,replies",
    allThreadsRelatedToChannelId: process.env["YouTubeChannelID"],
    maxResults: 100,
    order: "time",
  });
A few things to consider here:
- We call commentThreads endpoint because we want to retrieve all the comments and their replies.
- We use the environment variables we set before with the channel ID.
- The API supports a maximum of 100 results. That's the number of results we will bring not to lose any comment.
-
order: "time"sets the order of the results from the newest to the oldest.
You can read the YouTube API documentation to see the details of the results we get from the YouTube API. It will be helpful for the following part of the code.
  if (response.data) {
    const lastRun = new Date(myTimer.scheduleStatus.last);

    response.data.items.forEach(function (comment) {
      const topLevelComment = comment.snippet.topLevelComment.snippet;
      const topLevelCommentDate = new Date(topLevelComment.publishedAt);

      if (topLevelCommentDate.getTime() > lastRun.getTime()) {
        sendEmail(
          topLevelComment.authorDisplayName,
          topLevelComment.textDisplay,
          `https://www.youtube.com/watch?v=${topLevelComment.videoId}&lc=${comment.id}`
        );
      }

      if (comment.snippet.totalReplyCount > 0) {
        comment.replies.comments.forEach(function (reply) {
          const replyDate = new Date(reply.snippet.publishedAt);

          if (replyDate.getTime() > lastRun.getTime()) {
            sendEmail(
              reply.snippet.authorDisplayName,
              reply.snippet.textDisplay,
              `https://www.youtube.com/watch?v=${reply.snippet.videoId}&lc=${reply.id}`
            );
          }
        });
      }
    });
  }
Let's break this down:
if (response.data) {
We'll keep executing the function only If we get any result.
const lastRun = new Date(myTimer.scheduleStatus.last);
Azure Functions exposes a timer object, which contains the data related to the execution of the timerTrigger function. We can use it to get the last execution time to compare it with the comments date/time. If the comment is newer, we assume we didn't notify the users about it, so we send the email. We have to make that comparison with every comment we get from the API.
    response.data.items.forEach(function (comment) {
      const topLevelComment = comment.snippet.topLevelComment.snippet;
      const topLevelCommentDate = new Date(topLevelComment.publishedAt);

      if (topLevelCommentDate.getTime() > lastRun.getTime()) {
        sendEmail(
          topLevelComment.authorDisplayName,
          topLevelComment.textDisplay,
          `https://www.youtube.com/watch?v=${topLevelComment.videoId}&lc=${comment.id}`
        );
      }
But also with the comments' replies (If they have any)
      if (comment.snippet.totalReplyCount > 0) {
        comment.replies.comments.forEach(function (reply) {
          const replyDate = new Date(reply.snippet.publishedAt);

          if (replyDate.getTime() > lastRun.getTime()) {
            sendEmail(
              reply.snippet.authorDisplayName,
              reply.snippet.textDisplay,
              `https://www.youtube.com/watch?v=${reply.snippet.videoId}&lc=${reply.id}`
            );
          }
        });
      }
You should have noticed we're calling twice a function called sendEmail, sending as parameters the comment's user, text, and the direct URL. Let's create that function, which will call the SendGrid API to send the emails. Write the code for the function inside the main function.
  function sendEmail(user, comment, url) {
    let body = "There is a new comment in one of your videos\n";
    body += `User: ${user}\n`;
    body += `Comment: ${comment}\n`;
    body += `Url: ${url}`;

    const msg = {
      to: process.env["EmailTo"],
      from: process.env["EmailFrom"],
      subject: "There is a new comment in your YouTube Channel",
      text: body,
    };

    sendGridClient
      .send(msg)
      .then(() => {
        console.log("Email sent");
      })
      .catch((error) => {
        console.log(error.response.body);
      });
  }
As we said, sendEmail receives the user, the comment, and the URL. Then, it creates the email body, and instantiates a msg with all the email details. After that, it calls the SendGrid API with the client we initialized, and we send the email to the users.
That would be all the code for the Azure Function. You can execute it locally and debug it directly from Visual Studio Code, using its integrated debugger (press F5 to debug). Consider that we created a timerTrigger, and it will follow the time interval we defined even when debugging locally. So, If you want to debug in a better way, maybe you should define a smaller time interval to execute the function more frequently.
Deploy the function to Azure
With the Azure Functions Extension, deploying from Visual Studio Code is very simple.
- Click on the Azure logo to open the Azure Explorer. Under Functions, click on the blue up arrow.
- At the prompt, select Create new Function app in Azure.
- Enter a globally unique name for your Function.
- Choose the Node.js version/runtime.
- Select the Azure region of your preference.
After following these steps, and waiting for a while, your Function will be up and running in Azure.
Final words
In this demo, we learned how to create, debug, and deploy an Azure Function (time-triggered) using JavaScript and Visual Studio Code. We developed some basic integrations with YouTube and SendGrid APIs.
A next step would be analyzing the resources consumed by the function and evaluating the costs it would incur while working in Azure. If you don't want to keep the Function, you can clean up the resources. Right-click the Function App in the Azure: Functions explorer and select Delete Function App.







Top comments (0)