Wait what?
Yes, there are couple of ways for you, the user, the contributor, the amazing human being who wants to improve the software that is used by millions, to write automated tests and have bots doing all the work for you, once you’ve signed a binding contract with the blood of an unicorn, and have obtained api keys for our public https://openqa.opensuse.org instance.
For now I will leave out the details on how to get those, but will rather point you to the #factory irc channel (or dischord), where you can get in touch with current admins, whom will be able to guide you better in the process.
I have the keys
You should get operator keys and they would look like this (more or less):
[openqa.opensuse.org]
key = 45ABCEB4562ACB04
secret = 4BA0003086C4CB95
Now let’s do this
I will assume that you’re using openSUSE Tumbleweed, instructions are similar for Leap, but if you’re looking for something more esoteric, check thebootstraping guide
Bring up a terminal or your favorite package manager, and install openQA-client, it will pull almost everything you will need
zypper in openQA-client
Once we’re here, we’ve gotta clone the git repo from the tests being ran in openqa.opensuse.org, to do that let’s go to a directory; let’s call it Skynet and create it in our user’s home. My user’s home is /home/foursixnine \o/ and use git to clone the test repository: https://github.com/os-autoinst/os-autoinst-distri-opensuse/.
cd $HOME
mkdir Skynet
cd Skynet
git clone https://github.com/os-autoinst/os-autoinst-distri-opensuse/
Now since we already cloned the test distribution, and also got the openQA client installed, all there is to do is:
1 - Hacking & Commiting 2 - Scheduling a test run
At this point we can do #1 fairly easy, but #2 needs a bit of a push (no pun intended), this is where we will need the API keys that we requested, in the beginning.
We will rely for now, on openqa-clone-custom-git-refspec which reads configuration parameters from “$OPENQA_CONFIG/client.conf”, “~/.config/openqa/client.conf” and “/etc/openqa/client.conf” (you can run openqa-cli –help to get more detailed info on this), for now open up your favorite editor and let’s create the directories and files we’ll need
mkdir ~/.config/openqa
$EDITOR ~/.config/openqa/client.conf
And paste the API keys you already have, you you will be able to post and create jobs on the public instance!
Let’s get hacking
This part is pretty straightforward once you’ve looked at $HOME/Skynet/os-autoinst-distri-opensuse.
For this round, let’s say we want to also test chrome, in incognito mode. By looking at chrome’s help we know that the --incognito is a thing
So let’s go to where all the tests are, edit, commit and push our changes
Remember to set up your fork, however if you want to make your life easier use hub you can find it in the repos too!
cd $HOME/Skynet/os-autoinst-distri-opensuse
vim tests/x11/chrome.pm
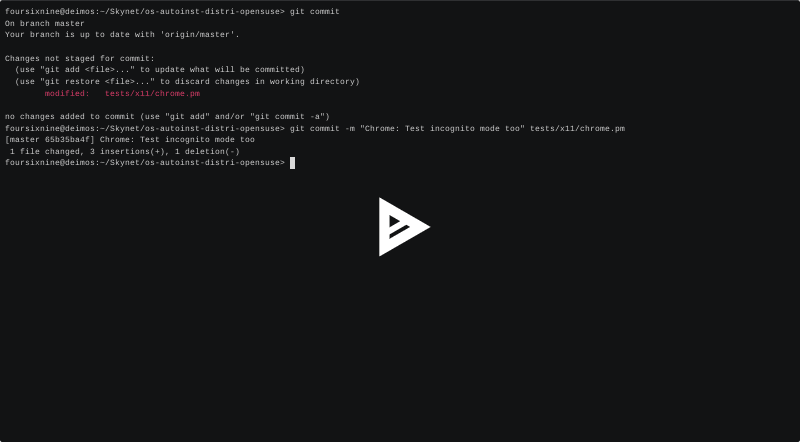
git commit -m "Message goes here" tests/x11/chrome.pm
git push $REMOTE
openqa-clone-custom-git-refspec \
 https://github.com/foursixnine/os-autoinst-distri-opensuse/tree/test_incognito_in_chrome \
 https://openqa.opensuse.org/tests/1792294 \
 SCHEDULE=tests/installation/bootloader_start,tests/boot/boot_to_desktop,tests/console/consoletest_setup,tests/x11/chrome \
 BUILD=0 \
 TEST=openQA-WORKSHOP-ALL-CAPS
In the end you will end up with an URL https://openqa.opensuse.org/t1793764, and you will get emails from travis if something is going wrong


Top comments (0)