Have you ever wondered how to view your project live from anywhere not just your local machine as a beginner? You are not alone most beginners do that including me. :)
Today what I will be showing you guys is a way of deploying your project live using netlify.
What is netlify?
Netlify is a cloud platform that allows developers to Build, deploy, and scale modern web projects.
Now let's get started.
Create a netlify account
Visit netlify.com and click the signup button in the top-left corner of the webpage. There are a bunch of options to signup, but I will recommend signing up with Github.
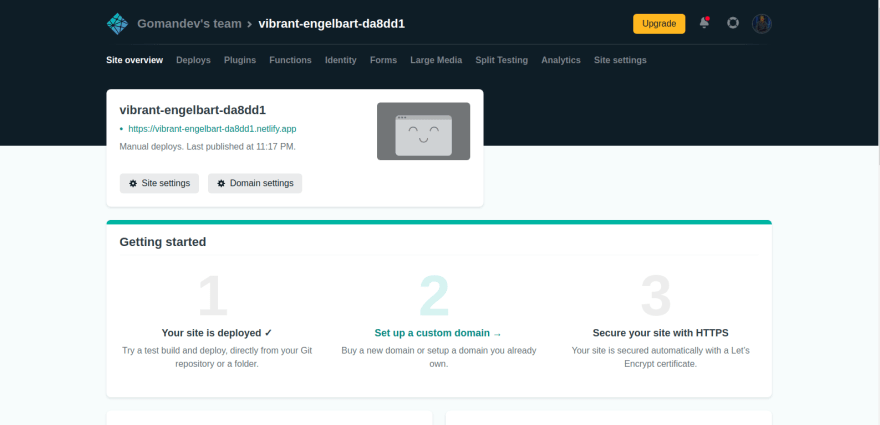
Deploy your project
After you successfully log in, navigate to the site's page. At the bottom of the page, you will see a section like this:

All you need to do is to drag your project folder into the area and netlify will finish all the work.
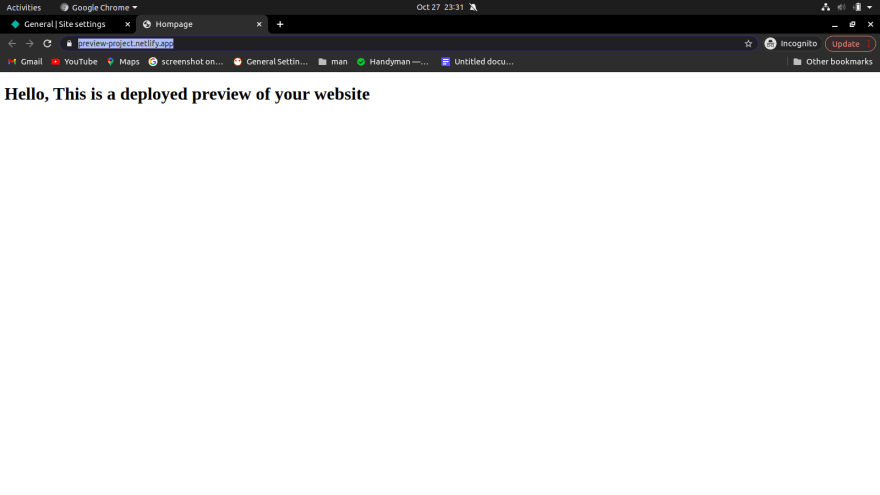
Wait for a few minutes for the projects to finish deploying. When that's done let's make the URL more readable by changing the site name. go to the Site Settings page, under the general tab you will see the Site Details section, right at the bottom you will find the Change Site Name button and change it to something like preview-project it can be anything you could remember.
All good, now visit the site, https://preview-project.netlify.app
Note: This tutorial is geared more toward beginners.


Top comments (0)