Read this article to find out how to configure parental controls for a Wi-Fi router, with the example of a TP-Link router, and how you can do it from a computer or smartphone.
Sometimes it may be necessary to block access to social media or any other websites for specific devices including smartphones and tablet PCs. For this purpose, there is a special function in the router settings – parental controls.
This function makes it possible to allow Internet access by schedule only, and to specify the web addresses that can be visited, or should be restricted. For example, you can disable Internet access for the time when children are supposed to be doing their homework, or sleeping; Similarly, you can restrict Internet access inside your office network so that your employees can concentrate on doing their job instead of browsing the web.
In some models, the functions of blocking certain websites and restricting Internet access on schedule are combined. I will show you how to configure parental controls with the example of a TP-Link router.
YouTube:
Configuring Parental Controls from a PC
First of all, you should make your way to the router settings. To do it, type the router address in the browser, enter the login and password. By default, these are admin and admin.
Go to the tab Parental Controls and enable this function by checking the corresponding box. You can also give the MAC address of the computer the access for which you want to control.
The MAC address field shows the MAC address of the computer which is currently being used to configure the router. If the MAC address of your network card has already been registered with the system, you can click on the button Copy to Above to copy this address to the field MAC address of Parental PC. As soon as you do it, the address will be copied to the corresponding field.
Below, specify the device you want to control. Type the address of the device for which you want to restrict access (or the addresses of the devices to which you would like to apply parental control functions) in the field МАС address – 1, 2, 3, 4. Otherwise, select the MAC address from the drop-down list and copy it to one of these fields by choosing it from the list.
The next step is to specify the time period during which the controlled computer will be allowed to connect to the Internet. Choose when such controls should be applied – each day or week, and then click Add.
To remove the time and days you have selected, use the button Clear Schedule.
In the last section, you can specify the Internet addresses that your child (or another user) will be permitted to access.
Click Save to confirm the changes you have made.
Configuring Parental Controls from a Smartphone
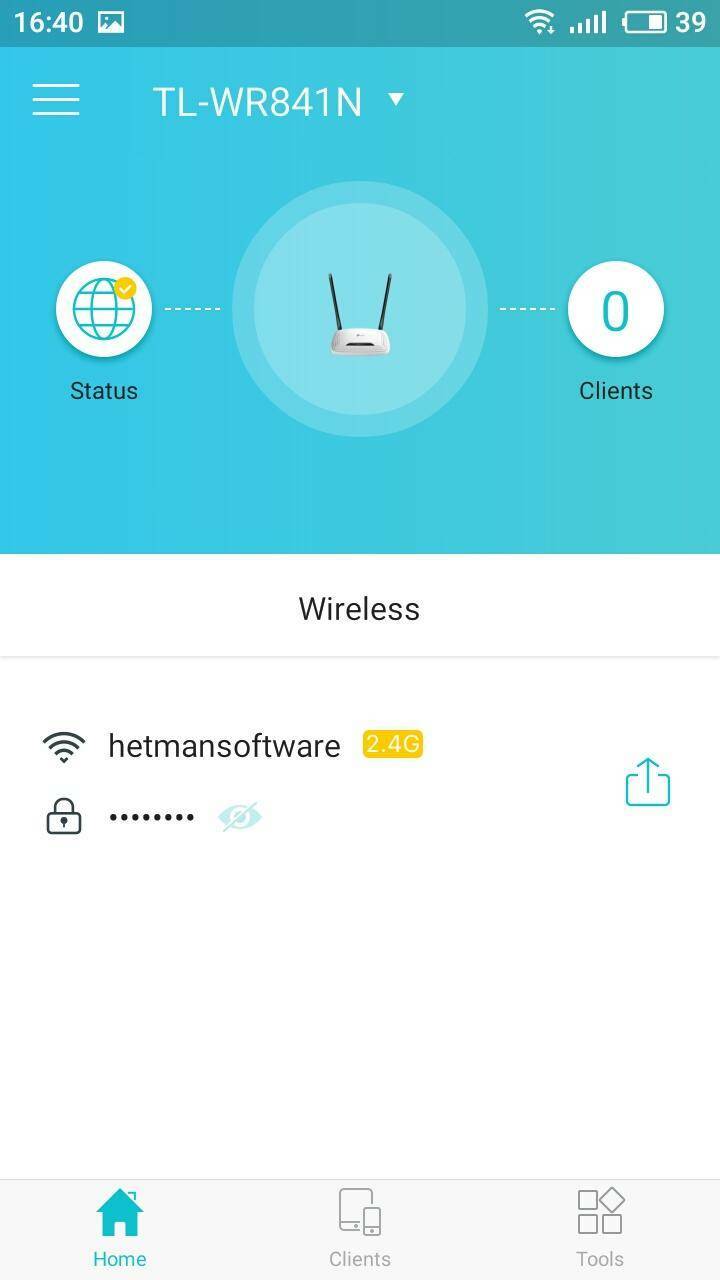
Also, you can configure parental controls with a smartphone using a tool called Tether. This is a free application and you can install it to your smartphone or tablet PC from Google Play Market or AppStore.
Read a detailed review of this application in one of our previous articles.
To enable the parental control function, start the application and go to menu Tools / Parental Controls.
In this app, the function is a bit simplified. Just drag the slider accordingly and select one of the connected clients.
Tap Done, set the schedule and specify Allowed Websites.
Tap Done again and this is it – parental controls are ready to use. Now the user with restricted access rights won’t be able to visit a website which is forbidden or go online at a time different from what has been specified in the settings.


Top comments (0)