Read this article to learn more about Wi-Fi security settings for your router. How to secure a Wi-Fi network from unauthorized access by strangers, and set a password for accessing the Wi-Fi network and the settings panel. How to restrict access to your Wi-Fi network by MAC or IP address filtering.
Many users neglect to configure their network security settings believing that their network is of no interest to anyone. Why would an intruder try to access it?
Unfortunately, this is a false assumption: proper security settings can protect you from identity theft as well as from unintended damage caused by other users of your network. Just out of curiosity, hackers may change something in your settings – which can leave you stranded offline. That is why we recommend checking your security settings right now.
I will show you how to configure router security settings with the example of a popular model, TP-LINK WR841N. However, almost all routers have similar functionality, so this guide will be useful for other devices as well. With the exception of some differences in the menu interface, of course.
YouTube:
Modifying the Login and Password to Access Your Router
The first thing to do is to change the default password protecting access to the router settings. Such password will prevent strangers from gaining unauthorized access to your router. So when you change the default password, no one else will be able to connect to the Internet or modify network settings.
To make changes to the router’s name and password, connect to this device by Wi-Fi or cable, and open a browser to enter its network address.
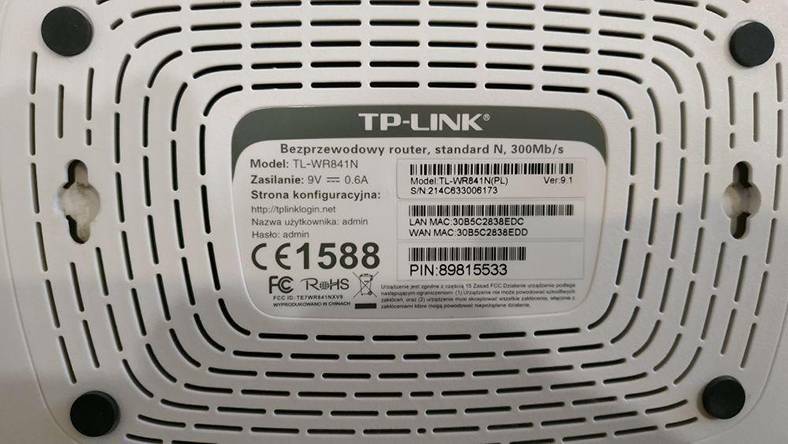
The router’s network address is given on a sticker which you can find on the bottom of the device. Usually, it looks like 192.168.1.1 or 192.168.0.1, tplinkwifi.net or tplinklogin.net, etc.
In this window, type the username and password – by default, they are admin and admin. The default login and password can be found on the same sticker as before.
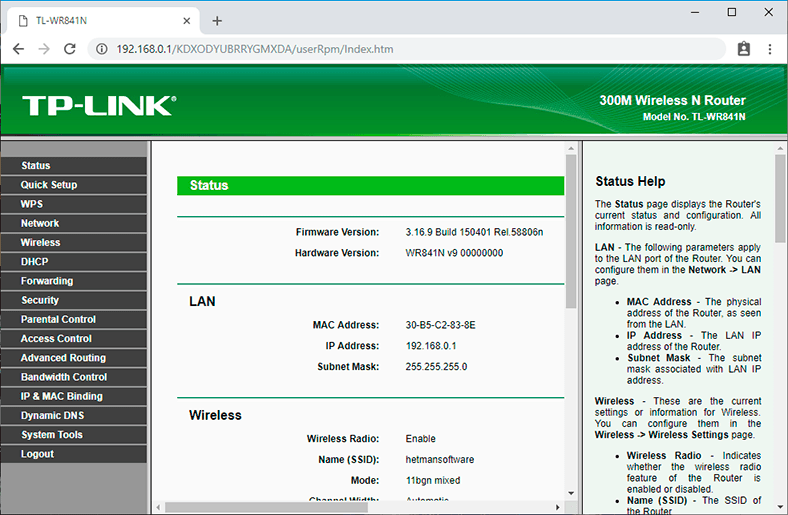
If you do everything right, the screen will show you the settings menu.
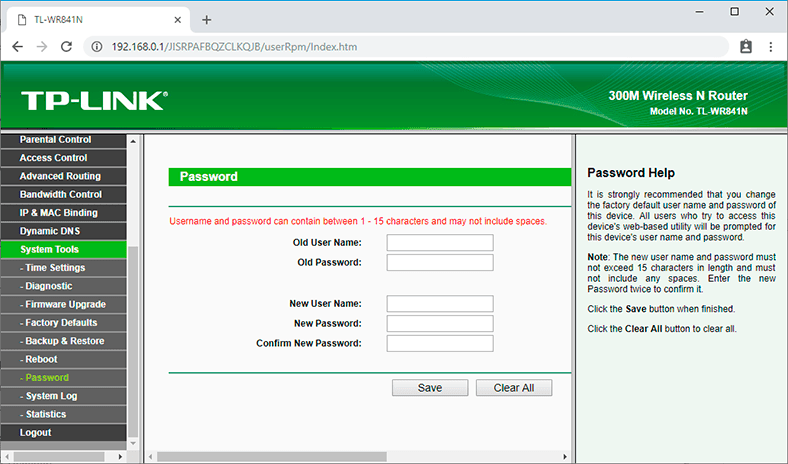
Go to the tab System Tools and find the Password line.
You will have to give the previous username and password, and then enter the new data and click Save. That is all – the password for accessing the router has been modified. You have just completed the first goal on the way to configuring security settings. Let’s move on.
Setting a Password for Wi-Fi
The second important step is to set a password for accessing your Wi-Fi network. It will prevent strangers from connecting to this network.
Many people believe this option is unnecessary and so they leave their networks open to anyone. However, by connecting to your network, other users can use torrent clients to download content, or play online games – which eats up the traffic and puts pressure on your router. Talking of the router, it can have various issues, the connection speed will drop, and the overall quality of Internet access will deteriorate.
To change the password, go to the tab Wireless. Look for the line Wireless Security.
If wireless security is disabled, turn it on. To do it, choose one of the suggested options. For standard situations, the recommended option WPA/WPA2 would be enough.
Type the desired password into the field Wireless Password.
Don’t use simple passwords consisting of eight digits 1 or 0, or digits from 1 to 8. Think about a reliable password having both capital and lowercase letters, digits and special symbols. Write down the new password just in case you may forget it.
Read another article for a very detailed description of other Wi-Fi settings.
Disabling the WPS Function
The third step is to disable the WPS function. This function allows connecting to a wireless network quickly and without a password. In real life, it is rarely used, and as it is too vulnerable to hackers, I recommend disabling it.
To do it, go to the WPS tab (sometimes, you can find it in the Wireless menu) and select Disable WPS.
Hiding the Wireless Network Name
Hide your network from the eyes of strangers. There is a special option in the router settings that allows you to hide your network. When you turn it on, other devices will no longer see your Wi-Fi. In order to connect, they will have to give not only the password but also the network name (SSID).
You can enable this function in the wireless network settings by unchecking the box next to Enable SSID Broadcast.
As you do it, other devices won’t be able to see it, and from a Windows 10 computer, you will see a hidden network among other networks. If you try connecting, you will have to enter the network name (SSID) and then the password; only if everything is right, you will be able to connect.
From a smartphone, this network is just invisible: in order to connect, you should go to W-Fi settings and create a new network. Give the network name (SSID) and password.
Filtering Devices by MAC Address
The next stage is filtering the devices trying to connect by their MAC addresses.
MAC address is a unique identifier of a device, as every gadget has its own MAC address. In the router settings, you can add MAC addresses of the devices which are allowed to connect to your network. When this function is enabled, only devices which are on this list can connect. Alternatively, you can list the devices for which access should be blocked.
This is a most efficient way to protect your router but it is only suitable for organizations with a specific number of users; for a home network, though, you will have to connect new users by entering the router settings and adding their MAC addresses, which is not too convenient.
To enable this option, open Wireless MAC Filtering which you can find in the Wireless settings tab.
When you are there, click Enable and check the box next to Deny the stations specified by any enabled entries in the list to access or Allow…, then add MAC addresses of such devices.
To add them, click on Add New.


Top comments (0)