Static sites have been a buzzword lately. The goal of this article is to show general hosting process so you can host it at any major services.
If you search "How to host X (static site generator) to Y (static site host) you'll find a lot of resources. My goal is not to show how to deploy Nuxt app into Firebase and Netlify (although you'll learn how here), but how to deploy any static site anywhere.
Understand the concept, flexible on details.
I will be using Nuxt as my static site generator. I will show how to deploy it to Netlify and Firebase. However, even if you are using a different static site generator (like Gatsby), or even plain HTML/CSS/JS, I would recommend you to read along because you can still learn from it.
We will cover:
- Differences between static and dynamic site.
- Preparing Nuxt.
- Hosting to Firebase.
- Hosting to Netlify.
- Bonus: list of static site hosts.
Static vs dynamic site?
Before starting, let's clarify what static and dynamic sites mean.
A static site:
- Usually consists of HTML/CSS/JS.
- At bare minimum, you can have only HTML.
- If you can open your HTML file on browser, it is probably static.
- You probably don't need to run a server to serve you site.
A dynamic site is usually served by server-side language (Express x NodeJS, Ruby x Rails, Python x Django, etc).
More can be said about static vs dynamic, but it is outside the scope of this article. If you're interested, this video does a good job explaining.
Setting up Nuxt
I will quickly show how to get started with Nuxt. If you use a different generator, feel free to skip ahead to "Hosting to Firebase" section.
npx create-nuxt-app my-static-site
// here I selected Npm package manager, lots of nones/ default options for demo

cd my-static-site
npm run dev // you'll see it running like expected
As you see, there is no dist/ folder here. Let's create one. I will explain in a little bit what that folder does.
npm run generate
Running this generates dist/ directory. There are many files inside. The important one is index.html.
Everything inside dist/ directory contain everything we need to run our static site. If you want to see what this index.html looks like, you can copy paste the path to browser, in my case:
file:///Users/iggy/src/studies/nuxt/my-static-site/dist/index.html
Alternatively (my preferred choice), you can install http-server, then run it against dist/ directory
http-server dist
Now that we are set, let's start hosting!
Hosting to Firebase
To host on Firebase, you need to have a google account. Create one if you haven't yet.
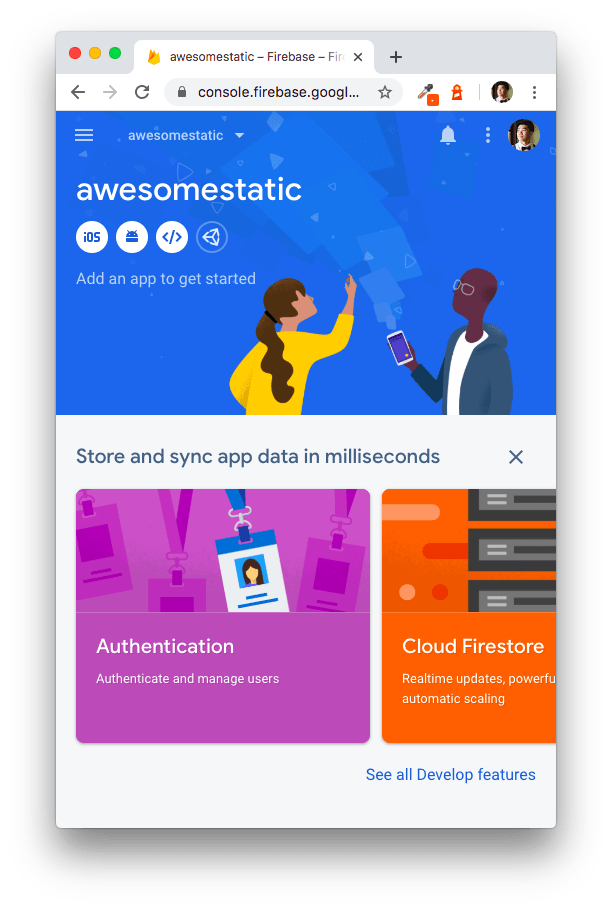
Go to console, add new project. Give it any name you like. I named mine awesomestatic.
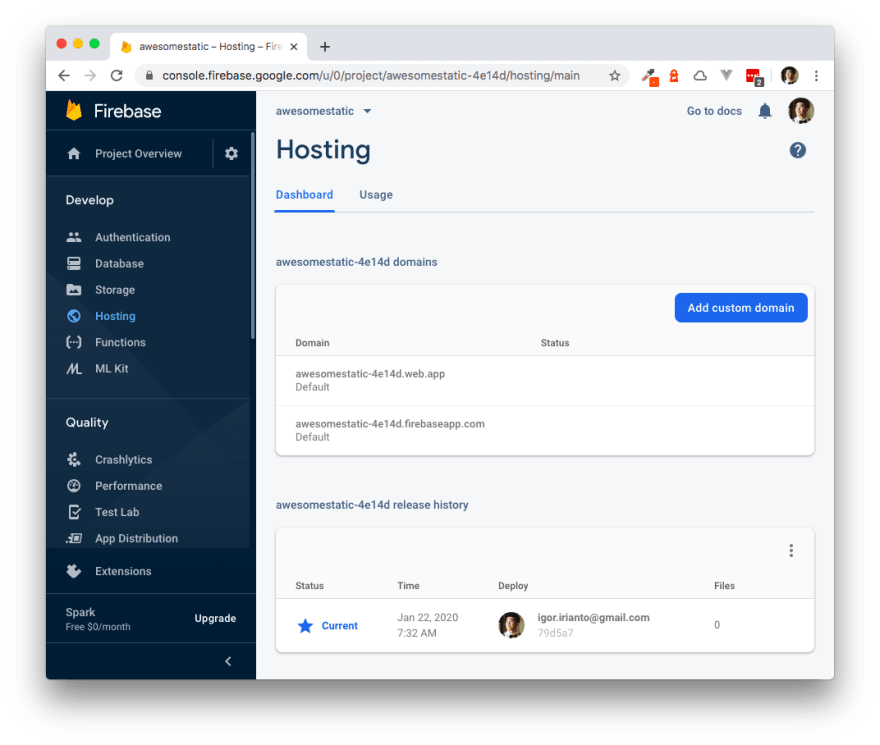
Once done, go into the project. On left tab, find Hosting tab.
Get started. You'll see a page with 3 steps:
- Install firebase CLI
- Initialize project
- Deploy
Install the firebase tool, then login. When you run firebase init, you'll be presented with options. I personally choose:
- Hosting
- Use existing project
- You should see the project you just created.
Next it will ask what do I want to use as public dir. Since Nuxt generates dist/ directory, I put down 'dist'. If your framework generates public/, put that down.
Next it will ask if I want to configure as single-page app? I chose yes.
Next it will ask whether index.html already exists. Tell it no. Do not overwrite.
Running firebase init creates 2 new files: .firebaserc and firebase.json. Look at them and see if you can figure out what they do 😉.
If you want to test your what your app would look like on firebase hosting, you can run:
firebase serve
And see it on localhost:5000 (default).
To deploy, run:
firebase deploy
If you go to Firebase, you will soon see your app's URLs. Congratulations, your site is hosted on Firebase 🔥👏.
So what did we learn from firebase?
- Running
firebase initinstructs firebase where your static site directory is located. In my case, it is insidedist/.index.htmlis the entry point. - The configuration, as you can see, is inside
firebase.jsonand it looks like this:
{
  "hosting": {
    "public": "dist",
    "ignore": [
      "firebase.json",
      "**/.*",
      "**/node_modules/**"
    ],
    "rewrites": [
      {
        "source": "**",
        "destination": "/index.html"
      }
    ]
  }
}
- Firebase knows which project to connect to - it is configured inside
.firebaserc
{
  "projects": {
    "default": "awesomestatic-4e14d"
  }
}
Hosting on Netlify
Let's go over Netlify. Create an account if you haven't yet. I will use the same Nuxt project we used previously.
Netlify requires you to have your project repository inside either github, gitlab, or bitbucket. I will use github in this example. I already committed and pushed my project in my github repository. If you haven't, do it.
Once you add it, save, and your project will show

Deploy 🚀🚀🚀
You can see it deployed here after a few min:
What Did We Learn?
Now that we've seen how to host on both Firebase and Netlify, what did we learn?
The steps are slightly different (Netlify uses git vs Firebase deploy pushes our files directly), but the main ideas are similar:
- Have a directory (
dist/for example) containing all resources. - Point the host to that directory.
- Directory has a starting html. In this case,
index.html.
Keep this in mind as you host your site to different host. Experiment, research, and deploy!


Top comments (0)