Hello everyone,
In this blog post, we are going to learn about a concept is typescript which is called module augmentation.
Don’t freak out seeing the name of the concept. It is just a fancy name for simple explanation which we are about to see later in the post.
But before getting to know what module augmentation is , let’s see typescript’s merging principles.
According to typescript , you can merge
- interface with interface ✅
- interface with class ✅
- class with class ❌
Not allowed Merge - From typescript docs.
What is Module Augmentation
Module augmentation allows us to add extra functionality to a class without modifying it and also extending and adding functionality to a third party library which we use in our application.
Let’s take a look at a code example
export class Car{
   constructor(
       public name: string
   ){}


  run(miles: string) {
    console.log(miles);
  }
}
We have Car class with name property and run method.
What if I wanted to add another method called Make method to the class without modifying it.
Let’s see how we can do that.
// index.ts

import { Car } from "./Car";

declare module './Car' {
    interface Car {
        year: number
      getEngineType(value: string):void
    }
}

const MuscleCar = new Car('Mustang')
MuscleCar.year = 2008
console.log(MuscleCar.name) // Mustang
console.log(MuscleCar.year) // 2008
console.log(MuscleCar.getEngineType('V8')) // MuscleCar.getEngineType is not a function
So as per module augmentation, we have to declare a module and we will declare an interface with the same name as the class we are trying to extend. In the interface, we will include the properties and methods we want to add to the extended class.
Now typescript, will merge both class and interface of Car If you try to access the method we will get the error saying getEngineType is not a function.
The reason is because interface only contains method declaration and not the implementation. We can solve that using good old prototypes.
Car.prototype.getEngineType = (value: string) => console.log(`Car is of type ${value} engine`)
Now when you try to access it , you will get a output in the console saying Car is of type V8 engine
Now that we have a basic idea of module augmentation. Let’s take a look at a real time example.
Use-case scenario for module augmentation:
We will be adding our own colour variants to button component in material ui using module augmentation.
open your terminal and run the following command
# boilerplate app setup using cra

npx create-react-app module-augmentation-example --template typescript

cd module-augmentation-example

# installing material ui dependency

npm install @mui/material @emotion/react @emotion/styled

# starting up the app

npm start
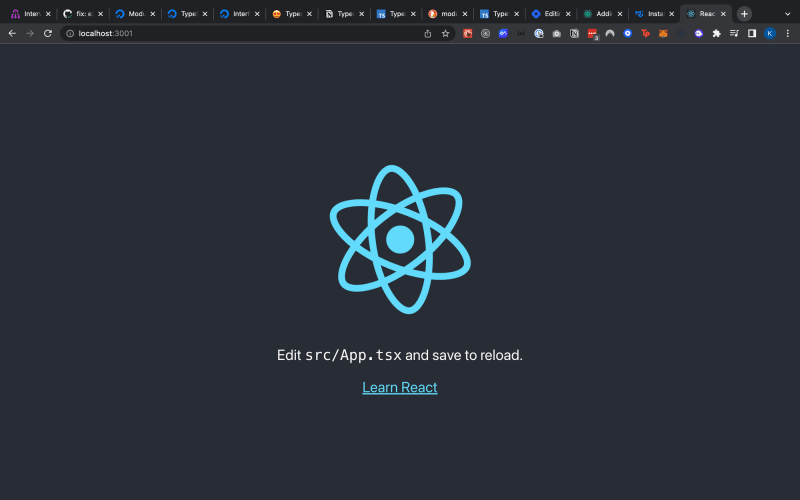
When you start up the browser you should see the following in your screen
Replace your App.tsx file with following content
import "./App.css";
import Button from "@mui/material/Button";
import createTheme from "@mui/material/styles/createTheme";
import { ThemeProvider } from "@mui/material";

function App() {
  const { palette } = createTheme();
  const { augmentColor } = palette;
  const createColor = (mainColor: string) =>
    augmentColor({ color: { main: mainColor } });
  const theme = createTheme({
    palette: {
      darkBlue: createColor("#00008b"),
    },
  });
  return (
    <ThemeProvider theme={theme}>
      {/** Extended color */}
      <Button id="basic-button" color="darkBlue" variant="contained">
        Dashboard
      </Button>
      {/** Existing color */}
      <Button id="basic-button" color="primary" variant="contained">
        Dashboard
      </Button>
    </ThemeProvider>
  );
}

export default App;
I wanted to have a black background colour and reuse it across the certain parts of the application. Hence created a new palette colour which is perfectly normal.
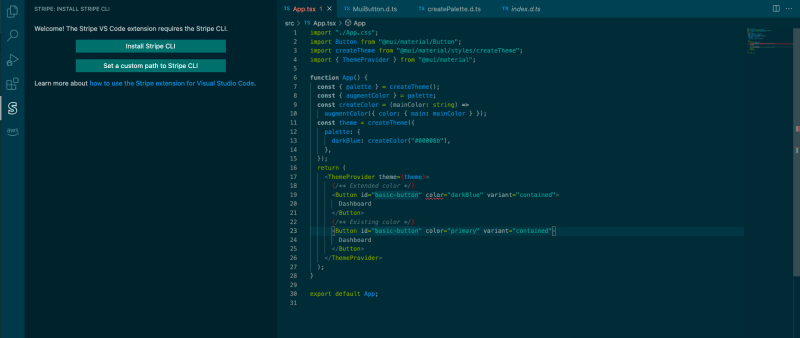
Except that Typescript starts shouting.
You will get two errors
Error 1 :
const createColor: (mainColor: string) => PaletteColor
Type '{ darkBlue: PaletteColor; }' is not assignable to type 'PaletteOptions'.
  Object literal may only specify known properties, and 'darkBlue' does not exist in type 'PaletteOptions'.ts(2322)
Error 2:
Button.d.ts(34, 5): The expected type comes from property 'color' which is declared here on type 'IntrinsicAttributes & { children?: ReactNode; classes?: Partial<ButtonClasses> | undefined; color?: "primary" | "secondary" | ... 5 more ... | undefined; ... 9 more ...; variant?: "text" | ... 2 more ... | undefined; } & Omit<...> & CommonProps & Omit<...>'
From the first error typescript is trying to inform us that you don’t have darkblue under PaletteOptions in material ui. Unless and until you use from existing palette options I am not changing back to normal
Existing palette options from MUI
export interface PaletteOptions {
  primary?: PaletteColorOptions;
  secondary?: PaletteColorOptions;
  error?: PaletteColorOptions;
  warning?: PaletteColorOptions;
  info?: PaletteColorOptions;
  success?: PaletteColorOptions;
  mode?: PaletteMode;
  tonalOffset?: PaletteTonalOffset;
  contrastThreshold?: number;
  common?: Partial<CommonColors>;
  grey?: ColorPartial;
  text?: Partial<TypeText>;
  divider?: string;
  action?: Partial<TypeAction>;
  background?: Partial<TypeBackground>;
  getContrastText?: (background: string) => string;
}
Second error:
These are the available color options for a button in material ui.
 'primary'
 'secondary'
 'success'
 'error'
 'info'
 'warning'
Since we have used darkBlue , typescript is saying you can’t use it.
Let’s use module augmentation and solve those errors.
In the src folder create a file MuiStyles.d.ts and add in the following content
import {
  PaletteColorOptions,
} from "@mui/material";

declare module "@mui/material/styles" {
  interface PaletteOptions {
    darkBlue: PaletteColorOptions;
  }
}
First we need to add darkBlue color to our palette options.
In order to do that , we need to extend @mui/material/styles module and add in the colour under the interface PaletteOptions.
The reason why we need to add it to the interface PaletteOptions is because Palette attribute of theme which we have used in our component code is an interface PaletteOptions .
As we saw earlier typescript has the ability to merge interfaces , when you check our code editor or your browser ( if your app is running ) you should be down 1 error.
Let’s create another type-definition file named MuiButton.d.ts and add in the following
import { ButtonPropsColorOverrides } from "@mui/material";

declare module "@mui/material/Button" {
  interface ButtonPropsColorOverrides{
    darkBlue: true;
  }
}
Now that we have created our custom colour successfully , we just need to add it to the material ui's interface for button color props. For that , we declare the module and add in the interface with darkBlue colour and setting the value to be true.
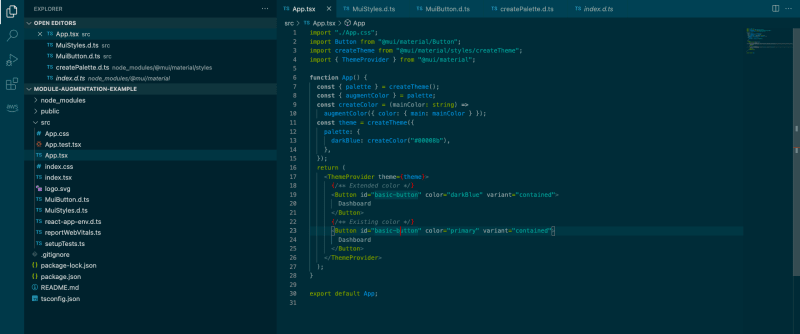
That’s it , Now check your editor and browser. There should be no-errors in your editor and also browser should show two buttons
Conclusion:
That's pretty much it. Thank you for taking the time to read the blog. I hope , everyone understood the module augmentation concept.
If you found the post useful , add ❤️ to it and let me know if I have missed something or if you have any doubts please feel free to post in the comments section.
Feedback on the tutorial is most welcome.
References:
Typescript Module Augmentation - Digital Ocean
Declaration Merging - Typescript docs


Top comments (0)