I was struggling to implement an editor in my blog Application i have tried ck editor and couple of other editors and most of them are buggy and not working properly and the interface was also not so much good
Finally I found editor.js
The best Editor I found Ever
Editorjs
It is highly maintanable and you can customize every component inside each data you enter is parsed into json in a block of array each content has it's own type and id
`
[
timestamp:3333,
blocks:[{
content:"This is a Heding",
type:"Heading"
...rest
}]
...rest
]
`
this is the sample format of data that is getting from the editor
whenever you want to show data in an html page you have to use a parser which we will deeply in the following section
the parser is not fully functional for table and button components this parser will not parse buttons and tables but it won't cause any errors while displaying in html
instead you can create your custom parser i will write the code in the last section how to handle that
if the new version of editor.js is not working don't worry about that we will fix that
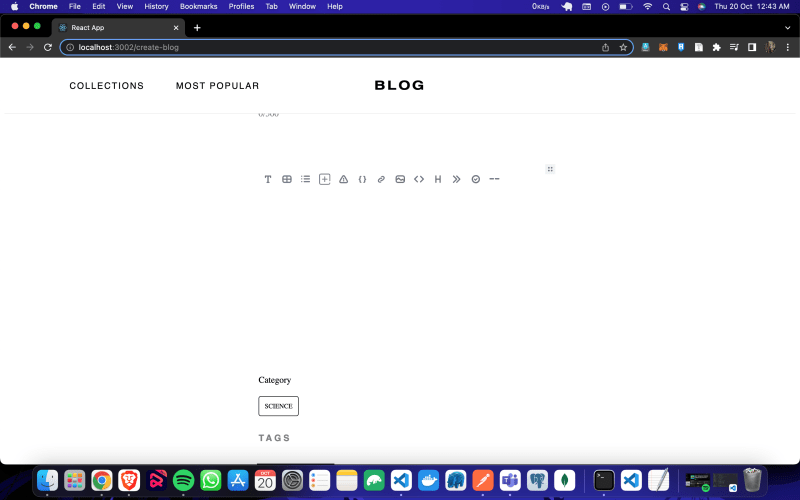
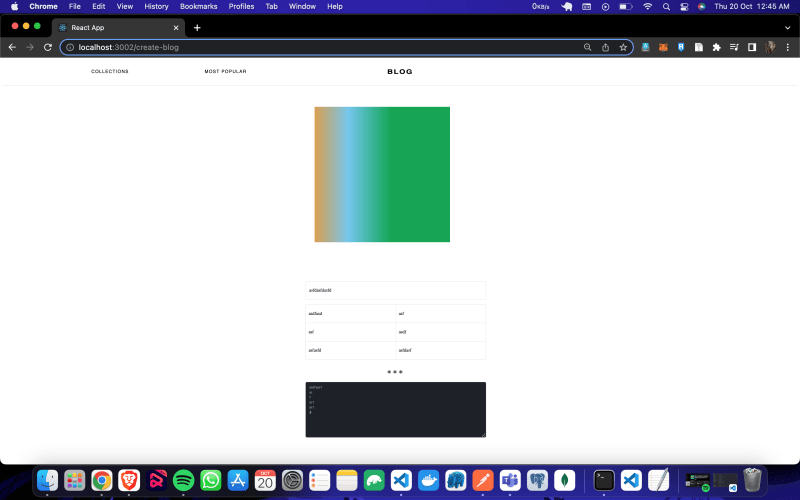
here i am showing a screenshot of the blog
This editor can be used to send For multiple purpose here i have created a blog application
to upload image you must specify some configurations in the file
`import Embed from "@editorjs/embed";
import Table from "@editorjs/table";
import List from "@editorjs/list";
import Warning from "@editorjs/warning";
import Code from "@editorjs/code";
import LinkTool from "@editorjs/link";
import Image from "@editorjs/image";
import Raw from "@editorjs/raw";
import Header from "@editorjs/header";
import Quote from "@editorjs/quote";
import Marker from "@editorjs/marker";
import CheckList from "@editorjs/checklist";
import Delimiter from "@editorjs/delimiter";
import InlineCode from "@editorjs/inline-code";
import SimpleImage from "@editorjs/simple-image";
import AnyButton from "editorjs-button";
let items;
export const EDITOR_JS_TOOLS = {
embed: Embed,
table: Table,
marker: Marker,
list: List,
AnyButton: AnyButton,
warning: Warning,
code: Code,
linkTool: LinkTool,
image: {
class: Image,
config: {
uploader: {
uploadByFile(file) {
//this is a custom method that will accept file in aws by 2 steps
const myJavs = {
upload: async function (data) {
console.log(data);
await fetch(
"https://backend.yourDomain.com/aws_utils/pre_signed_url/",
{
method: "POST",
headers: {
"Content-Type": "application/json",
Authorization:
"Bearer token",
},
body: JSON.stringify({
content_type: data.type,
}),
}
)
.then((req) => {
console.log(req);
console.log("hello ");
return req;
})
.then(async (req) => {
const response = await req.json();
const raw = await req;
await fetch(response.url, {
method: "PUT",
body: data,
})
.then((req) => {
return req;
})
.then(async (res) => {
console.log("hi how are you",
response.url);
                  items = await response.url.split("?");
                  console.log(items);

                  return {
                    success: 1,
                    file: {
                      url: items[0],
                    },
                  };
                });
            });
        },
      };
      return myJavs.upload(file).then((data) => {
        console.log(data);
//common return that editor will only accept
return {
success: 1,
file: {
url: items[0],
},
};
});
    },
  },
//only use this if you are using a backed that will instantly return an image as a common response for image upload
//return {
// success: 1,
// file: {
// url: 'url'
// },
//};
endpoints: {
byFile: "http://localhost:8000/api/posts/post", // Your backend file uploader endpoint
byUrl: "http://localhost:8008/fetchUrl", // Your endpoint that provides uploading by Url
},
},
},
raw: Raw,
header: Header,
quote: Quote,
checklist: CheckList,
delimiter: Delimiter,
inlineCode: InlineCode,
simpleImage: SimpleImage,
};
`


Top comments (0)