**
1-2 install typescript and node version manager in **ubuntu **
_
To install TypeScript and Node Version Manager (nvm) on your Ubuntu Linux system, you can follow these steps:
1. Install Node Version Manager (nvm):
First, open your terminal and run the following commands to install nvm:
curl -o- https://raw.githubusercontent.com/nvm-sh/nvm/v0.39.0/install.sh | bash
This command will download and execute the nvm installation script.
After the installation is complete, close and reopen your terminal, or run:
source ~/.bashrc
This will load nvm into your current shell session.
. Install Node.js and TypeScript:
Now that nvm is installed, you can use it to install Node.js and TypeScript. Here's how to install the latest LTS version of Node.js and TypeScript:
nvm install --lts
This command installs the latest LTS (Long Term Support) version of Node.js. Once Node.js is installed, you can install TypeScript using npm (Node Package Manager), which comes bundled with Node.js:
npm install -g typescript
This command installs TypeScript globally on your system.
3. Verify the installations:
You can verify that both Node.js and TypeScript have been installed by checking their versions:
node -v
npm -v
tsc -v
This should display the version numbers of Node.js, npm, and TypeScript.
That's it! You've successfully installed Node.js and TypeScript on your Ubuntu Linux system using nvm. You can now start developing TypeScript applications with Node.js.
If you want to switch to Node.js version 14 for your previous projects using Node Version Manager (nvm), you can follow these steps:
1. Check available Node.js versions:
To see the list of Node.js versions available for installation, you can use the following command:
nvm ls-remote
This will list all the available Node.js versions. You can look for version 14 in the list.
2. Install Node.js version 14:
To install Node.js version 14, use the following command, replacing "14" with the version you want:
nvm install 14
This will download and install Node.js version 14.
3. Set Node.js version 14 as the default:
To set Node.js version 14 as the default version for your projects, use the following command:
nvm use 14
This will switch your current shell session to use Node.js version 14. If you want to make it the default for all new shell sessions, you can run:
nvm alias default 14
Now, Node.js version 14 is the default version, and you can use it for your previous projects.
4. Verify the Node.js version:
You can verify that Node.js version 14 is in use by running:
node -v
This should display the version of Node.js, which should be 14.x.x if the installation was successful.
That's it! You've now switched to Node.js version 14 using nvm, and you can use it for your previous projects.
To switch back to Node.js version 20.9.0 or any other version you were using, you can use Node Version Manager (nvm). Here are the steps to switch to version 20.9.0:
- List the available Node.js versions to see which versions are installed and available for use:
nvm ls
This will list the installed Node.js versions, and the currently active version will be indicated with an arrow.
- To switch to Node.js version 20.9.0, use the following command, replacing "20.9.0" with the specific version you want:
nvm use 20.9.0
This command will set the active Node.js version to 20.9.0.
- You can verify that you've switched to Node.js version 20.9.0 by running:
node -v
This should display the version number, which should be 20.9.0 if the switch was successful.
Now you are using Node.js version 20.9.0 for your projects. If you want to make this version the default for all new shell sessions, you can run:
nvm alias default 20.9.0
This will set version 20.9.0 as the default for new sessions.
You can use these commands to switch between different Node.js versions whenever you need to work on specific projects that require different Node.js versions.
============================================================
1-3 Write your first typescript program
Typescript config file
: tsc --init
then we ill get a tsconfig.json file, then we will edit it:
- search rootDir; then write typescritp file location in this rootDir
- search outDir, write path of my typescript file will store in which location.
some extra package. to run typescript code directly
1. Install ts-node-dev globally (recommended):
npm install -g ts-node-dev
2. Use npx (without installing globally):
ts-node-dev --respawn --transpile-only filelocation/filename.ts
npx ts-node-dev --respawn --transpile-only ./module1/src/index.ts
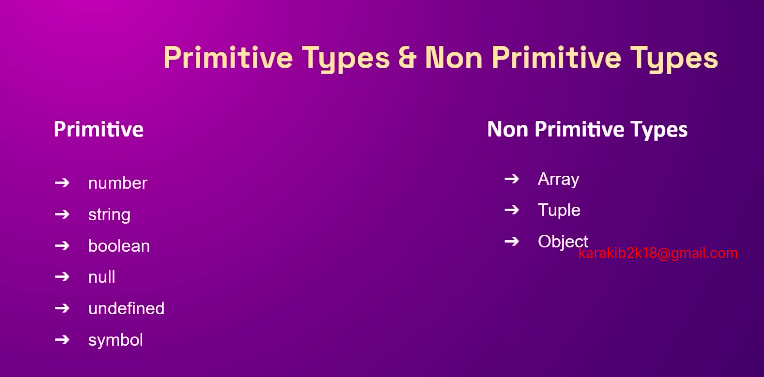
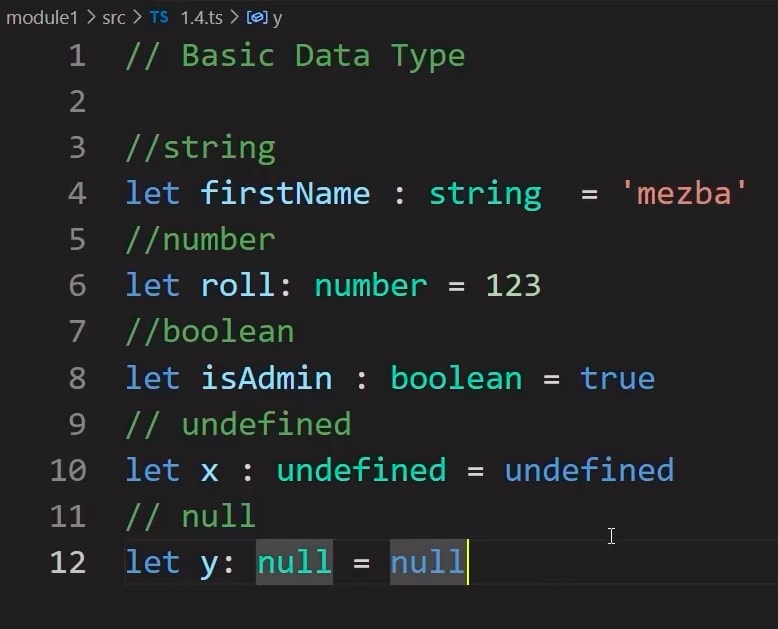
1-4 Basic data types
Certainly! Here are examples of various data types in TypeScript:
- Integer (int):
const age: number = 30;
- Floating-Point (float and double):
const pi: number = 3.14159;
- Boolean (bool):
const isTrue: boolean = true;
- Character (char):
In TypeScript, characters are represented as single-character strings:
const firstLetter: string = "A";
- String:
const greeting: string = "Hello, TypeScript!";
- Null:
const nullValue: null = null;
- Undefined (or None):
let undefinedValue: undefined;
- Void:
Functions with no return value have a void type:
   function sayHello(): void {
     console.log("Hello, world!");
   }
- Symbol:
const uniqueSymbol: symbol = Symbol("description");
-
Byte:
TypeScript doesn't have a specific byte data type, but you can work with bytes using
numberorUint8Array. -
Date and Time:
TypeScript can work with date and time using JavaScript's
Dateobject:
const currentDate: Date = new Date(); -
BigInteger and BigDecimal:
TypeScript supports large integers through the
BigInttype:
const bigIntValue: bigint = 1234567890123456789012345678901234567890n; -
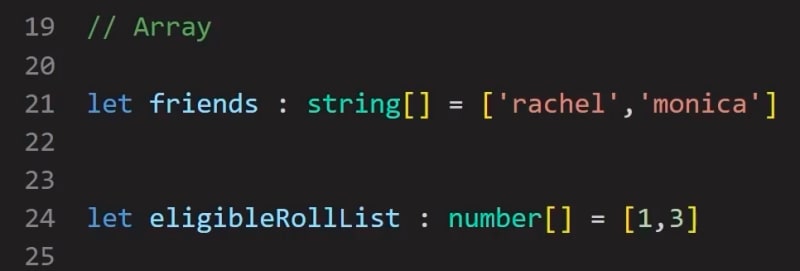
Array:
Arrays in TypeScript can hold multiple values of the same data type:
const numbers: number[] = [1, 2, 3, 4, 5]; -
Tuple:
Tuples allow you to specify the types and order of elements in a fixed-size collection:
const person: [string, number] = ["Alice", 30]; -
Enum:
Enums define a set of named constant values:
enum Color { Red, Green, Blue, } const selectedColor: Color = Color.Red; -
Any:
The
anytype is used when you want to opt out of TypeScript's type checking or when dealing with dynamic types:
let dynamicValue: any = 42; dynamicValue = "Hello, World!"; -
Union Types:
Union types allow variables to hold values of multiple types:
let mixedValue: number | string = 42; mixedValue = "Hello, World!"; -
Intersection Types:
Intersection types combine multiple types into one, allowing access to properties of each type:
type Employee = { name: string; role: string }; type Manager = { reports: number }; type ManagerEmployee = Employee & Manager; const manager: ManagerEmployee = { name: "Alice", role: "Manager", reports: 5 }; -
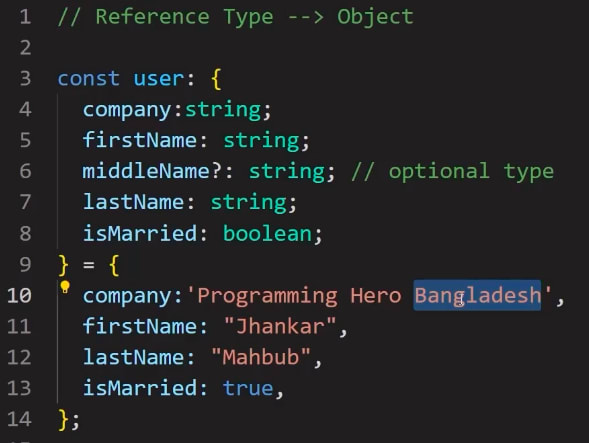
Object:
The
objecttype represents non-primitive values, such as functions, arrays, and objects:
const user: object = { name: "Alice", age: 30 }; -
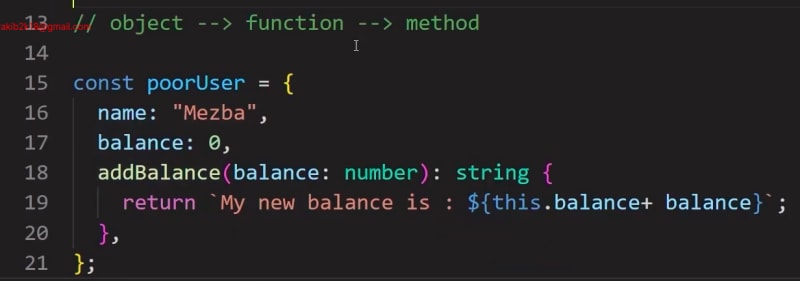
Function:
Functions in TypeScript can be defined with specific parameter and return types:
const add: (x: number, y: number) => number = (x, y) => x + y;
These examples cover a wide range of basic data types and type annotations available in TypeScript. Each type has its own specific use cases, and TypeScript's strong type system helps catch type-related errors and improve code quality.
In TypeScript, you can work with various basic data types, including:
These are the basic data types in TypeScript. Additionally, TypeScript supports more advanced types such as object, any, void, null, and undefined, as well as user-defined types like enum, tuple, and union types to handle a wide range of data in a strongly typed manner.
- Number: Used for numeric values (integers and floating-point numbers).
   let age: number = 30;
   let pi: number = 3.14;
- String: Used for text and character data.
   let name: string = "John";
   let message: string = 'Hello, TypeScript!';
- Boolean: Represents true or false values.
   let isStudent: boolean = true;
   let isWorking: boolean = false;
- Array: Used to store collections of values, and you can specify the type of elements it contains.
   let numbers: number[] = [1, 2, 3, 4, 5];
   let fruits: string[] = ["apple", "banana", "cherry"];
1-5 Object , Optional and Literal
Here are examples of TypeScript data types and features related to objects, optional properties, and literals:
- Object Type:
TypeScript allows you to define object types to represent structured data with specific properties and their types.
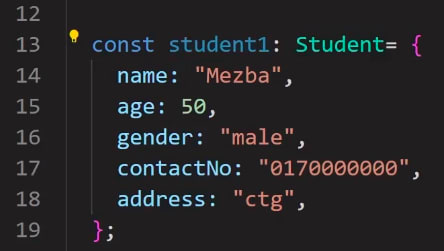
   const person: { name: string; age: number } = {
     name: "Alice",
     age: 30,
   };
- Optional Properties:
You can specify optional properties in object types using the ? symbol.
   const user: { name: string; age?: number } = {
     name: "Bob",
     // Age is optional, so it can be omitted
   };
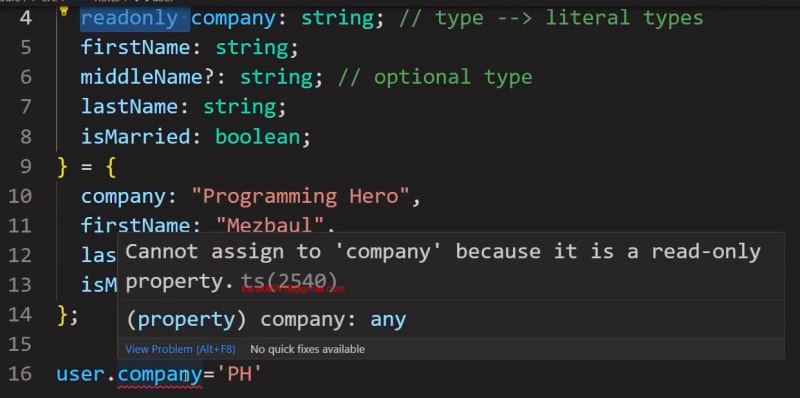
- Literal Types:
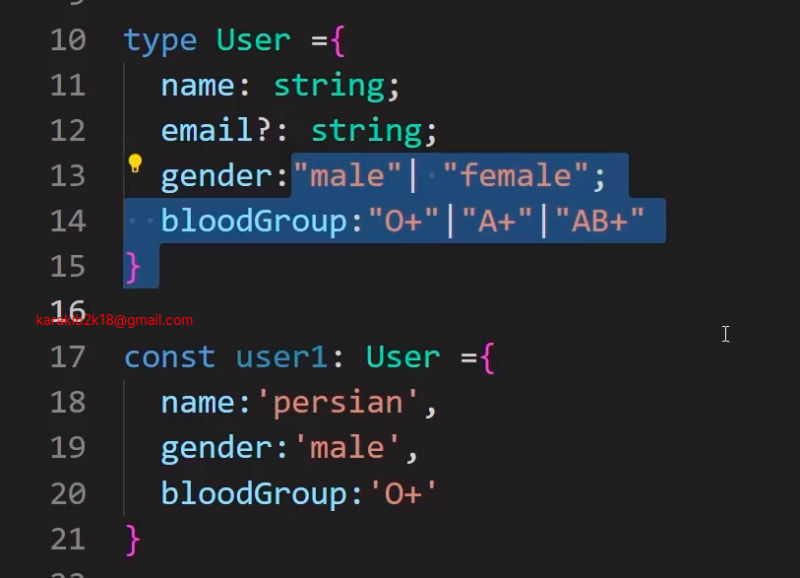
TypeScript allows you to define literal types where a variable can only have a specific, literal value.
const status: "active" | "inactive" = "active";
- Object with Optional and Literal Properties:
You can combine object types, optional properties, and literal types.
   const person: { name: string; age?: number; status: "active" | "inactive" } = {
     name: "Charlie",
     status: "active",
   };
- Type Alias:
You can create type aliases for object types to make your code more readable.
   type Person = { name: string; age?: number };
   const user: Person = {
     name: "David",
     // Age is optional
   };
- Interface:
Interfaces are similar to type aliases but are often used when defining the shape of objects.
   interface Product {
     name: string;
     price: number;
   }
   const item: Product = {
     name: "Widget",
     price: 10.99,
   };
- Record Type:
You can use the Record type to define object types with specific keys and their associated value types.
   const phonebook: Record<string, string> = {
     Alice: "555-1234",
     Bob: "555-5678",
   };
1-6 Function in typescript
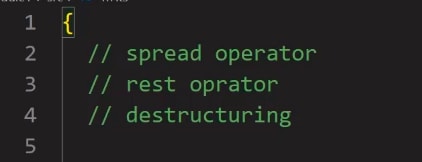
1-7 Spread and Rest Operator
Certainly! Here are examples of the spread and rest operators in TypeScript:
- Spread Operator:
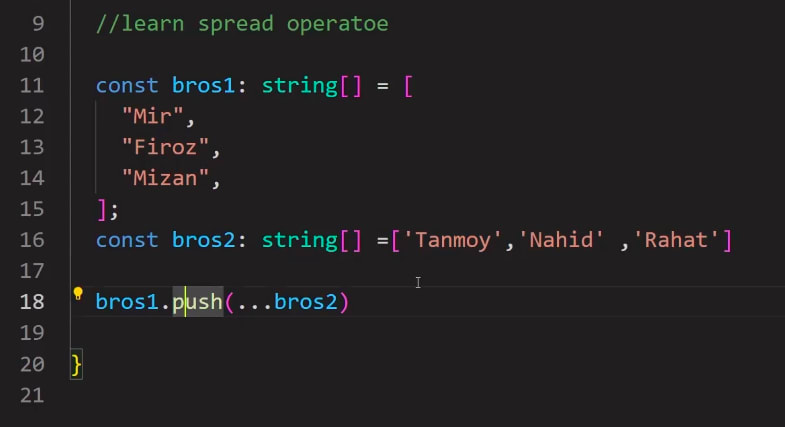
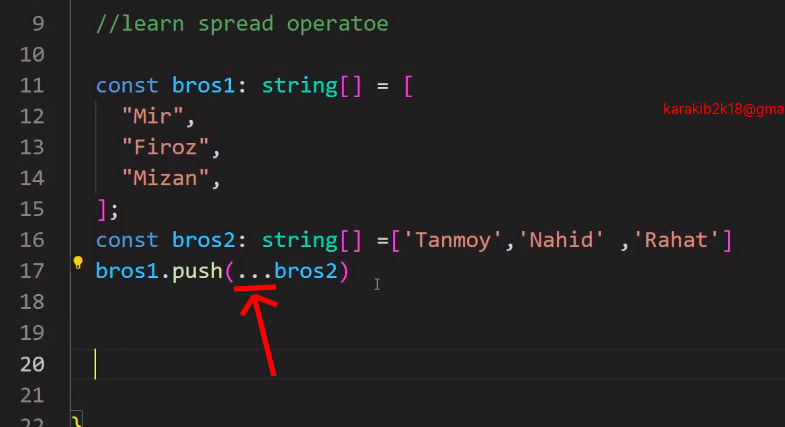
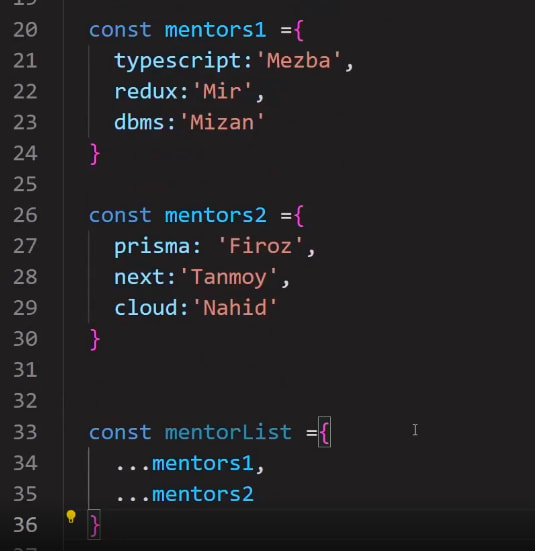
The spread operator, denoted by ..., is used to split an array or object into individual elements. It can be used to create new arrays or objects by combining existing ones.
-
Array Spread:
const arr1: number[] = [1, 2, 3]; const arr2: number[] = [4, 5, 6]; const combinedArray: number[] = [...arr1, ...arr2]; -
Object Spread:
 const person = { name: "Alice", age: 30 };
 const additionalInfo = { city: "Wonderland" };
 const combinedPerson = { ...person, ...additionalInfo };
- Rest Operator:
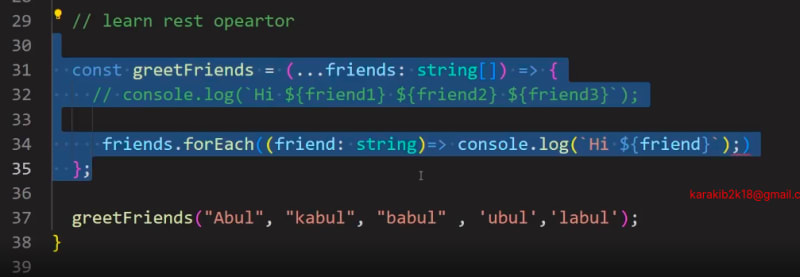
The rest operator, also denoted by ..., is used to collect multiple values into an array. It is often used in function parameters to handle a variable number of arguments.
-
Rest Parameters in Functions:
function sum(...numbers: number[]): number { return numbers.reduce((total, num) => total + num, 0); } const result1: number = sum(1, 2, 3, 4, 5); // Result: 15 -
Rest Elements in Arrays:
 const [first, second, ...rest] = [1, 2, 3, 4, 5];
 console.log(first); // 1
 console.log(second); // 2
 console.log(rest); // [3, 4, 5]
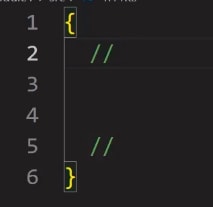
{
typescript can acess all function globally. so we can use {bracket} in a ts file, then wont access same function globally.
}
1-8 Destructuring in typescript
Destructuring is a powerful feature in TypeScript that allows you to extract values from arrays and objects and assign them to variables. Here are examples of destructuring in TypeScript:
- Array Destructuring:
You can destructure arrays to extract individual values and assign them to variables:
   const numbers: number[] = [1, 2, 3, 4, 5];

   const [first, second, ...rest] = numbers;

   console.log(first); // 1
   console.log(second); // 2
   console.log(rest); // [3, 4, 5]
- Object Destructuring:
Object destructuring allows you to extract properties from objects and assign them to variables with the same name:
   const person = {
     name: "Alice",
     age: 30,
     city: "Wonderland",
   };

   const { name, age } = person;

   console.log(name); // "Alice"
   console.log(age); // 30
- Renaming Variables in Object Destructuring:
You can also rename variables while destructuring objects:
   const person = {
     name: "Bob",
     age: 25,
   };

   const { name: fullName, age: years } = person;

   console.log(fullName); // "Bob"
   console.log(years); // 25
- Default Values in Object Destructuring:
You can provide default values for object properties that might not exist:
   const person = {
     name: "Charlie",
   };

   const { name, age = 30 } = person;

   console.log(name); // "Charlie"
   console.log(age); // 30
- Nested Destructuring:
Destructuring can also be used with nested objects:
   const student = {
     name: "David",
     details: {
       age: 21,
       major: "Computer Science",
     },
   };

   const { name, details: { age, major } } = student;

   console.log(name); // "David"
   console.log(age); // 21
   console.log(major); // "Computer Science"
...rest
1-9 Type alias in typescript
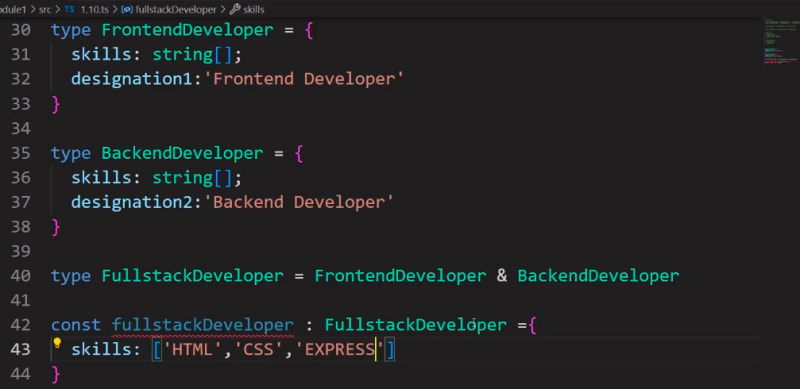
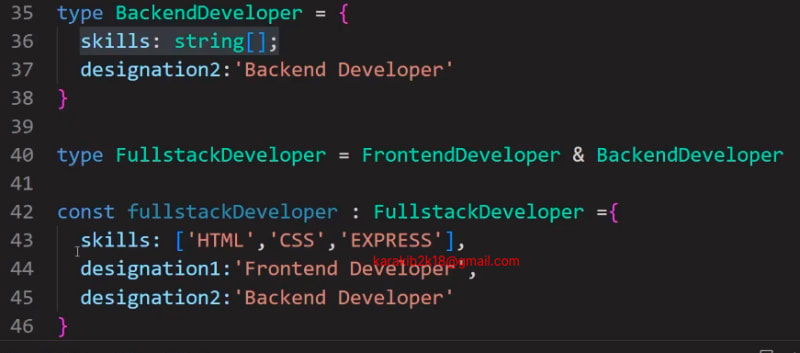
1-10 Union and Intersection types
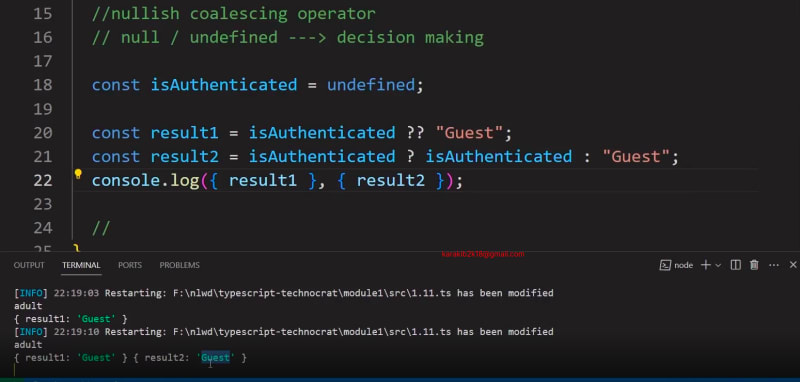
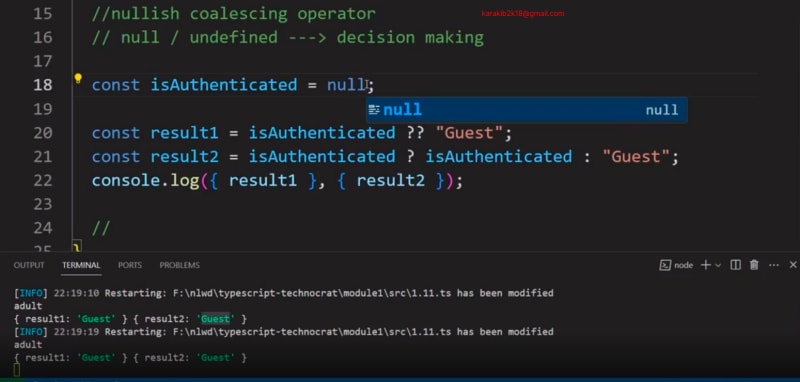
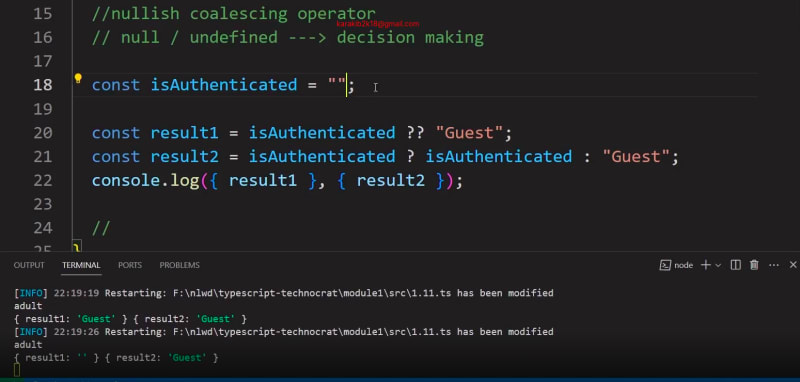
1-11 Ternary, optional chaining & nullish coalescing operator
1. nullish operator(??) its works for Null and undefined. not for "" .
1-12 Never,unknown and nullable type
Certainly! Here are examples of TypeScript data types and features related to never, unknown, and nullable types:
-
neverType:
The never type represents values that never occur. It is often used to indicate that a function will never return normally or that a variable cannot have a value.
   function throwError(message: string): never {
     throw new Error(message);
   }

   function infiniteLoop(): never {
     while (true) {
       // Infinite loop
     }
   }
-
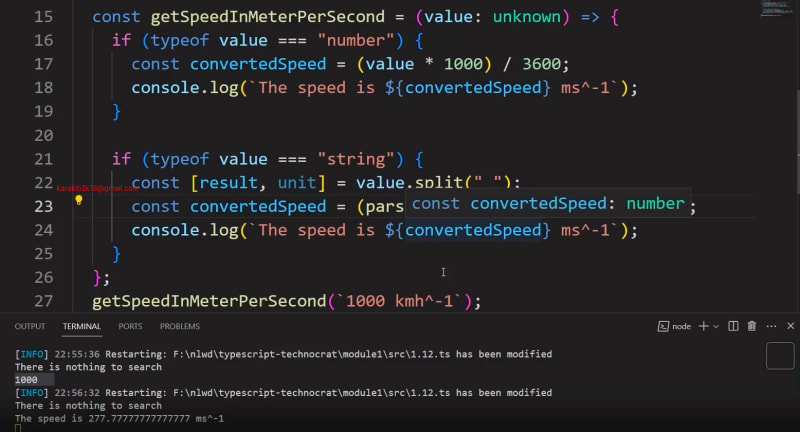
unknownType:
The unknown type is a type-safe counterpart to any. Variables of type unknown can hold values of any type, but you must perform type checks before using them.
   let userInput: unknown;
   let username: string;

   userInput = "Alice";
   if (typeof userInput === "string") {
     username = userInput;
   }
- Nullable Types:
TypeScript allows you to make a type nullable using the null and undefined values.
   let numberOrNull: number | null = null;
   let stringOrUndefined: string | undefined = "Hello";
-
Using
nullandundefinedTogether:
You can create a type that allows both null and undefined values.
let value: number | null | undefined = null;
-
Type Assertion for
unknown:
When working with unknown, you can use type assertions to tell TypeScript to treat a value as a specific type.
   let userInput: unknown = "Bob";
   let username: string = userInput as string;
- Strict Null Checks:
TypeScript's strict null checks prevent variables from being used before being checked for null or undefined, reducing the risk of runtime errors.
   let possiblyNull: string | null = null;
   // Error: Object is possibly 'null'.
   console.log(possiblyNull.length);
- Non-Nullable Assertion:
You can use the non-nullable assertion operator ! to tell TypeScript that a value is not null or undefined.
   let definitelyNotNull: string | null = "Carol";
   let length: number = definitelyNotNull!.length; // No error
These examples showcase TypeScript's never, unknown, and nullable types, which provide more control over types, safer code, and improved handling of optional and potentially missing values.
- Nullable type

- unknown type
 3.Never

















Top comments (1)