While in the process of creating a wallpaper automation project using python, I found the easiest way to change the wallpaper on my MacBook was using AppleScript. The command I found was:
# the %s is the path to an image file stored locally
command = """/usr/bin/osascript<<END
    tell application "Finder"
        set desktop picture to POSIX file "%s"
    end tell
    END"""
Digging into this code, the beginning path directs to the osascript file which allows us to run AppleScript and other OSA language scripts. Then the code is fairly self-explanatory: I tell the application Finder to set the desktop wallpaper to a file saved on our computer. I then end the tell and and the script.
Given how easy the script was to read and understand, my curiosity of AppleScript was piqued. So I decided to learn some basic commands and keywords in AppleScript to make automation on my Mac easier in the future.
AppleScript Editor
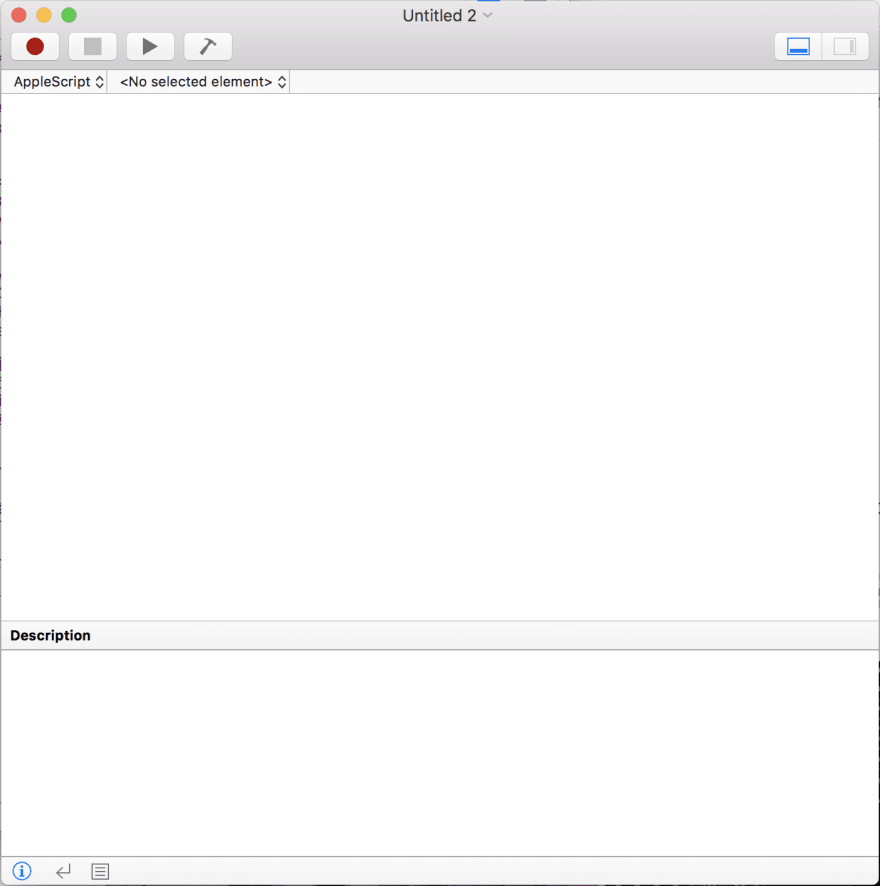
To begin playing around with AppleScript, the Mac has an application under Applications/Utilities called Script Editor. Open that up and you should see the following:
If there is already a script written in the main body, just open a new window using ⌘N or File>New. Once the body is blank, we're ready to start scripting.
Once we have a script written, we can compile the code using the hammer icon (saving the file also compiles the code) and press the play button to run the script.
Hello World!
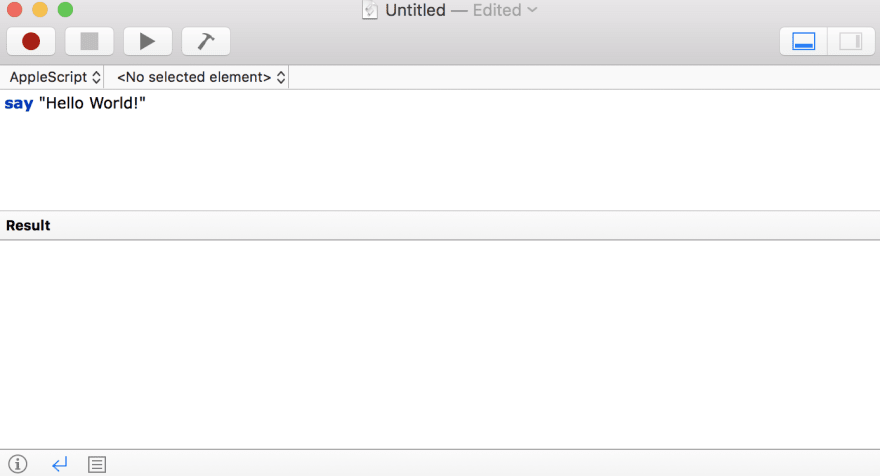
AppleScript has the command 'say' that will audibly say the string we type after. Try it out by typing say and whatever string in quotations you want your computer to say, compiling the code, and pressing play. Your Mac should have the default voice speak whatever you typed in quotes.
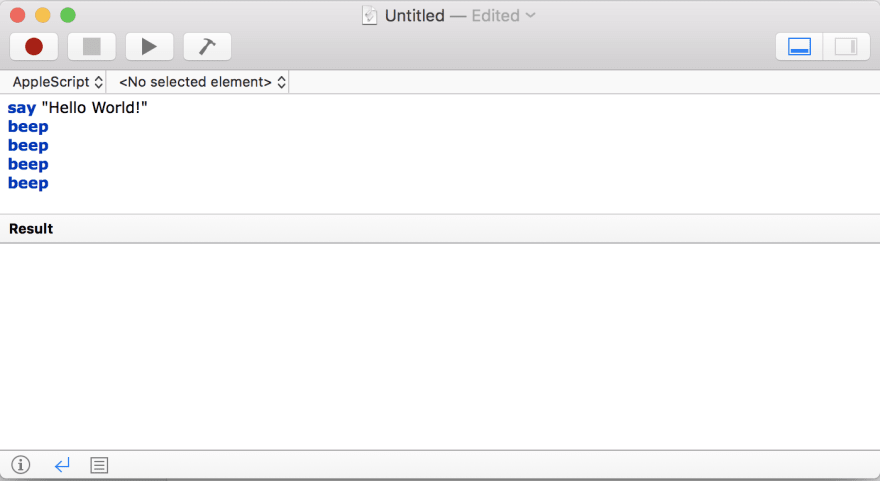
Apple has another way of saying "Hello World" with it's recognizable muted 'beep' sound. Try trying the word beep on a new line and running the script.
Popup 'OK' or 'Cancel' Options
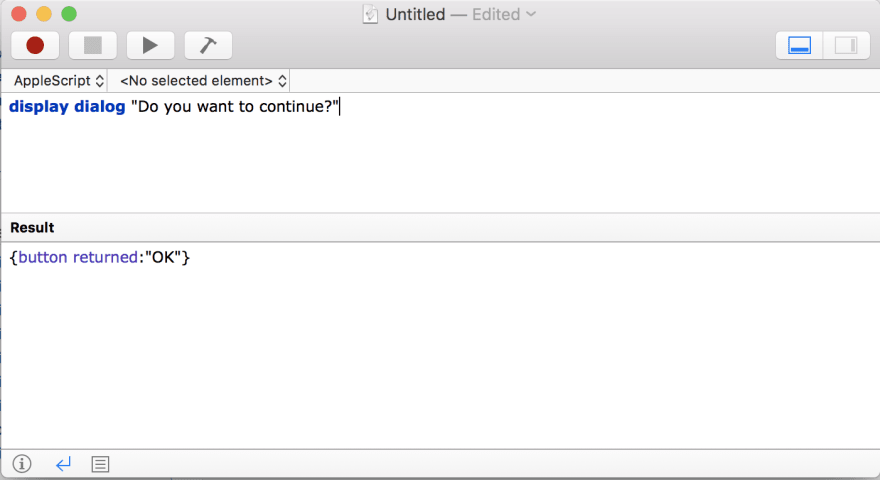
We can also use the 'display dialog' command to open up an option menu for the user to select OK or Cancel.
When the code is run, a window will pop up. Try running the code twice so you can see the difference in output depending on the selection. There are many use cases where you may want to receive confirmation before completing a task, and this command makes that process a snap.
Variables
We can also create and assign variables in AppleScript. The syntax looks like:
set myName to "Laura"
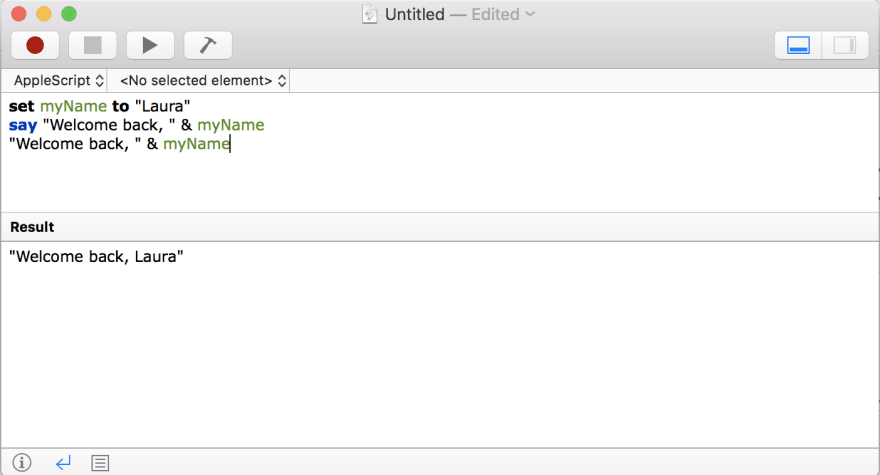
After setting this variable, I can add it to strings using the & operator. In the following script, I use the say command so my computer says "Welcome back, Laura" as well as printing it out to the results on line 3 (note that we don't use print or any other keyword).
Interacting with Applications
In the script I used to change wallpaper, I interacted with an application - Finder. We can use AppleScript to interact with any scriptable applications on a Mac. Here is a link to all the key codes AppleScript uses that make interacting with applications easier as well as notes on using the command 'keystroke' instead. Using these key codes, we can go to specific websites, input information, click on items, search for info, etc. Basically anything we can do manually using our keyboards we can do through AppleScript.
In order to open an application, the command 'activate' is used.
tell application "iTunes" to activate
activate application "Spotify"
Both of the commands above are a valid way to open an application and/or bring it to the front. To run commands through an application, we use the command 'tell.'
tell application "Finder"
    set desktop picture to POSIX file "%s"
end tell
To change desktop wallpaper on a Mac, we tell Finder to set the desktop picture to a image file at a given path. We then end the tell. We can run multiple commands within the tell block. Different scritable applications accept different commands.
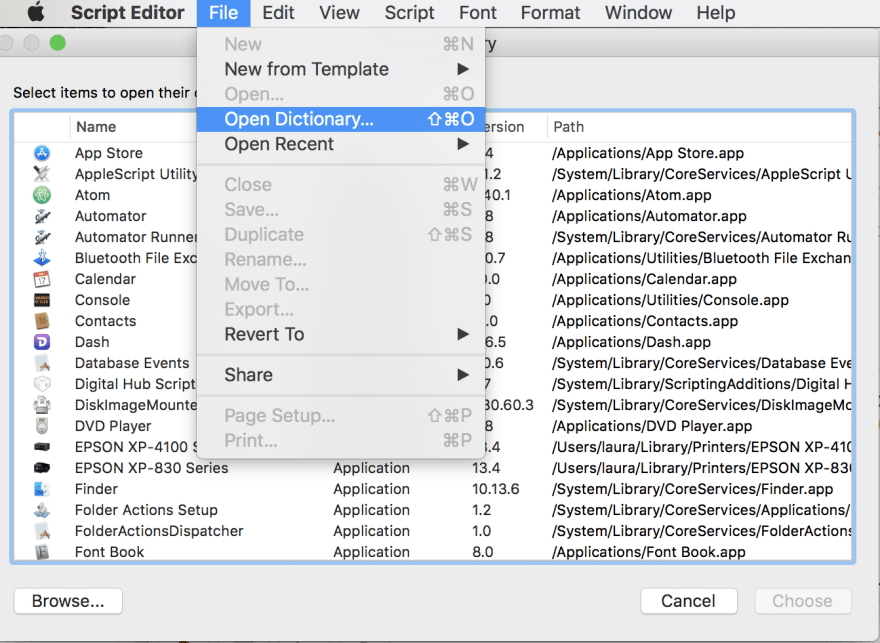
In order to know what applications are scriptable and what commands we can use, all we need to do is open the dictionary included in the Script Editor.
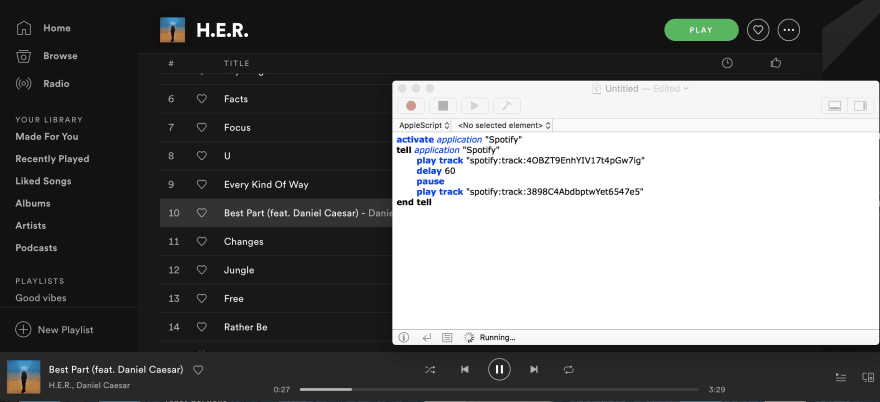
I have Spotify downloaded and it's included in the dictionary, so I will use that as an example. There are a lot of commands that listed in the dictionary, but I'm going to use play track and pause. Using play track instead of just play, I can specify a specific song or album using unique Spotify URIs. these can be found by right clicking on a song or album, navigating to share, and then copy Spotify URI. I will also be utilizing delay which telling AppleScript to wait a given number of seconds before executing the next line.
activate application "Spotify"
tell application "Spotify"
    play track "spotify:track:4OBZT9EnhYIV17t4pGw7ig"
    delay 60
    play track "spotify:track:3898C4AbdbptwYet6547e5"
end tell
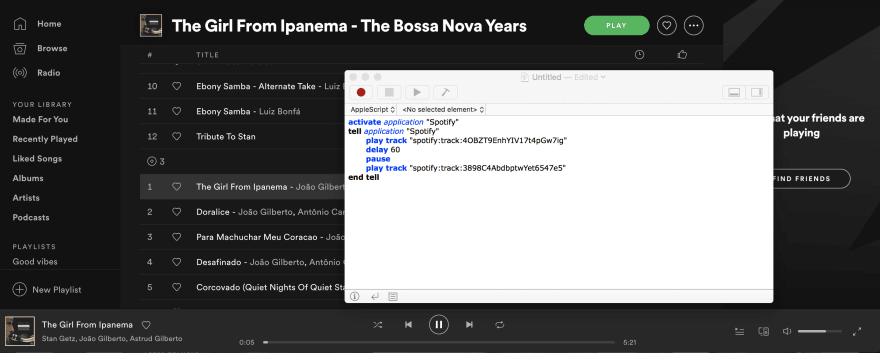
After 60 seconds, Best Part by H.E.R is paused. Then we tell Spotify to play "The Girl from Ipanema" by João Gilberto and Astrud Gilberto.
Note that we don't actually need to pause the previous song to switch. That line is only there to show another command in Spotify.
If you have any favorite uses of AppleScript, let me know in the comments! I've just begun exploring the documentation and am excited to continue deepening my AppleScript knowledge.
If you're curious about what can be done using Google Chrome, here is a fun video about using AppleScript to automate following users on Instagram through a Chrome browzer. Disclaimer, I don't recommend botting on Instagram and neither does the video.




Top comments (4)
Indeed an interesting read, I was trying to play around with Spotify by writing a script that could notify the user about the next song by skiping the current track using the next track function but it did not update the current track field. It would be fun to know how would you approach this 😁
I'm glad you enjoyed reading! I think I'd have to see your code to understand the problem better. However, from videos and tutorials I've watched, it seems AppleScript is sometimes harder to predict what the outcome actually will be which makes debugging interesting. I know a lot of code requires added delays in order for the program to execute all the commands in the sequence we expect.
Using delay did fix the problem, I couldn't figure what the issue was all this while without this post! 😂😁
Here is the working code snippet!
Awesome! I'm glad delay fixed it.