This article is part of this years C# Christmas Advent Calendar. Go check it out (after you have read this).
Having scratched an itch and played around with ML.NET to generate an image classification model offline/locally to create GoodyOrBaddy.com I wanted to see how easy it would be to create an image classification model using CustomVision.ai online.
This time, continuing my belief that it is better to create a use case that interests you, (and because i'm starting to get in the festive mood) I wanted to see if I create a model that can discern between images of Christmas Trees and images of Regular Trees.
I had never used CustomVision.ai before so this was as good as use case as any to try it out.
Disclaimer: I am not an expert in AI/ML or Data Science, this is an experiment/side project.
TL;DR;
If you just want to watch the end-to-end process of me training the model then testing it and consuming it from Postman and a website, rather than read about the process.. see this video I created on YouTube (and don't forget to subscribe).
Get the training images
I decided to start with obtaining 20 images of Christmas trees and 20 images of regular trees, assuming that the training tool would make me provide more images for the training sets. (Spoiler: It didn't).
Get the test images
It is important to mention that non of the test images were used in the training data sets. I also decided to gather some 'interesting/unusual' edge case images of Christmas trees to see if I could trick the model.
Step 1: Create the project
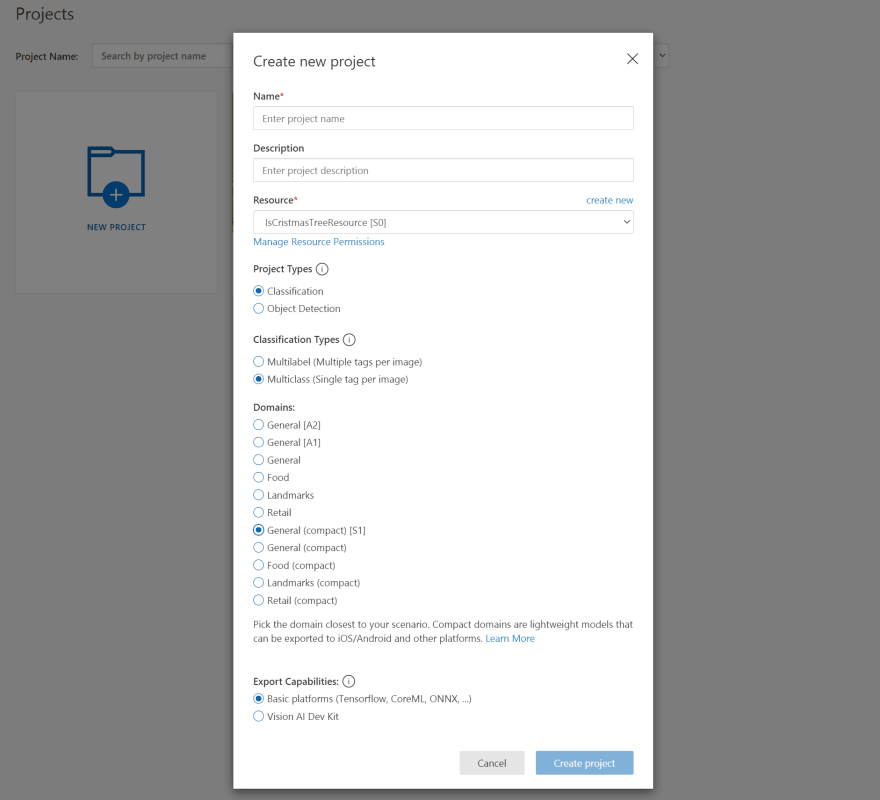
Head on over to CustomVision.ai and create the project. You will need to provide a Name for your project and choose which online resource you want to use.
For this example I used
Project Types: Classification
Classification Types: Multiclass
Domains: General (compact) [S1]
Export Capabilities: Basic platforms
Step 2: Upload & tag the images
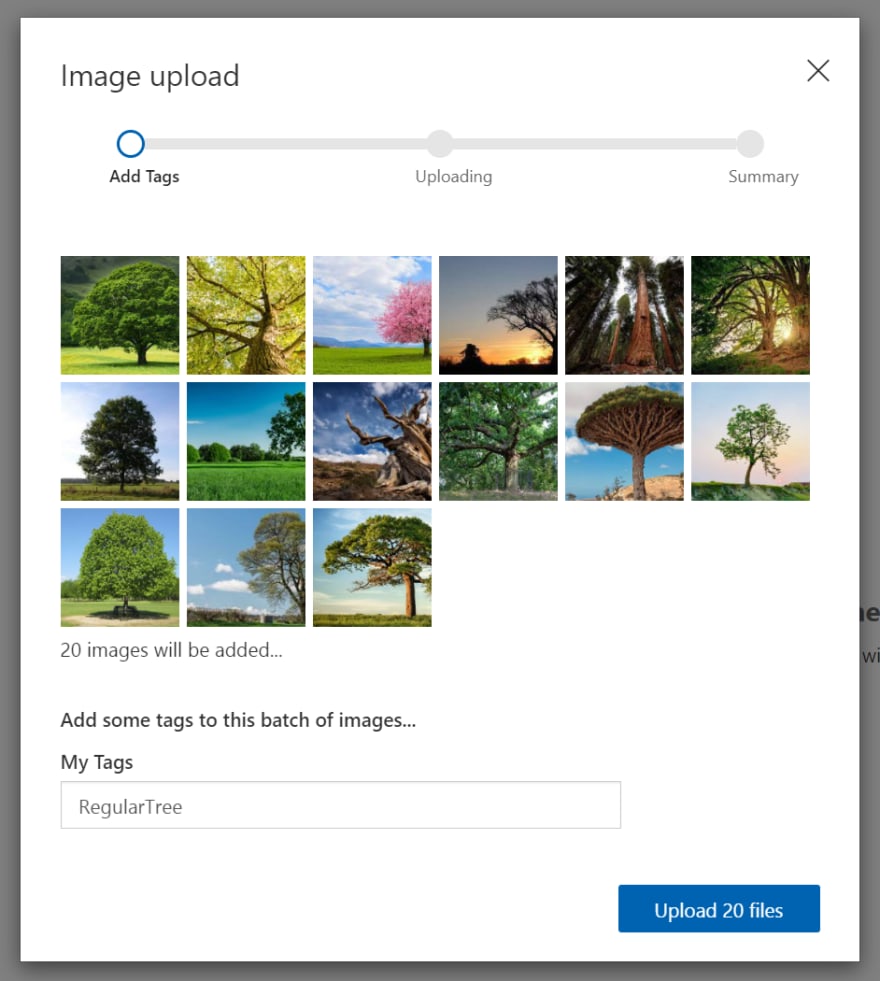
After you have created the project, you need to upload each set of training images. When you do this it will ask you to provide a tag for these images. I found this process super slick.

Step 3: Train the model
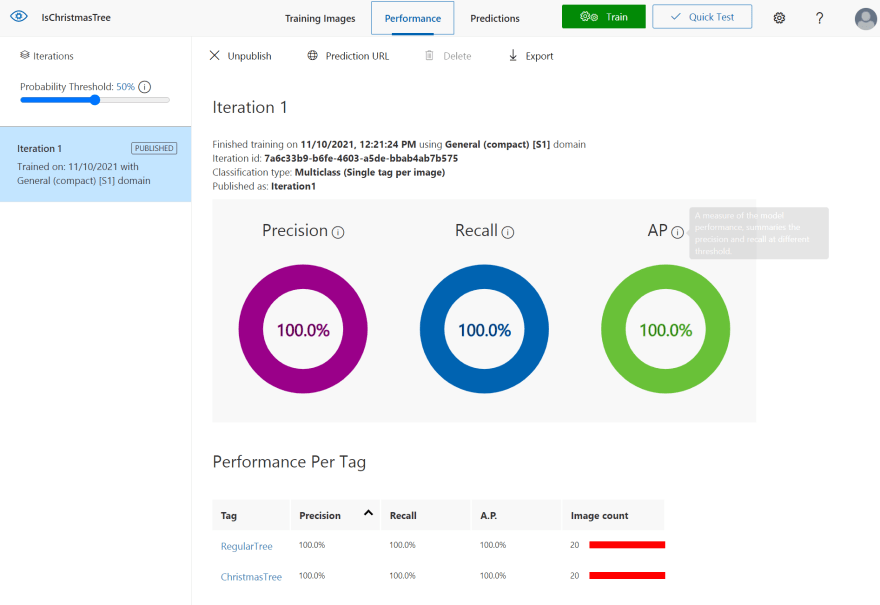
Once you have created your two sets of labelled images, you'll need to go ahead and train the model by pressing the green Train button at the top of the scree. (I usually select Quick Training).
Step 4: Test the model
You should now have a model ready for us to test, so go ahead and press the Quick Test button at the top of the screen, and either provide a url to an online image or (as I prefer), browse and upload a local file to test. The model should analyse the image and show the results.
Step 5: Publish the model
After you have tested the model, before you can start consuming it elsewhere, you will need to hit the Publish button on the Performance tab at the top of the screen. You will now be able to get the public endpoint url for your image classification prediction API.
Step 6: Call endpoint with Postman
We now have an endpoint that we can call, so let's do that with Postman. Provide it with the endpoint url, key and application type. Then provide an image as the body, execute and check the returning information.

Step 7: Hook into website
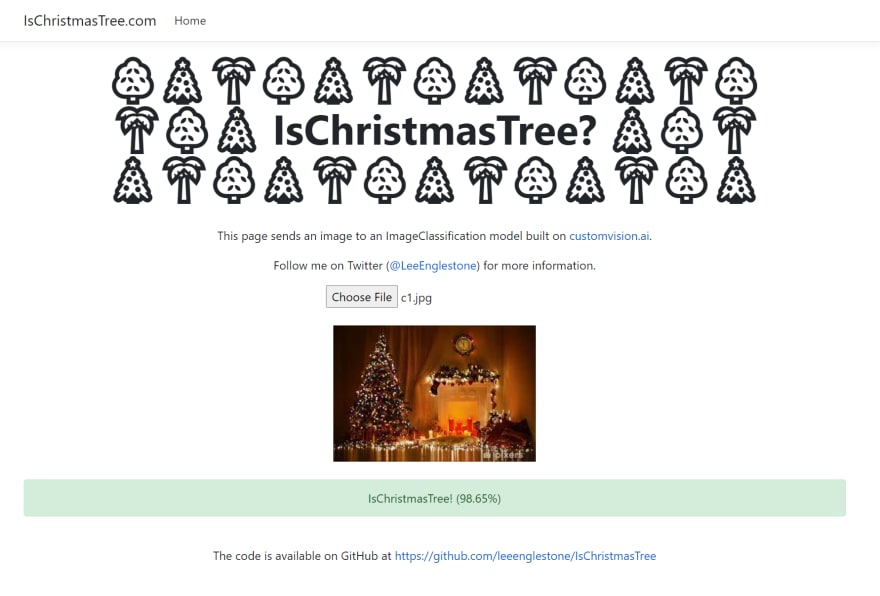
Now that we have confirmed that the endpoint can be called, an image passed to it, and a result returned, let's hook it up
So this code is on GitHub if you want to go and check it out and try it locally.
var openFile = function (file) {
            var input = file.target;

            var reader = new FileReader();
            reader.onload = function () {
                var dataURL = reader.result;

                $('#output').attr('src', dataURL).fadeIn();

                var parts = dataURL.split(';base64,');
                var contentType = parts[0].split(':')[1];
                var raw = window.atob(parts[1]);
                var rawLength = raw.length;

                var uInt8Array = new Uint8Array(rawLength);

                for (var i = 0; i < rawLength; ++i) {
                    uInt8Array[i] = raw.charCodeAt(i);
                }

                var imgContent = new Blob([uInt8Array], { type: contentType });

                $.ajax({
                    url: "PROVIDE_YOUR_OWN_PREDICTION_API_URL",
                    beforeSend: function (xhrObj) {

                        xhrObj.setRequestHeader("Prediction-Key", "PROVIDE_YOUR_OWN_PREDICTION_KEY");
                        xhrObj.setRequestHeader("Content-Type", "application/octet-stream");

                        $('#isChristmasTree').fadeOut();
                        $('#isRegularTree').fadeOut();
                    },
                    type: "POST",

                    data: imgContent,
                    processData: false
                })
                    .done(function (data) {

                        console.log(data);

                        var prediction1Name = data.predictions[0].tagName;
                        var prediction2Name = data.predictions[1].tagName;

                        var prediction1Probability = data.predictions[0].probability * 100;
                        var prediction2Probability = data.predictions[1].probability * 100;

                        if (prediction1Probability > 0.50 && prediction1Name === "ChristmasTree") {
                            $('#isChristmasTree').html('IsChristmasTree! (' + prediction1Probability.toFixed(2) + '%)').fadeIn();
                        }
                        else {
                            $('#isRegularTree').html('IsRegularTree! (' + prediction1Probability.toFixed(2) + '%)').fadeIn();
                        }
                    })
                    .fail(function () {
                        alert("error");
                    });
            };

            reader.readAsDataURL(input.files[0]);
        };
Summary
I was very surprised by how accurate the model is considering I only trained it with 20 images of regular trees, 20 images of Christmas trees and threw some fairly difficult edge cases at it.
I recommend you experiment with this yourself. What will you create? How about a Flag or Biscuit image classifier?
I'd readily implement CustomVision.ai into a production / live project from what I've seen when experimenting with it.
If you want to hear about similar interesting projects, follow me on Twitter and YouTube
Happy Holidays!
-- Lee


Top comments (1)
This all looked much easier than I was expecting. Now you've excited me I need to get in and try this. It's amazing how much easier hotdog/not hotdog has become over the years.