Klaviyo is a popular marketing automation software tool that empowers its customers to build campaign automation by
syncing their tech stack with their ecommerce store to scale their communications and business. While it has traditionally served as a great resource for automated email and SMS, direct mail has historically been missing from the equation.
But marketers now have a solution: integrating Lob’s direct mail APIs. Klaviyo can connect to Lob to automate direct mail at scale in the same manner that they are automating their digital channels today: Klaviyo’s webhook functionality within their Flows interface provides an easy connection point to trigger mailpieces.
Read on for a walkthrough of exactly how to connect Klaviyo with Lob.
Getting started
We’ll assume you have a Klaviyo account and you have already registered with Lob (to get your API Keys) to follow along.
In order to send mail from Klaviyo, Lob requires a mailing address to be stored for each profile. Klaviyo does not require mailing addresses by default, so before attempting to send mail, ensure that your recipient profiles contain properties for:
- Address
- City
- State
- Zip Code
If you are importing new profiles to Klaviyo, simply ensure that you have CSV columns for each of those properties. An example CSV to import Profiles is linked here.
Creating a Flow
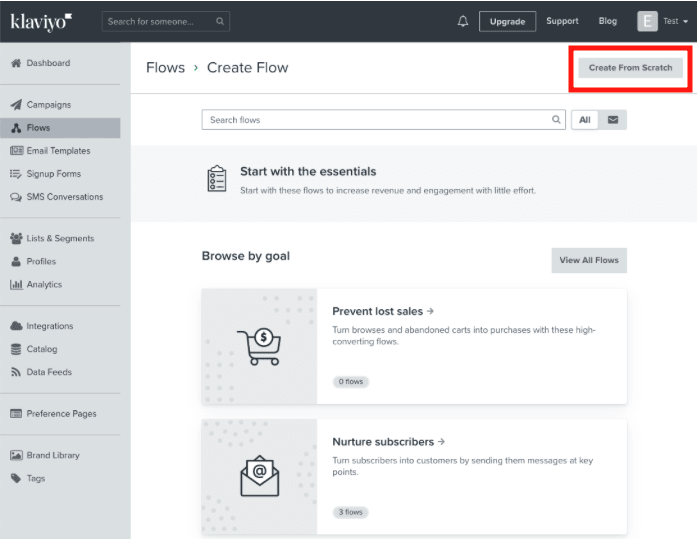
In the Klaviyo dashboard’s left-hand panel, click on Flows.
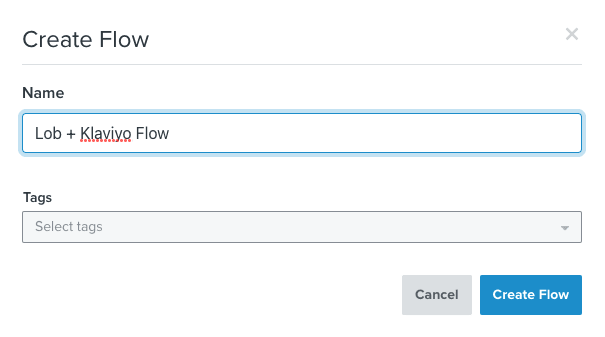
Click to Create Flow, then select a predefined goal, or click Create From Scratch and give your flow a name.
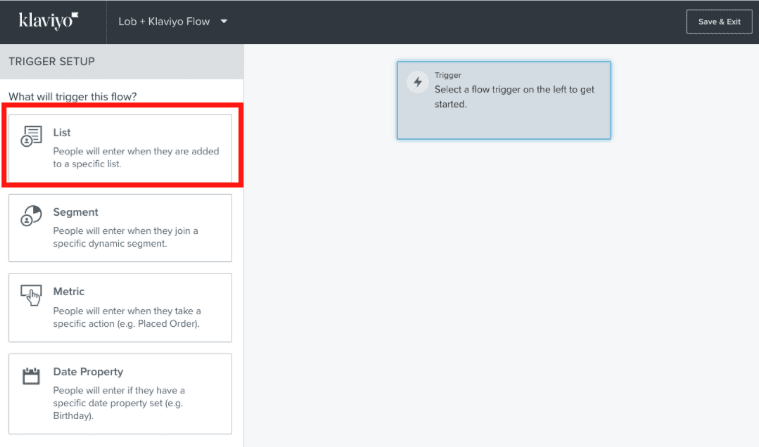
Choose a Trigger Setup option in the left panel. For this example, we will be selecting List, and choosing a list from the resulting drop-down to trigger the flow.
Create Webhook
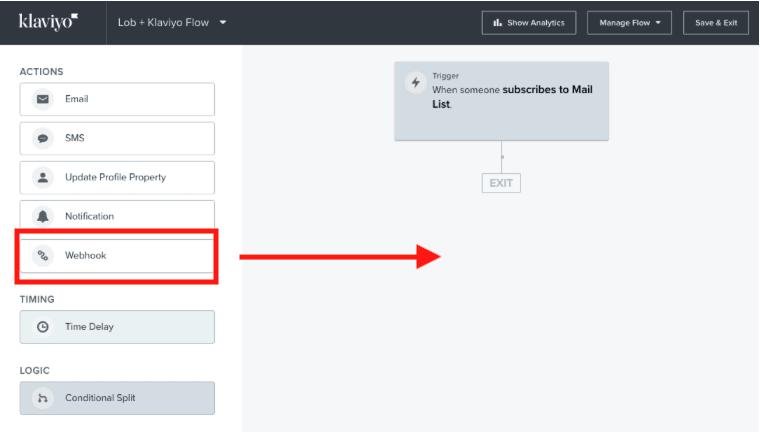
Once you have configured your trigger, an Actions menu will appear on the left panel. Select Webhook, and drag it into your flow beneath the trigger.
Select the Webhook in your Flow, and the configuration panel will appear on the left side. You can configure it as follows:
Destination URL: This is where you will enter the Lob API URL for the form factor you would like to trigger. In this example we’ll choose postcards: https://api.lob.com/v1/postcards. (Note that Lob has separate endpoints for postcards, letters, checks, and self-mailers.)
Headers: This is where you will enter the headers Lob requires in order to correctly process and authenticate the incoming requests. You will be required to enter at least two headers: Content-Type and Authorization. Click Add Header.
For Content-Type Header, enter the following:
Key: Content-Type
Value: application/json
For Authorization, you will need your API Keys.
Adding API Key
For the Authorization header, you will need to have your Base64-encoded Lob API key ready to enter, so Lob can associate the request with your account. Retrieve these credentials from your Lob dashboard by clicking on the Settings menu on the sidebar, then clicking on the API Keys tab.
IMPORTANT: ENSURE YOU ARE USING YOUR TEST API KEY.
You can use a Base64 Encoder tool to encode your (test) API Key.
For example, if your API key was test_0dc8d51e0acffcb1880e0f19c79b2f5b0cc, you would enter test_0dc8d51e0acffcb1880e0f19c79b2f5b0cc: into a Base64 Encoder tool, the result of which would be something like dGVzdF8wZGM4ZDUxZTBhY2ZmY2IxODgwZTBmMTljNzliMmY1YjBjYzo=
Note that we added a “:” to the end of the API key before encoding it, please ensure you do the same.
Once you’ve encoded your API key, add the Authorization Header and use the encoded key as the value. For example:
Key: Authorization
Value: Basic dGVzdF8wZGM4ZDUxZTBhY2ZmY2IxODgwZTBmMTljNzliMmY1YjBjYzo=
JSON body
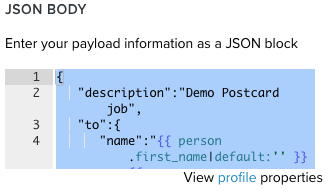
This is where you will pass Lob the information that informs the mailpiece. The field names (name, address_line1, etc.) represent the information that Lob’s API will require. The values on the right represent what you will pass to Lob to populate the given field.
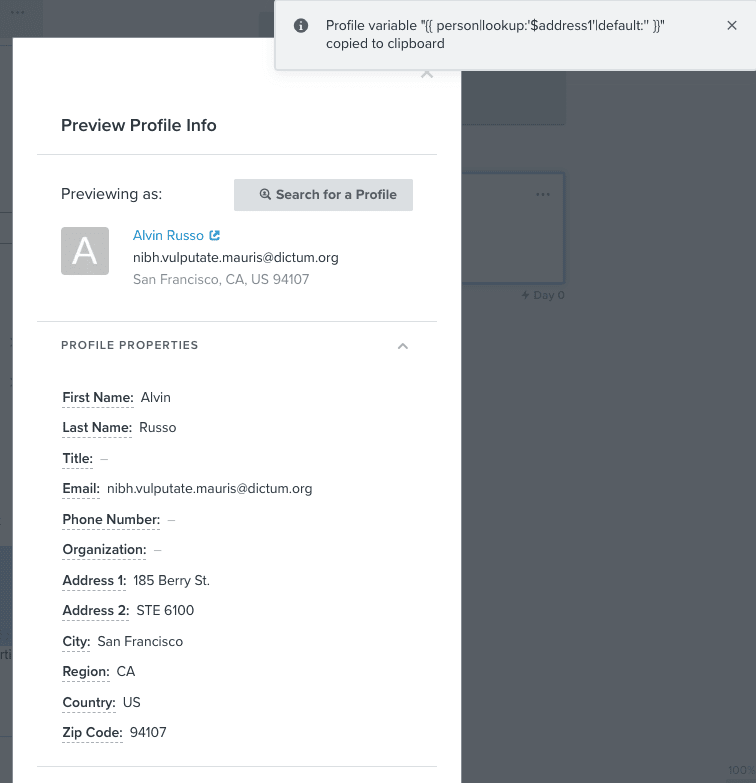
The values can be mapped to attributes from Klaviyo profiles by using Klaviyo’s Profile Variables. You can find the Profile Variables for each attribute by taking the following steps:
First, click on the linked word profile in ‘View profile properties’, directly beneath the JSON Body input field.
This will pull up an example Profile. Clicking on an attribute will automatically copy the corresponding Profile variable, which you can use to populate the appropriate value in the JSON Body.
An example of a populated JSON Body could look something like the following. (You can find more information on each of these fields in Lob’s API documentation.)
Update Creative
Note that if you are copying the above example, you will want to replace the values being passed for ‘front’ and ‘back’ with your own Lob template IDs or linked creative. For example:
(For more about designing/formatting creative for Lob, go here.)
Testing
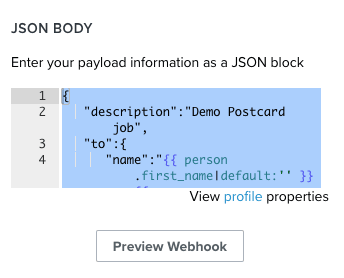
You can test that your webhook is configured correctly by clicking on Preview Webhook.
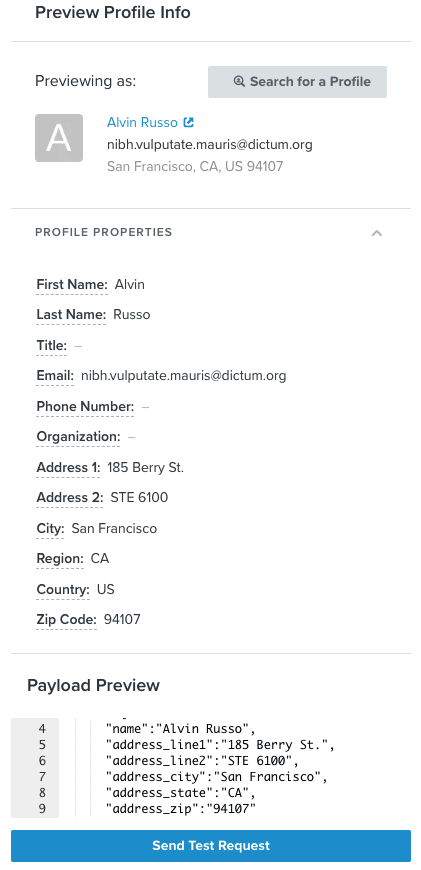
The resulting panel will show an example of the data being passed to Lob for a specific Profile. You can look at the JSON to verify that the Klaviyo Profile Variables are being correctly replaced. For example, instead of person|lookup:'$address1'|default:'' you will see an address, such as 185 Berry St.
If this all looks correct, double-check that you used your Test API Key (rather than your live one), then click on Send Test Request. If it was configured correctly, you will see the following message:
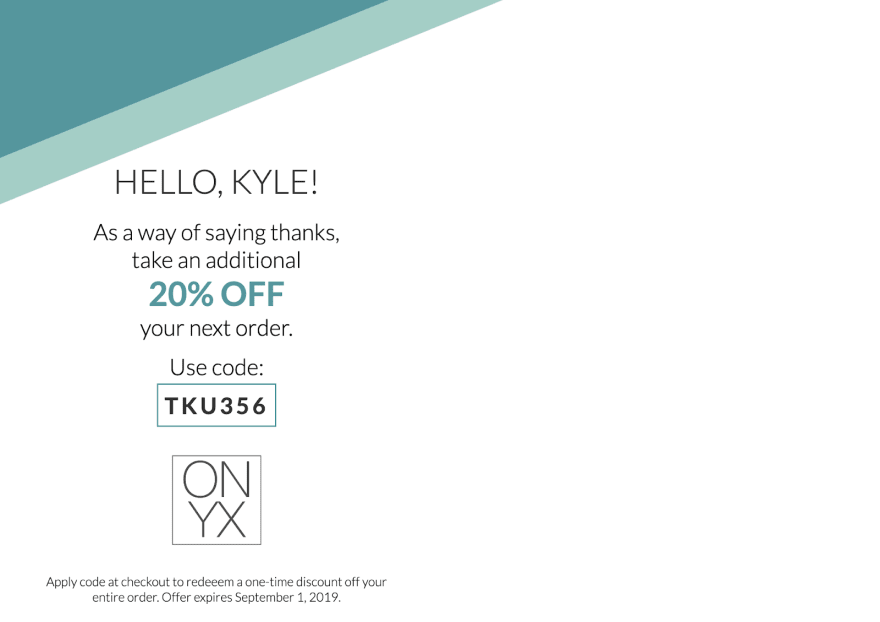
You can then log into your Lob account to verify that your postcard was generated. (The below is the result of the example creative.)
Go time!
You will need to add payment information to your Lob account should you actually wish to print and send mailpieces. When you are ready, you can replace your Test API key with your Live API key; if you have your LIVE API key in the template it will create mail. If you are using other test resources like address IDs or template IDs, those will also need to be transferred to your live environment.
Make sure when you are testing that your cancellation windows are set to an ample time (2 hours is recommended) so you can cancel mail if you make a mistake.
Have fun exploring this integration; if you have questions or need support, don’t hesitate to contact us.






Top comments (0)