What is a tilemap and why am I using one
A tile map is a method of creating a level from a grid of tiles, it’s a common method in 2D games and allows a small number of images (sprites) to be repeated to build up a level.
In the above image we can see that with only 3 sprites we can create a whole platformer level.
I am using a tile map to limit the size of the scene I need to render, instead of always drawing the whole scene.
Imagine the image above is a birds eye view of the scene, if the player is in the tile at 0,0 then we only need to render the surrounding tiles highlighted green, as the player moves to the next tile then the map can be updated to keep the players tile always in the center.
In future we can also use this to limit the number objects we need to perform collision detection on, but that is for another post.
The Tile Class
This class represents each tile that makes up the scene.
It holds an ArrayList of models which are static within the tile, to start, this will just be a single baseModel which is passed as a constructor parameter, but going forward will include other models like trees, houses, fences etc.
The TileMap Class
This class holds an array of 9 Tiles, the one the player is currently in and the 8 surrounding.
Putting this into action
To implement this I needed to pass the TileMap class the the VrRenderer so that the models can be initialised and rendered with an active OpenGL context, this would leak a lot of unnecessary implementation details to the VrRenderer when the only two functions it would need are an initialisation function and a draw function, to clean this up I created a DrawableInterface which only specified the two necessary functions, this was then implemented by the TileMap and Tile classes and a parameter of the DrawableInterface type was passed to the VrRenderer.
Once each tile is initialised, I needed to set the offset for that tile, to do this, and to allow me to move the tiles I created a setTileOffset function in the Tile class which removed the current offset (originally 0) and then applied the new offset to all models in the tile.
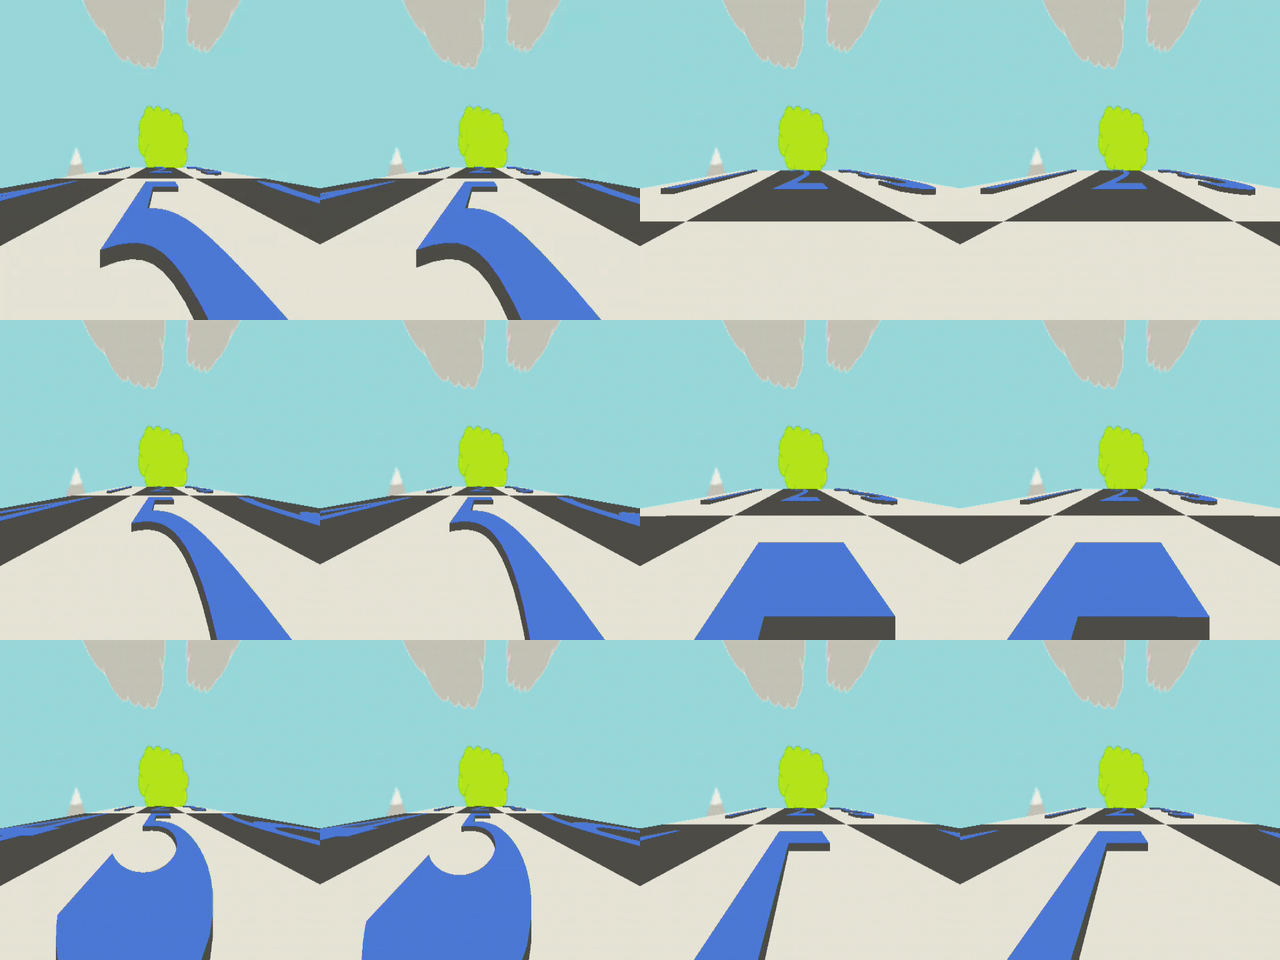
To try this out I created 9, alternating black and white tiles, with the numbers 1 to 9, added them to the model loader class and set each one as the baseModel for the 9 tiles.
The finishing touches
To finish this step of the development I wanted to see how it would look to move from the center tile and have the tiles adjust themselves.
To simulate this i added a function to the TileMap class to take in the players current position and target movement delta and return the new player position.
If applying the target delta would take the player outside the center tile i.e. more than half the tile size from the origin, then I subtracted or added the tile size to take the player to the opposite side of the tile.
This function is Called from the adjustPlayer function, I created a new interface to allow me to just pass in this function.
and it is then called from the body of the function like:
Running the game, this method looks a bit strange as the tiles are not updated at the same time as moving the player out of a tile but I think the principal seems to work.
Conclusion
This development is another step closer to a playable game and every step forward is a win, the next step will be to shuffle the tiles around when the player transitions from one to the next to give the illusion of continuous movement across a scene.
The code at this point of the project can be found here.


Top comments (0)