
Monitoring an EC2 Instance with CloudWatch Alarm on AWS
Summary
Amazon Web Services (AWS) offers a powerful tool to monitoring & controlling of cloud resources. In this hands-on we will learn launching of Amazon EC2 Instance and set up an CloudWatch alarm.
Requirements
You should have an AWS account and required permissions to create an Amazon EC2 instance and CloudWatch alarm.
Step:1 Launching an Amazon EC2 Instance
Navigate to the EC2 service through the AWS management console.
Click the “Launch Instance” button and start creating your EC2 instance.
Choose an AMI, here for this hands-on we will use Amazon Linux AMI.
Choose the Instance type, here will go with basic t2.micro instance(free-tier eligible).
Configure the instance count, network settings and other parameters stick to default.
Create security groups to manage incoming and outgoing traffic to our EC2 instance.
Review our configurations and click “Launch”.
Once you created an EC2 instance, your created instance will show in the instance dashboard as below.

Step:2 Monitoring EC2 Instance with CloudWatch Alarm
Choose your created instance and click the monitoring option, it will go to the CloudWatch console.
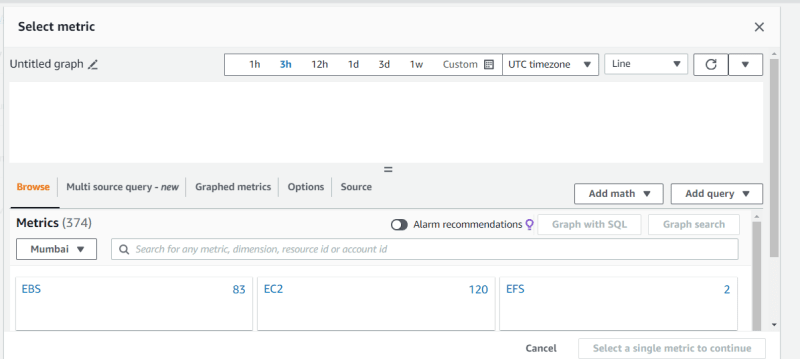
In the CloudWatch console, choose “Alarm” option and click “create” button.
Choose the “EC2” namespace and the metric you want to monitor.

- Set the condition, the threshold of CPU utilization of our created EC2 Instance (example:50%).


Configure actions to our created alarm, such as sending notifications through Amazon SNS.
Review the configurations and click “Create Alarm”.
Now we have created an CloudWatch alarm for our created EC2 instance.


Top comments (0)