Amazon Lambda is an awesome service that lets you run code serverlessly: rather than keeping a server running to execute your code anytime, a server is spun up only when necessary in response to some event. This event could be from an HTTP request, a message posted to a queueing service like Amazon SQS, or even when a file is uploaded to an S3 bucket!
Lambda supplies different runtimes depending on what language you want to write your function in. For Python programming, this runtime includes the Python standard library, but what if you want to use external packages from PyPI or elsewhere? This is something you can do with Lambda layers! Layers provide dependencies (or even a custom runtime) for your function, and in this quick tutorial we'll walk through how to use them!
What you'll need
- An AWS account and a little experience using Lambda functions. If you haven't used them before, Amazon has great tutorials!
- Docker installed on your computer, as we'll use that to install dependencies in a similar environment to the AWS Lambda Python runtime
Our demo project will be a very simple Lambda function that accesses the PokéAPI's /api/v2/pokemon endpoint to return information about a Pokémon, given a name passed in the event that triggers the function.
Setting up our project locally
First we'll create a virtual environment for our project and work in there, to keep any project dependencies separate from others on your computer:
$ mkdir poke-lambda
$ cd poke-lambda
$ python -m venv venv
$ source venv/bin/activate
We're using the requests library to do our API calls, so install that with pip install requests. Our one file, lambda_function.py looks like this:
import json
import requests

def lambda_handler(event, context):
    # Make sure a Pokemon name (or ID) was passed in the event object:
    pokemon = event.get('pokemon')
    if pokemon is None:
        return {
            'statusCode': 400,
            'body': json.dumps('Missing pokemon attribute in the event object')
        }

    # If we have a pokemon name/ID passed in, try to get info for it:
    r = requests.get(f"https://pokeapi.co/api/v2/pokemon/{pokemon}")

    if r.status_code == 200:
        status_code = 200
        body = json.dumps(r.json())
    else:
        status_code = r.status_code
        body = json.dumps(f"Could not load information for Pokemon {pokemon}")

    # Return what we got from the API:
    return {
        'statusCode': status_code,
        'body': body
    }
What this code does is check for the pokemon attribute in the event data the Lambda function receives, queries the PokéAPI for information about the Pokémon passed in, and returns the API's response back (with basic error handling). At this point our project structure looks like this:
poke-lambda
|   lambda_function.py
└───venv
Building our Lambda layer
In order to put this code on AWS Lambda, we need a way to include the requests library first! Lambda layers are .zip files containing libraries (and a custom runtime if you need) your function requires. For Python lambda layers, AWS requires libraries to be placed in either the python or python/lib/python-3.x/site-packages folders.
While the virtual environment is activated for your project, save a list of its dependencies to a
requirements.txtfile:pip freeze > requirements.txt.-
Create a
pythonfolder. This will house all the libraries to go in our layer. At this point, your folder structure should be:poke-lambda | lambda_function.py | requirements.txt └───venv └───python
3. From the project root, run the following command to build your dependencies in a container similar to the Lambda execution environment Amazon provides (courtesy of [lambci](https://hub.docker.com/u/lambci)):

    ```shell


    $ docker run --rm \
    --volume=$(pwd):/lambda-build \
    -w=/lambda-build \
    lambci/lambda:build-python3.8 \
    pip install -r requirements.txt --target python
Let's break down what this command does, argument-by-argument:
- `--rm`: Makes sure that once the Docker container exits, it's removed (keeps things clean)
- `--volume`: [Bind mounts](https://docs.docker.com/storage/bind-mounts/) the current working directory to the `/lambda-build` directory on the container (this allows the container to access the requirements.txt file we've just generated, and add files to the `python` directory). If you're on Windows, you can also paste in a full path to your project root instead of `$(pwd)`.
- `-w`: Sets the working directory in the container (in this case, to our project root)
- `lambci/lambda:build-python3.8`: The docker image to run this container from -- make sure it matches the Python version you're working with! For reference, Amazon currently provides runtimes for Python 2.7, 3.6, 3.7 and 3.8 (I'm using 3.8 here)
- `pip install -r requirements.txt --target python`: Installs the project dependencies as normal, from the requirements.txt file to the `python` folder (more on that [here](https://pip.pypa.io/en/stable/reference/pip_install/#cmdoption-t))
-
You should see some output from
pip. This is running in the Docker container. If successful, you should have dependencies installed to thepythonfolder you created earlier! Mine looks like this:poke-lambda | lambda_function.py | requirements.txt └───venv └───python └───bin └───certifi └───certifi-2020.11.8.dist-info └───chardet └───chardet-3.0.4.dist-info └───idna └───...
5. At this point, all we have to do is zip our `python` folder: `zip -r layer python/`. This will create a `layer.zip` file in your project's root directory.
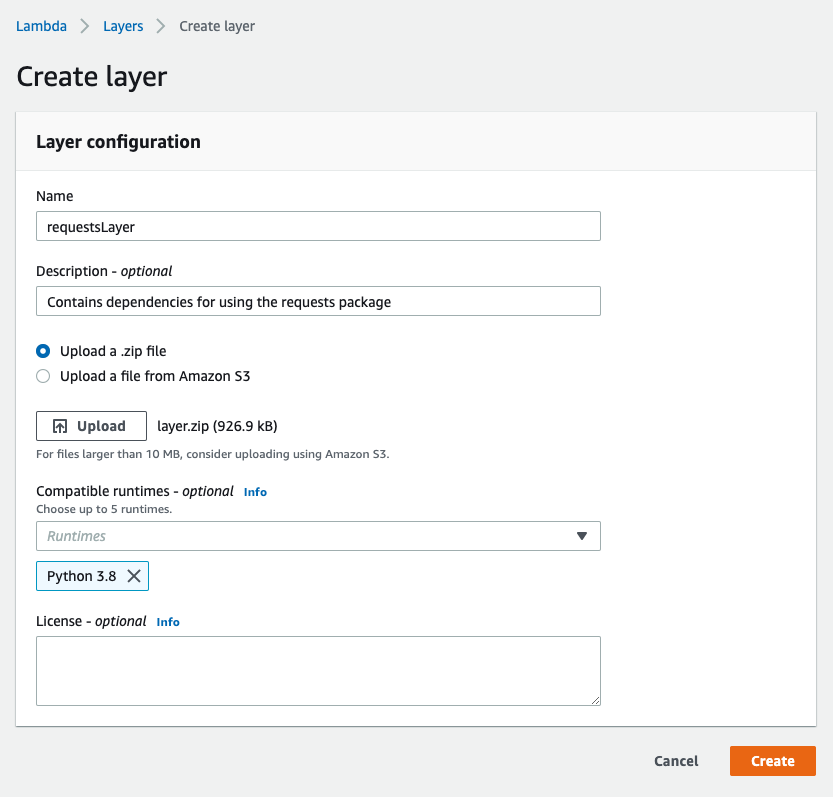
6. Next, upload the .zip file to Lambda! Sign into your AWS Console and head over to Services > Lambda > Layers (it should be under "Additional resources"). Click "Create layer" and give your layer a name! Pick the runtime that corresponds to the version of Python you're trying to use in your function, and upload the .zip file you created earlier:

## Adding the layer to our Lambda function
We'll walk through this using the front-end console, but you can totally do this all over the AWS CLI!
1. While in your AWS Lambda console, click "Create function". Set it up however you want (pick a Python runtime though)
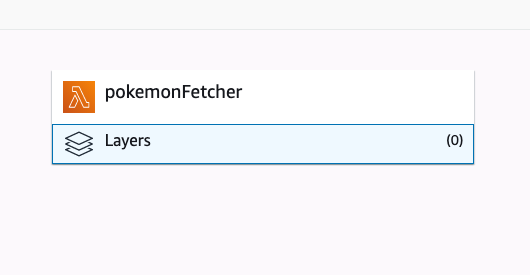
2. In the Lambda function designer, click on the "Layers" button:

3. A table full of layers your function is using should appear below the designer. There aren't any so far, so lets add ours! Click "Add a layer" and choose "Custom layers". You should be able to see your layer you created earlier in the dropdown. Select and add it!
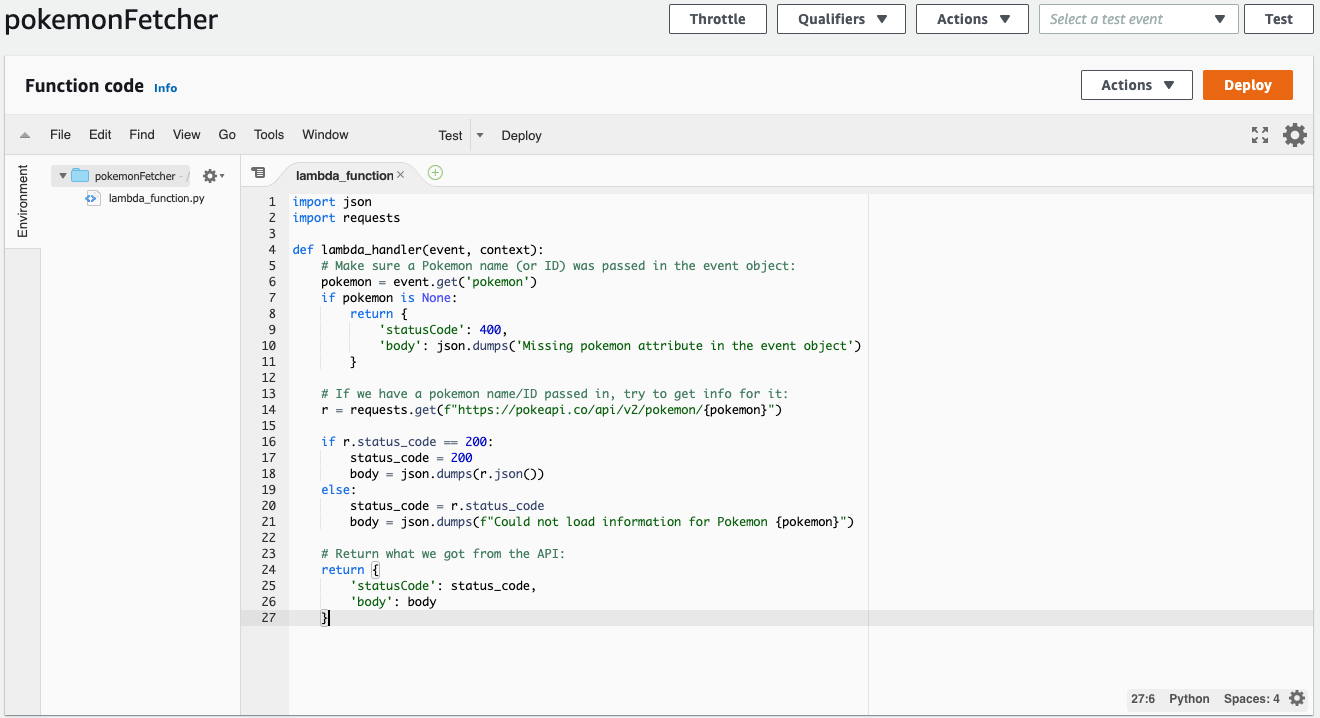
4. Once added, you'll be taken to the Designer again. Scroll down and paste your function code in (you can alternatively upload a .zip file containing just the `lambda_function.py` file since that's all we need here)

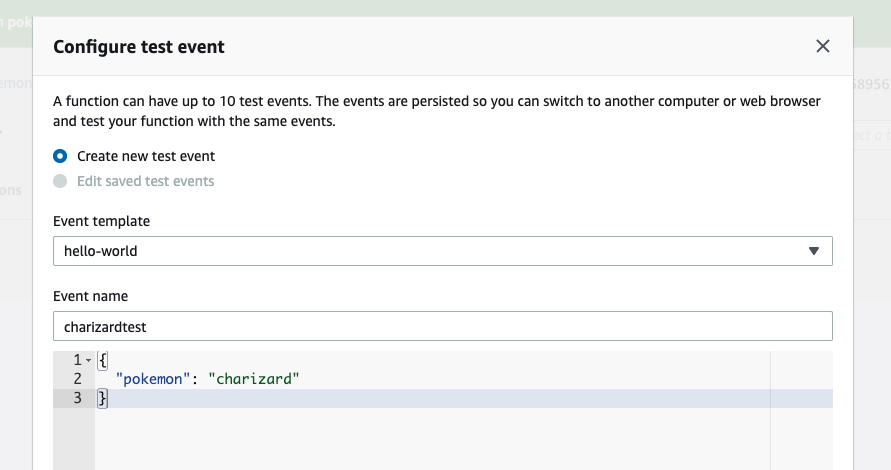
5. Save and click "Deploy" to update your function's code. Let's send our code a test event! At the top of the page, click on "Configure test events" under "Select a test event". We'll create an event payload to fetch details about Charizard:

6. Save your test event, pick it from the dropdown and click "Test". You can now see your function returning results!

That's all there is to it! Keep in mind functions can have multiple Lambda layers (up to 5 right now) and functions can share layers too.
In this tutorial we:
- Wrote a simple Lambda function that calls an external API and returns the results
- Created a Lambda layer containing all dependencies for our project that we can reuse in other projects later, using the [lambci/lambda](https://hub.docker.com/r/lambci/lambda) images and the Lambda GUI
Keep in mind all of this can also be accomplished over the AWS CLI (uploading the function, creating the layer and so on) if you prefer this method. There are lots of [AWS docs](https://docs.aws.amazon.com/lambda/latest/dg/configuration-layers.html#configuration-layers-using) which document this pretty well!
Hope you enjoyed this tutorial! Let me know if it was helpful in your project 😄


Top comments (7)
Hey Matthew, I followed your instruction but somehow it's not working. I'm using a package named haversine, when I hit the API Gateway by using curl, I got this error:
Any idea why it's happening? Or, how to solve this?
Hi Nayeem! Looks like the layer dependencies might not be available in your function. A few places this could've gone wrong:
No, I haven't faced any error while building the Docker Image, also no errors while adding the layer to the function! And I'm using Python3.7 in both the function and layer runtime!
Super weird! Sorry it's been causing problems - are you able to share the code you're using for your function? I gave it a shot using the haversine package as well, hard-coded one of their examples in and it seemed to work - attached a gist of the function here (didn't use it with API Gateway though)
On Windows 10, I had to add MSYS_NO_PATHCONV=1 to step 3, like this:
MSYS_NO_PATHCONV=1 docker run --rm --volume=$(pwd):/lambda-build -w=/lambda-build lambci/lambda:build-python3.8 pip install -r requirements.txt --target python
I also had to make sure to pick python3.8 as the runtime in AWS. I tried editing the above code with "build-python3.9" and it appears that there is no image for that.
Could not open requirements file: [Errno 2] No such file or directory: 'requirements.txt'
Hey Stephen! What step are you getting this error at?