Netlify and JAMStack becoming more popular these days. In this post, I will walk through the process of using Netlify Identity and using it in your Netlify functions.
Netlify Identity
From Netlify docs:
Netlify Identity service brings a full suite of authentication functionality, backed by the GoTrue API. This allows you to manage and authenticate users on your site or app, without requiring them to be users of Netlify or any other service. You can use this for gated content, site administration, and more.
So basically, Netlify Identity bring Authentication and user capabilities to your static site using JWT and some authentication providers like GitHub and Google
Enable Netlify Identity in Your Project
To enable Identity, select the identity tab and click Enable Identity

Embed Identity Widget in Your Site
For simplicity, I'm using netlify-identity-widget provided by Netflix in order to add login modal to my site.
Please follow the instruction from the GitHub page, Netlify's post, or from examples
Calling Netlify Functions With the Bearer Header
In order to make the function to know which user called the function, we need to pass the access-token we got from Netlify Identity to the function.
Create a file called netlify.js. This file will include two utility functions for calling your netlify functions - GET and POST.
async function getToken() {
  const currentUser = netlifyIdentity.currentUser()
  if (!currentUser) {
    return ''
  }
  // fetchs new JWT token only if expired
  await currentUser.jwt()
  return currentUser.token.access_token
}

export async function GET(api) {
  const token = await getToken()
  return (await fetch(`/.netlify/functions${api}`, {
    headers: { Authorization: `Bearer ${token}` }
  })).json()
}

export async function POST(api, body) {
  const token = await getToken()
  return (await fetch(`/.netlify/functions${api}`, {
    method: 'POST',
    headers: {
      Accept: 'application/json',
      'Content-Type': 'application/json',
      Authorization: `Bearer ${token}`
    },
    body: JSON.stringify(body)
  })).json()
}
And use it in your frontend app when you need to call one of your functions
import { GET } from '../../netlify'
const data = await GET(`/getData`)
Getting the User Object Within Netlify Functions and Acting Upon
Now, after you passed the Authorization header, netlify will fetch the user object and put it inside the event context.
For example, read the roles of the user:
function getUserRoles(context) {
    const { clientContext } = context
    const userRoles = clientContext.user
      ? clientContext.user.app_metadata.roles
      : ["guest"]
}

export async function handle(event, context) {
    const userRoles = getUserRoles(context)

    // Return with 401 if user is not logged in
    if (userRoles.includes("guest")) {
        return {
            statusCode: 401,
            body: "unauthorized"
        }
    }

    let data;

    // Get data only admins should see
    if (userRoles.includes("admin")) {
        data = getAllStatuses();
    }

    // Get data only owners should see
    else if (userRoles.includes("owner")) {
        data = getStatus();
    }

    return {
        statusCode: 200,
        body: JSON.stringify({
            data,
        })
    }
Found this post useful? Add a star⭐️ to my Github project🙂
 moshe
/
elasticsearch-comrade
Elasticsearch admin panel built for ops and monitoring
Elasticsearch Comrade 


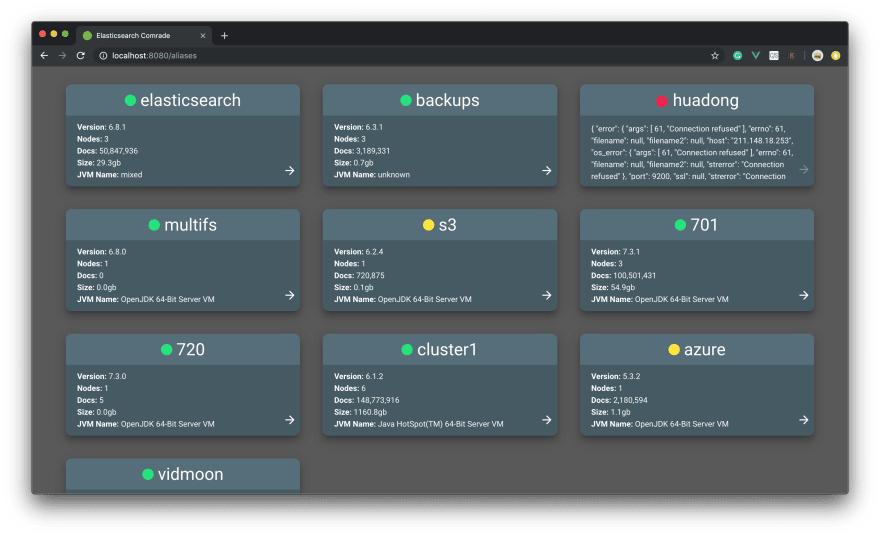
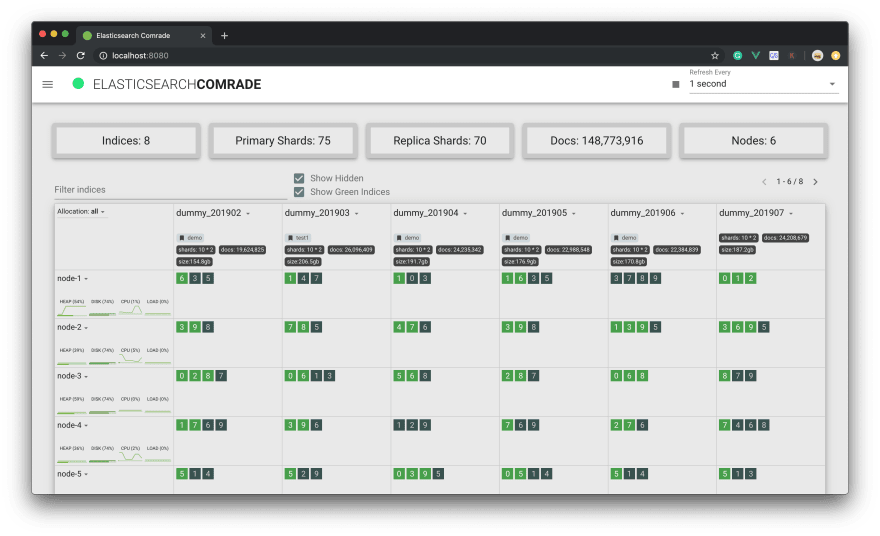
Elasticsearch Comrade is an open-source Elasticsearch admin and monitoring panel highly inspired by Cerebro.
Elasticsearch Comrade built with python3, VueJS, Sanic, Vuetify2 and Cypress

Main Features
- Elasticsearch version 5,6 and 7 support (tested against elasticsearch 7.7)
- Multi cluster
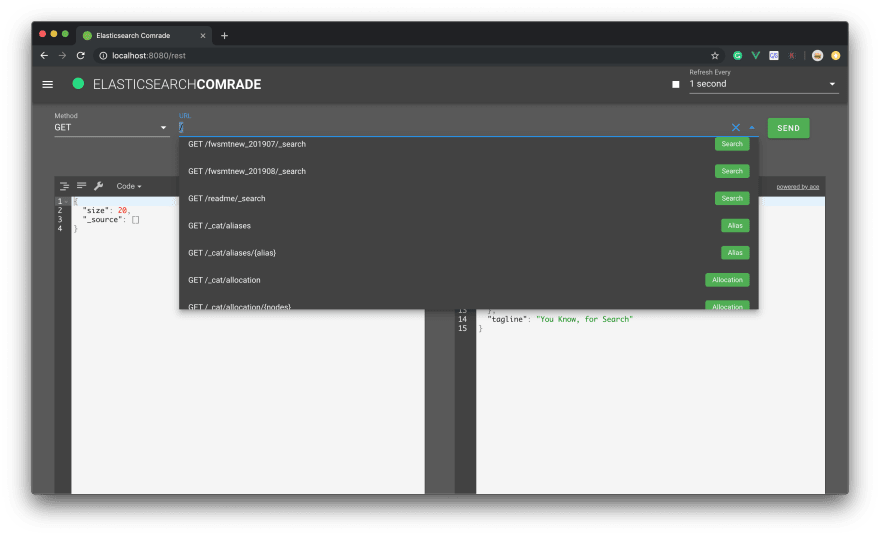
- Rest API with autocompletion, history, templates, and history
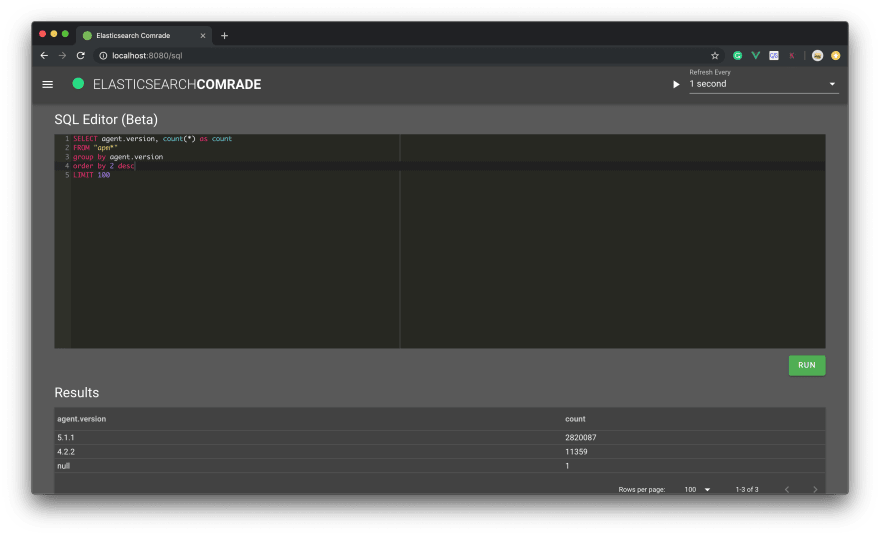
- SQL editor (version 7 only)
- Built for big clusters
- Node statistics and monitoring
- Manage aliases
- Inspect running tasks
- Manage index templates
- Manage snapshots
- And much more ...
Quickstart
Cluster dir definitaions
Comrade discovers clusters using the --clusters-dir param, docs are here, examples are here
Using docker (recommended)
docker run -v $PWD/clusters/:/app/comrade/clusters/ -it -p 8000:8000 mosheza/elasticsearch-comrade
Using the python package
pip install elasticsearch-comrade
comrade --clusters-dir clusters
Installation, configuration and next steps
Roadmap
v1.1.0
- Add python package
- Reindex screen
- Comrade dashboard
v1.2.0
- Cluster settings screen
- Evacuate node from shards
- Add commrade version indicator to footer
v1.3.0
- Beats screen
- Threadpools screen
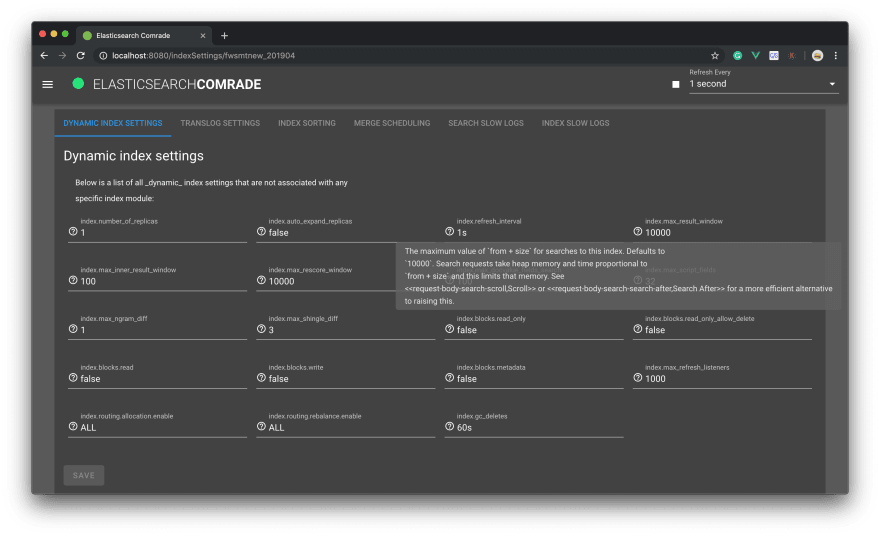
Screenshots
🥳




Top comments (1)
Thanks for the article! I was wondering how to manage from an Android App the redirection with the access token returned from google as a provider for example.