Heroku is a popular Platform-as-a-Service (PaaS) that enables developers to deploy and run their Web or API applications in the cloud. Heroku offers a free plan making it easy for developers to host an application online for testing or cases where you don't need to buy a hosting service just yet. Heroku supports several languages such as Ruby, Java, Node.js, Scala, Clojure, Python, PHP and Go making it a good option among developers for hosting their projects for testing.
In this article, we'll be going over a step-by-step approach to deploying a Laravel project on Heroku.
Requirements
To follow through with this article, you need to have the following setup:
- Git
- A Laravel project ready for deployment; if you don't have one yet, you can clone this sample project from Github
- A Heroku account, and
- Heroku command-line interface (CLI) installed on your machine. You can find instructions on installing the CLI here.
To begin, open the terminal, navigate to the Laravel project directory location and type in the command below to login into your Heroku account.
heroku login
The command will open up your browser to log into your Heroku account.
Once you are logged in successfully, you should see a page similar to the one below.
To get our Laravel application on Heroku, we will use Git version control. Initialize git in the Laravel project if git is not initialized else, you can skip this step.
git init
git add .
git commit -m"Initial commit"
Create a file at the root of the Laravel project named Procfile. A Procfile is a simple text file without a file extension that specifies the application's commands on startup in Heroku. The Procfile must be placed in the root directory as it would not function in any other location.
Copy and paste the below in the Procfile. The command launches an Apache server with PHP installed.
web: vendor/bin/heroku-php-apache2 public/
Commit the changes
git add .
git commit -m"Heroku Procfile"
Create Heroku Application
To create an application on Heroku, we can use the heroku create <app-name> command. The command will create an application on Heroku and generate a URL to access the application; however, you will have to supply a new unique name if the name already exists. Also, note that if no <app-name> is provided, Heroku will generate a random name.
heroku create laravel-heroku-deployment
The above command creates an application called laravel-heroku-deployment, as seen on my dashboard
and generates the URL https://laravel-heroku-deployment.herokuapp.com to access the application.
Next, we use the git push command to push our code to Heroku, which will install the project dependencies.
git push heroku main
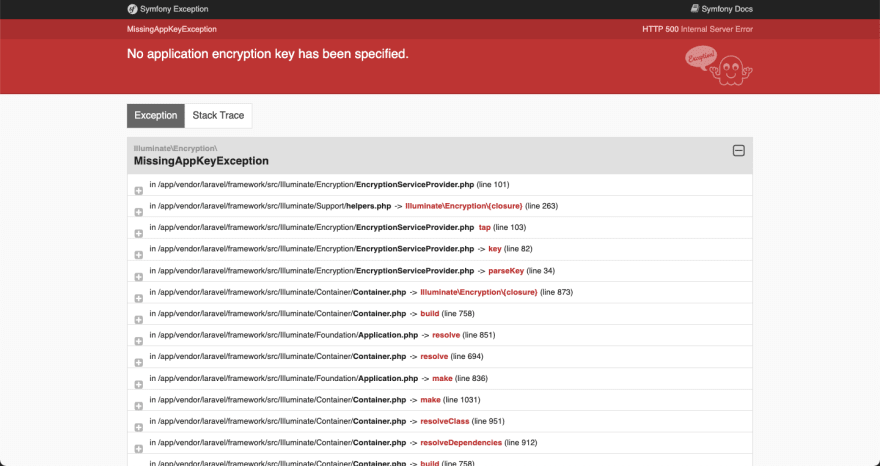
Visit the Heroku application URL generated, and we should see an error page which we will fix in the next section.
Setting Environment Variables
We had the 500 error after pushing our code in the previous section because the environment variables in the .env file needed for our application to work are not on Heroku. Environment variables can be added in two ways:
Using the Heroku CLI
To set environment variables using the Heroku CLI, we will be using the heroku config:add <ENV_NAME>=<ENV_VALUE> command.
heroku config:add APP_DEBUG=true
To confirm the environment variable is set, click the application on your Heroku dashboard, click on the settings menu, and click on "Reveal Config Vars". The variable has been added to the list of config variables.
Visit the application URL, and we can see what the error is since APP_DEBUG is enabled.
From the Heroku dashboard
The second method of adding environment variables to our application is by adding variables on the "Reveal Config Vars" section. Let's add the APP_KEY variable using this section. Go to your terminal and run the command.
php artisan key:generate --show
and copy the output and paste as the value of APP_KEY on your dashboard.
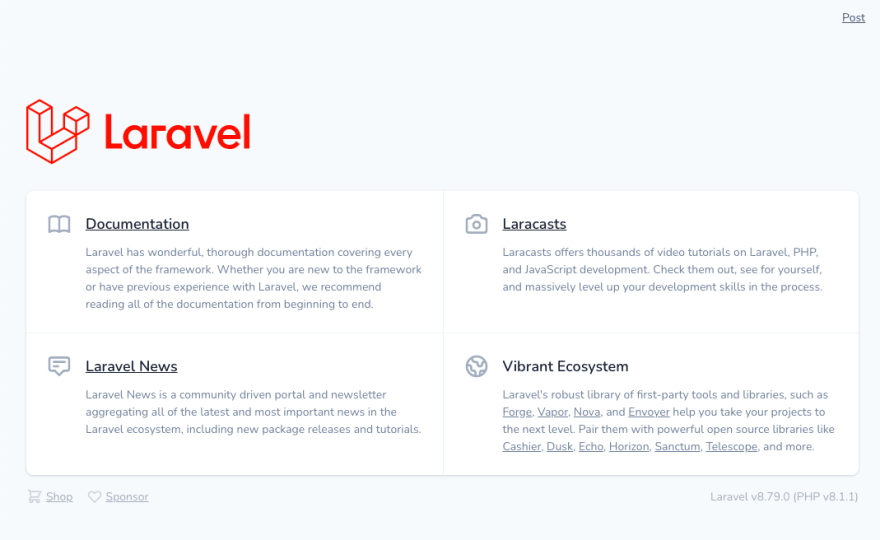
Now our application should be running 😎.
Connect Database
Now that our Laravel application is running on Heroku, we can connect a database to the application. In this article, we will be using PostgreSQL as Heroku supports PostgreSQL natively. Note that you can use any other database like MySQL etc., through Heroku addons or use third party databases such as db4free.
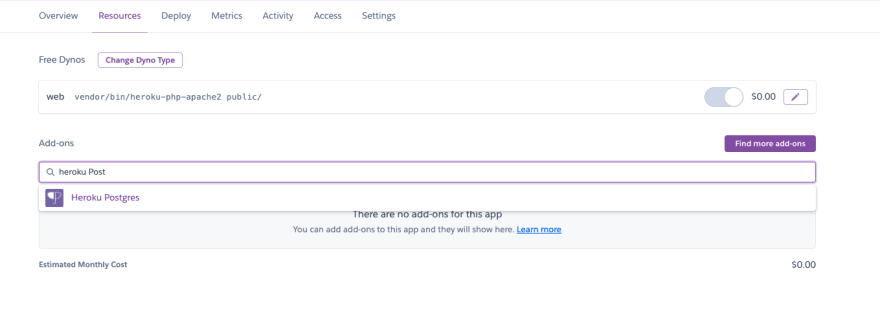
To get started, click on the Resources menu and in the addons section, search for Heroku Postgres
and select the Hobby Dev plan which is free.
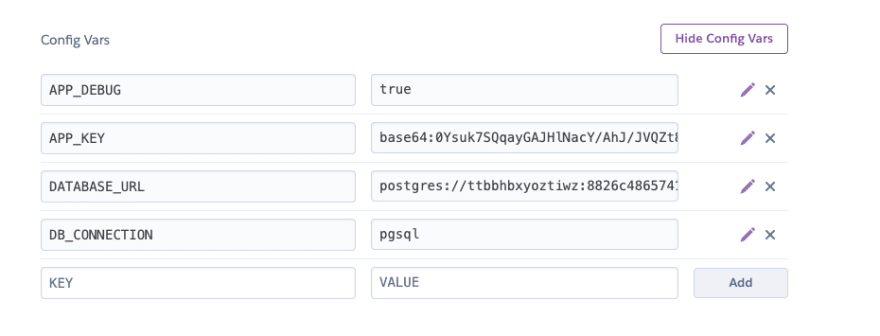
Once the addon heroku-postgresql is attached, a new environment variable DATABASE_URL is automatically added to the Heroku application. You can confirm this by checking the Config Vars section. Also, add a new environment variable DB_CONNECTION and set its value to pgsql
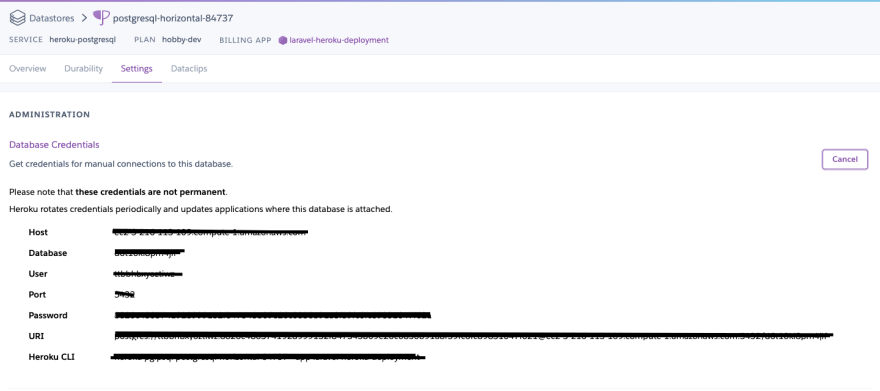
To manually view the database credentials, Click on the attached PostgreSQL addon, navigate to the settings page and click the View Credentials.
To run any of Laravel's artisan command precede all statements with heroku run. Paste the below in your project terminal to migrate all tables.
heroku run php artisan migrate:fresh
If you cloned the sample project on Github, you could run the db:seed command to seed the posts table and visit the /posts route to see the seeded posts.
heroku run php artisan db:seed
Conclusion
Voila 😄! Now you can deploy your Laravel applications on Heroku for free without sweating over server costs. To learn more about Heroku, check the Heroku Docs. Thanks for taking the time to read this article. I hope it helps you. Happy Coding 😎!






Top comments (0)