Throughout several app-building projects I have finished during my software engineering bootcamp, styling has always been a hurdle which I put aside as the last part to work on. As I've only experienced using the regular CSS (Cascading Style Sheets) in my previous projects, styling a website was nothing more than a boring, tedious job that I'd always have to modify everything manually (and which in most cases didn't work the way I wanted anyway). Then I met Bootstrap as I was working on my final project for the bootcamp, which completely changed the way I view website styling processes. Now I can't imagine how I would ever do styling without Bootstrap and really wish I knew of this when working on my earlier projects. Bootstrap is very easy to use, yet very effective in what it can do to make your websites look so much more visually pleasing.
What is Bootstrap?
According to Wikipedia, Bootstrap is a free and open-source CSS framework directed at responsive, mobile-first front-end web development. It contains HTML, CSS and (optionally) JavaScript-based design templates for typography, forms, buttons, navigation, and other interface components. In short (and in my own words), it's a tool that help you better write CSS codes more effectively and efficiently.
How to actually use Bootstrap
To use Bootstrap, you will first need to install Bootstrap which you can do in several different ways.
- CDN Installation
Go ahead and add the below code inside the <head> tag in your index.html file before all other stylesheets. Note, this code may vary as the new version of Bootstrap is released.
<link href="https://cdn.jsdelivr.net/npm/bootstrap@5.1.3/dist/css/bootstrap.min.css" rel="stylesheet" integrity="sha384-1BmE4kWBq78iYhFldvKuhfTAU6auU8tT94WrHftjDbrCEXSU1oBoqyl2QvZ6jIW3" crossorigin="anonymous">
2. Installation via yarn
Enter the following command in your terminal:
yarn add react-bootstrap bootstrap
3. Installation via npm
Enter the following command in your terminal:
npm install react-bootstrap bootstrap
IMPORTANT : If you are installing via yarn or npm, make sure you add import 'bootstrap/dist/css/bootstrap.css'; in your index.js file.
Once installing Bootstrap using one of the above methods is completed, the world is your oyster! The real power of Bootstrap comes from it being open-source. That is, Bootstrap offers hundreds (if not thousands) of styling elements and effects that are available online, which is how you can apply styles to your HTML without having to write codes in your .css file. You can get started here and navigate through the options it provides and use the styles you'd like to use as a template in your HTML file.
A quick example would be buttons. For your website or app to be dynamic, it is inevitable that you need to add buttons on the website. In regular HTML, the codes for creating buttons would look something like this:
<button>Submit</button>
<button>Cancel</button>
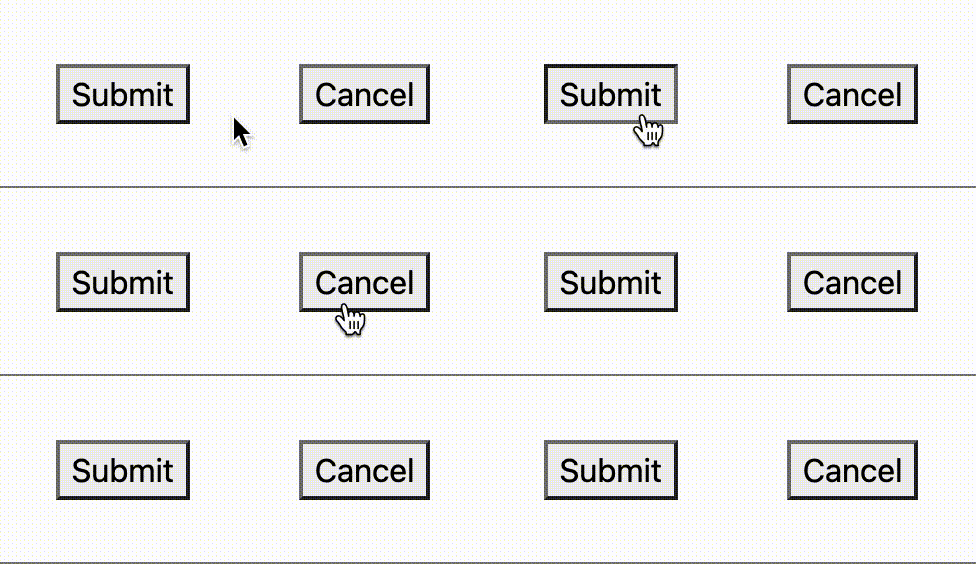
which would be displayed on your browser like this:
These plain ol' buttons don't look too bad, but they could definitely look better with some styling added. By using Bootstrap, you can style it in the way you want without having to add some complex CSS codes. To do so, you can simply plug the below codes (that are pre-generated by Bootstrap) into your HTML tags:
<button type="button" class="btn btn-outline-success">Submit</button>
<button type="button" class="btn btn-outline-danger">Cancel</button>
which will then upgrade your plain ol' buttons to...
Much better!
The example I showed above is only a beginning; you can explore and find yourself many more options to add to your website. All you would need to do is to navigate through the different components or effects you want to apply, then simply add the pre-generated templates to your codes after customizing it so it is altered to the way it is needed for your website. Another effect I personally found especially helpful was hover effects, which allows Bootstrap make your website more responsive.
But what if you are using React?
Most Bootstrap codes you'd find online are provided in an HTML format so you can directly add it to your HTML tags. However, if you are a React lover (like me), the keywords and syntaxes needed to add the Bootstrap effects are a bit different. For example, classification for HTML tags would be <tag class="className" />, while the same attribute for JSX in React components would be <tag className="className" />. Hence, the code you copy directly from the Bootstrap template and paste into your React components may not work quite right. Luckily, there is a website I found which converts all the HTML codes into a JSX format for you. Living in the future sure feels great!
For me, using Bootstrap sure was a guilty pleasure because it was super easy to use and it surely made my life so much easier, yet I felt somewhat unaccomplished since it does all the magic. Like, shouldn't I spend more time and struggle more in order to yield such a result? What I've come to decide then was that Bootstrap exists for all developers around the world to help save time and code better. It is there to use, so why not use it? But I can't deny that it is still crucial that you have to have a basic understanding of how to use the classic CSS and how styling webpage and components work. If you rely fully on Bootstrap, you will never be able to learn how CSS works under the hood. As I (luckily?) spent a good amount of time struggling with classic CSS, though, I guess I could use some help from what Bootstrap has to offer for the time being. That way I could not only have a more visually appealing website, but also spend more time focusing on the website's fundamental structure, functionality, and making the user experience more pleasant.


Top comments (0)