You’ve just completed building your Electron application; everything is working so far; it’s notarized to work on macOS, and you’ve tested your application on Windows and Linux as well. You shared your application with the world and got some great responses from your community. Eventually, more and more messages appear in your inbox about your app crashing. You discovered a bug in your application that was causing the crashes and quickly fixed it. But how do you get this new version of your application out to your users?
Introducing Electron Auto Update
Electron ships with an auto-update feature so you can quickly ship updates of your product to your users. When I implemented the auto update feature in my first Electron application, I went down the rabbit hole to figure out how the Electron auto-update feature works because it wasn’t that straightforward, in my opinion.
A few things that you should know about Electron auto update:
It only supports macOS and Windows (no support for Linux).
Both the macOS and Windows updater use Squirrel behind the scenes.
The Windows version of Squirrel is looking for maintainers to “reboot” the project and has over 300 issues, meaning you might expect some problems.
You must sign your application on macOS for the auto-updater to work.
You must move your application to the
Applicationsdirectory on macOS for the auto-updater to work.On Windows, make sure you don’t update your application on its first run, or your app will throw a very user unfriendly error.
Configuring Electron Auto Update
Implementing Electron Auto Update is relatively easy; it only requires a few lines of code to integrate with your deployment server.
const { app, autoUpdater } = require('electron')
autoUpdater.setFeedURL('[https://dist.unlock.sh/v1/electron/my-app'](https://dist.unlock.sh/v1/electron/my-app'))
autoUpdater.checkForUpdates()
In case you want to check for updates on a regular interval (the code above only executes on startup), you can use setInterval to check every 30 minutes for example:
setInterval(() => {
  autoUpdater.checkForUpdates()
}, 30000)
The update will be downloaded in the background and installed automatically when the application is restarted (most of the time, see troubleshooting for some exceptions).
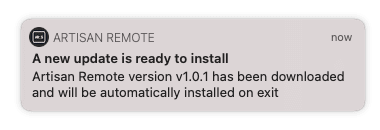
If you want to make your users aware that a new update has been downloaded and is available to be installed, you can also use autoUpdater.checkForUpdatesAndNotify() instead. The notification will be native to your user’s operating system.
Do you want to learn step by step how to release updates for your public repository? Be sure to check out the section below about Electron auto update for public repositories. I will publish an article in the near future about using a different server for private repositories.
Implementing your Electron Auto Update notification
If you want to use your own in-app update notification instead, you can do this by listening to the update-downloaded event emitted by the auto-updater.
autoUpdater.on('update-downloaded', (event, releaseNotes, releaseName) => {
  //
})
releaseName is only available on Windows.
If you want to force the auto-updater to install your update immediately after the update has been downloaded, you can use autoUpdater.quitAndInstall():
autoUpdater.on('update-downloaded', (event, releaseNotes, releaseName) => {
   autoUpdater.quitAndInstall()
})
Please note that your users might not appreciate this, as work could be lost when your app just quits while they were just filling out a form.
Electron auto update for public repositories
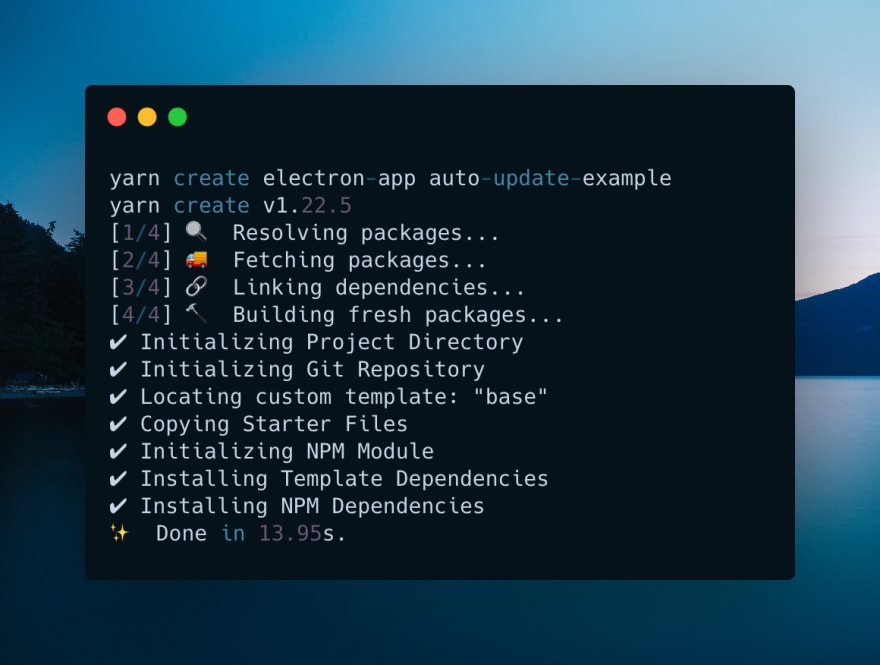
If your code repository is publicly available on GitHub, you can use a free service by Electron to ship your updates. It’s an easy process. Let’s quickly scaffold an application to test this out. I’m using Electron Forge’s starting template; if you want to follow along, execute the following command:
// Yarn
yarn create electron-app auto-update-example

// NPM
npx create-electron-app auto-update-example
To use the public auto-updater, we need to download the NPM dependency, so be sure to install this dependency:
npm install update-electron-app --save
Now just run yarn start or npm start, and your Electron application will build and execute.
We need a public GitHub repository, so head over to github.com/new and create a repository we can use.
To inform the auto-updater about our repository, we need to make sure we define it in our package.json:
{
  "name": "auto-update-example",
  "productName": "auto-update-example",
  "version": "1.0.0",
  "description": "My Electron application description",
  "repository": "[https://github.com/PhiloNL/electron-hello-world](https://github.com/PhiloNL/electron-hello-world)",
  "main": "src/index.js",
  //
}
Let’s open src/index.js and call the updater to check for updates every hour and notify the user when an update is available.
app.on('ready', () => {
    updateApp = require('update-electron-app');

updateApp({
        // repo: 'PhiloNL/electron-hello-world', // defaults to package.json
        updateInterval: '1 hour',
        notifyUser: true
    });
});
Next, we need to publish our app to GitHub. Electron Forge ships with a couple of build-in publishers, including one for GitHub. To install the publisher run the following command:
npm install [@electron](http://twitter.com/electron)-forge/publisher-github
We can define the configuration for different publishers in your package.json file. So let's add our GitHub configuration:
{
  //...
  "main": "src/index.js",
  "config": {
    "forge": {
      "packagerConfig": {},
      "publishers": [
        {
          "name": "[@electron](http://twitter.com/electron)-forge/publisher-github",
          "config": {
            "repository": {
              "owner": "PhiloNL",
              "name": "electron-hello-world"
            }
          }
        }
      ],
      //...
    }
  },
  //...
}
Now let’s publish our application to GitHub by running the publish command. The publish command requires that you set your GitHub personal access token so it can access your account. You can create a personal access token here. Make sure you keep this token secure and don’t share it with anyone.
Please note, from this point forward, you are required to have your application signed and notarized. To learn more about signing and notarizing your application, visit this article.
export GITHUB_TOKEN=<your-token>
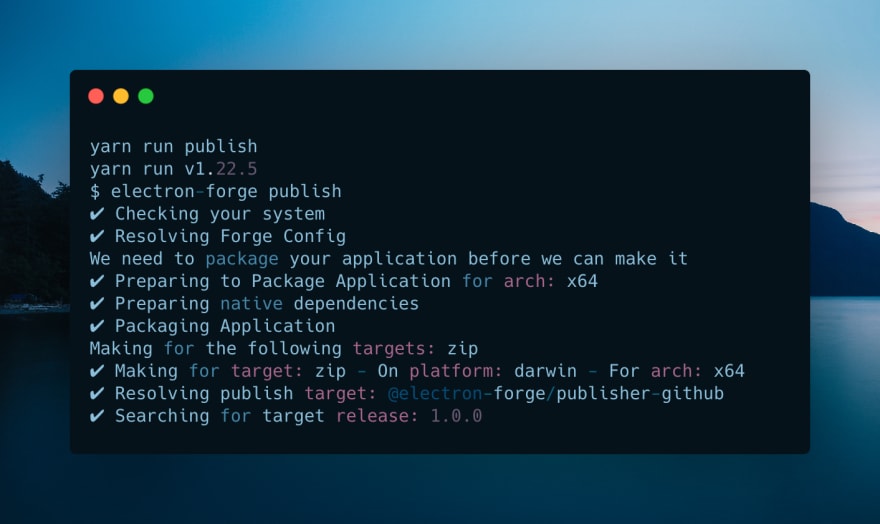
yarn run publish
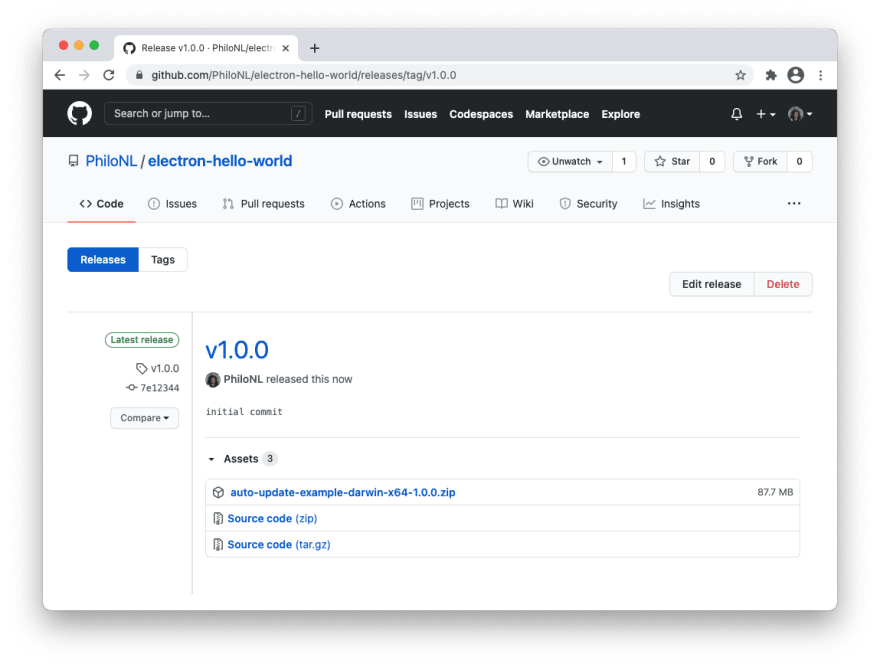
Great, you’ve just pushed version 1.0.0 to GitHub. By default, your release is set to ‘Draft’, awaiting your final approval. So head over to your repository releases and publish your release (github.com/username/repository/releases).
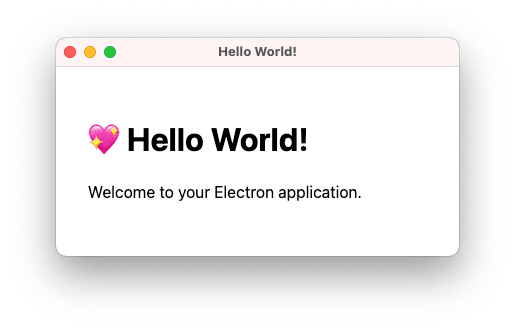
Let’s test if the updater works by publishing a new release. Open src/index.html and make a couple of changes so you can see that the application has been updated.
Next, increment the version number of your application by opening package.json and changing the version number:
{
  "name": "auto-update-example",
  "productName": "auto-update-example",
  "version": "1.0.1",
  // ...
}
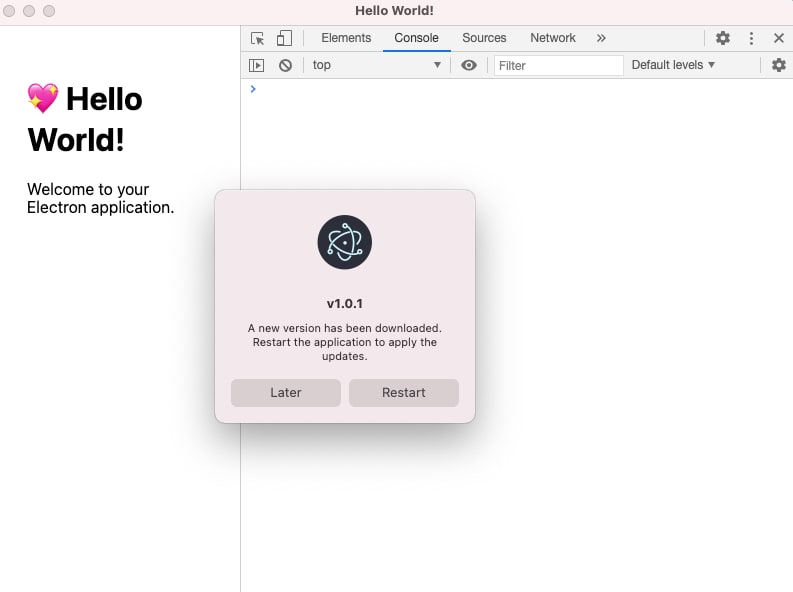
Run yarn run publish again and head over to GitHub to publish v1.0.1 of your application. Start v1.0.0 of your application and wait for the notification :)
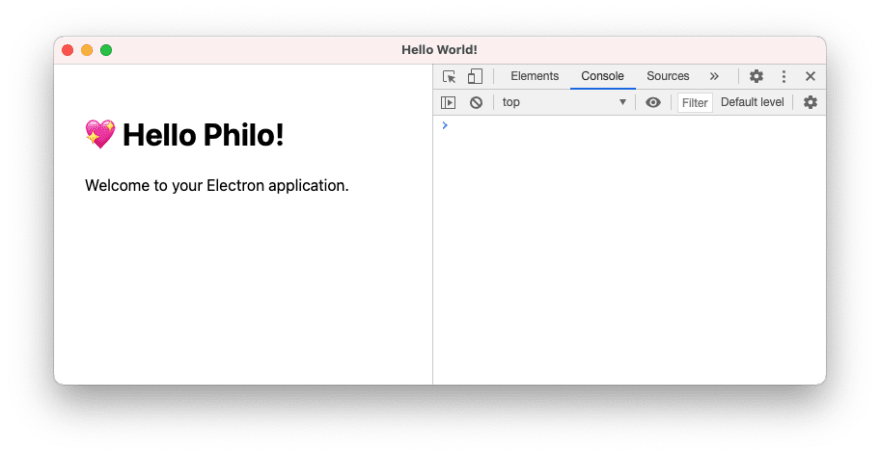
Click restart, and you will see the new version of your application.
Again, this will work on both macOS and should also work on Windows if you handle the Squirrel events correctly.
Troubleshooting
Since auto-updating happens behind the scenes, you have no idea what is happening, which can be quite frustrating when your application doesn’t update.
To debug what is happening in the background, you can enable the logger by passing it in the update-electron-app constructor.
require('update-electron-app')({
  logger: require('electron-log')
})
You will be able to find the log files in the following locations:
Linux: ~/.config/{app name}/logs/{process type}.log
macOS: /Library/Logs/{app name}/{process type}.log
Windows: %USERPROFILE%\AppData\Roaming{app name}\logs{process type}.log
    [info] Checking for update
    [info] Found version v1.0.1 (url: [https://github.com/PhiloNL/electron-hello-world/releases/download/v1.0.0/auto-update-example-darwin-x64-1.0.0.zip](https://github.com/PhiloNL/electron-hello-world/releases/download/v1.0.0/auto-update-example-darwin-x64-1.0.0.zip))
    [info] Downloading update from [https://github.com/PhiloNL/electron-hello-world/releases/download/v1.0.0/auto-update-example-darwin-x64-1.0.0.zip](https://github.com/PhiloNL/electron-hello-world/releases/download/v1.0.0/auto-update-example-darwin-x64-1.0.0.zip)
Race condition on macOS with Squirrel updater
In some cases, your application might require multiple restarts for the update to work if your user starts the application to quickly after quitting. This can also be the case when using autoUpdater.quitAndInstall(). I've experienced this with Electron Builder, so I'm not sure if this is also the case with Electron Forge. Still, I am assuming that since they all use the Squirrel updater, it affects any application that uses the built-in Electron updater.
After a long search, I finally found this issue and this comment with a possible solution. It’s not ideal, but it fixes the problem.
When you start your application, and the Squirrel updater has found a new update for your application, it will spawn an idle process called ShipIt. This process remains idle until you quit your application. Once your application is closed, the ShipIt process will start extracting your update and replace your application with the latest version. Depending on the size of your application and the user's machine's speed, this may take a moment.
If your application starts too quickly after quitting, meaning before the updater has completed, a new ShipIt instance will replace the process, and the update process restarts. In the meantime, the user might be confused because the app is still running on the same version.
The Gist from the issue above resolves this problem by ensuring the ShipIt process has ended. Let’s break the code down step by step.
const shipItProcesses = await findProcess('name', 'ShipIt');
Look for an active process named ShipIt.
if (shipItProcesses.some(f => f.cmd.includes('com.org.my-app'))) {
  shouldRestartBeforeLaunch = true;
  console.debug('Waiting for auto update to finish');
  setTimeout(makeSureAutoUpdateFinished, 1500);
} else {
 // ...
}
Since a user could be running multiple Electron apps, we want to make sure the ShipIt process belongs to our app com.org.my-app. If this process exists, we wait for the application to start, so the auto-updater has a chance to finish. This check will repeat recursively until the process is gone.
        if (shouldRestartBeforeLaunch) {
          try {
            const Electron = require('electron');
            Electron.app.relaunch();
            Electron.app.exit(0);
          } catch (error) {
            console.error('Failed to restart the app through electron', error);
            process.exit(1);
          }
        } else {
          require('./main');
        }
Next, it will restart the existing app to complete the update process. These multiple restarts will cause your app to bounce a couple of times in the macOS dock, but at least you are sure your user is using the latest version of your application. Finally, it will execute the main code of your Electron application.
That’s it! You’ve successfully used Electron Auto Update together with GitHub to distribute a new version of your application to your user.
Do you want to know more about how to publish updates from private repositories and to license your products? Be sure to subscribe for future articles or give me a follow on **Twitter. I appreciate the support!
Originally published at https://philo.dev on January 13, 2021.




Top comments (0)