You wake up in a dungeon. You're alone, freezing and nearly starved to death. In the darkness ahead, you can hear footsteps and the sharpening of blades. The only weapon at your disposal is Elm, the programming language. Will you find your way out alive?
Elm-warrior is a programming game created to answer the question: Ok, now I know basic Elm syntax, what do I do next?
Over the course of several levels of ascending difficulty, you'll program the intelligence of At, a slow but strong-willed warrior, trying to get him out of the dungeon alive.
When you've successfully escaped the dungeon, you can compare your solution with others in a free-for-all deathmatch, or continue challenging yourself by creating your own maps.
Are you ready?
Getting started
You're going to need to have git and node installed.
After that, you can clone the elm-warrior-starter repo. The starter repo contains the minimal amount of boilerplate required to start playing, while the elm-warrior repo contains the actual framework and documentation you'll use.
To clone the starter-repo, you can run the following command in your command line.
git clone https://github.com/robinheghan/elm-warrior-starter
When done, you're going to need to download elm and parcel for your code to compile and run. We can do this using node's package manager, npm, as those dependencies are already declared in the repo:
cd elm-warrior-start
npm ci
You should now have everything setup, ready to begin coding.
Solving the first level
As a first step, we're going to compile the code and spin up a web server to see how our code affects the elm warrior:
npm start
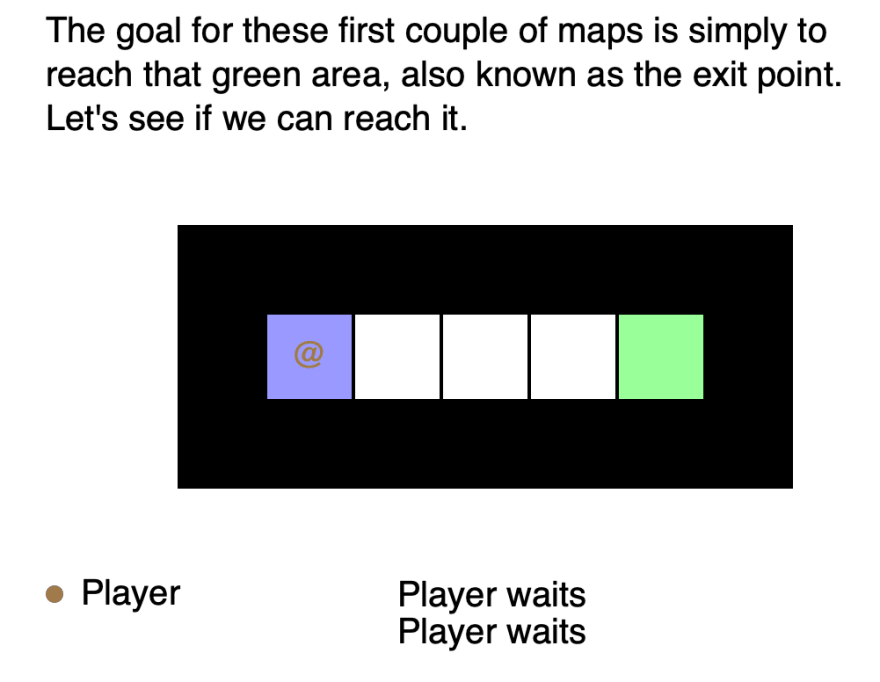
This should start a web server at http://localhost:1234, so enter that address in your web browser. You should see the following:
The goal is to have the warrior reach the other side of the room. Since we've yet to write a single line of code, the warrior just does nothing. Let's fix that!
Using your prefered IDE or text editor, open src/elm/Player.elm. This file should contain the following code:
module Player exposing (takeTurn)

import Warrior exposing (Warrior)
import Warrior.History exposing (History)
import Warrior.Map exposing (Map)


takeTurn : Warrior -> Map -> History -> Warrior.Action
takeTurn warrior map history =
    Warrior.Wait
Implementing the intelligence of an elm warrior is as simple as implementing a function. The function is called once every turn, and is required to return an action that specifies what the warrior should do next. As you can see, this function simply returns the Wait action, and so our warrior will always stand still.
To get past the first level, we need to return an action that makes the warrior move to the right. To figure out which actions our warrior can take, we need to consult the documentation. Here we can see that there is a Move action which takes a Direction.
If we change the function to return a move action, like so:
module Player exposing (takeTurn)

import Warrior exposing (Warrior)
import Warrior.History exposing (History)
import Warrior.Map exposing (Map)
import Warrior.Direction as Direction


takeTurn : Warrior -> Map -> History -> Warrior.Action
takeTurn warrior map history =
    Warrior.Move Direction.Right
Our warrior should now move right every single turn. Just save the file and refresh the browser, you do not need to run npm start again. The warrior should now reach the exit point quite easily.
Once the warrior reaches the exit point, it will transition to a new level of greater difficulty, requiring more intelligence in your turn function. Can you get through all the levels and escape the dungeon?
Solving the next levels
You may have noticed that the turn function takes three arguments.
The first argument contains information about the warrior itself. Its current health, current position, current items in the inventory, and so forth.
The second argument contains information about what the warrior can see. You can use this to look for the exit, or possible obstacles and dangers in its path.
The final argument contains information about all previous actions the warrior has taken, and the state of the warrior and map at those times. You can use this information to figure out if the warrior has been somewhere before, or remember where the warrior has seen something.
You'll need to make use of all these arguments to help the warrior escape the dungeon, and the operations you can perform on them is listed in the documentation, so make sure to read this carefully.
Debugging
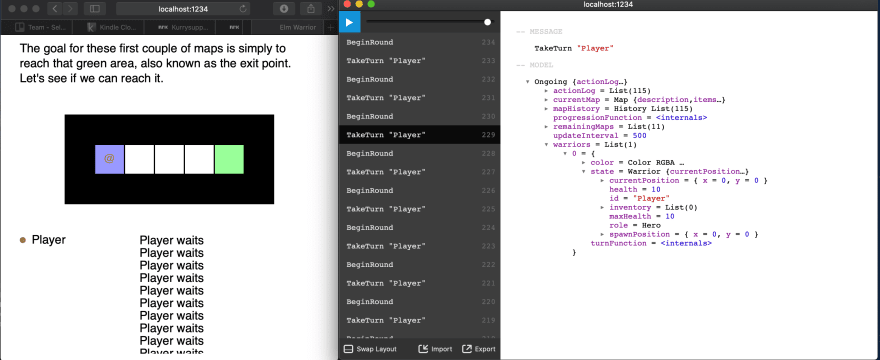
You might have noticed a little Elm logo at the bottom right of the browser window. Clicking this opens up the time-travelling Elm debugger.
The debugger allows you to step backwards in time to see what the state of the program was at a particular turn, which might make it easier to figure out why your function returned the action it did.
Speeding things up, or slowing things down
After a couple of runs, you might wish that the warrior moved a little faster, or a little slower. You can change this by opening src/elm/Main.elm.
module Main exposing (main)

import Player
import Warrior.Map.Progression as Progression
import Warrior.Maps as Maps
import Warrior.Program as Warrior


main : Program () Warrior.Model Warrior.Msg
main =
    Warrior.program
        { maps = Maps.all
        , players = [ ( "Player", Player.takeTurn ) ]
        , msPerTurn = 500
        , progressionFunction = Progression.reachExitPoint
        }
You can change the msPerTurn setting to whatever value you'd like. Setting it to 100 will speed things up significantly. Setting it to 0 will speed it up even more, but it might be difficult to see the individual actions the warrior takes. Slowing it down is just a matter of increasing the value.
Focusing on a single level
You might have seen that there is a maps setting in Main.elm as well.
At some point, you might not wish to run through every single map when you know that the warrior struggles with one in particular. You can see a list of all available maps in the documentation. If you make a list containing just the map you'd wish to run, and pass that to the maps setting, you can avoid spending time in maps you already know works well.
For instance, if you're mostly focusing on the second to last level, you can avoid having the warrior run through all the others by changing the Main.elm file to this:
module Main exposing (main)

import Player
import Warrior.Map.Progression as Progression
import Warrior.Maps as Maps
import Warrior.Program as Warrior


main : Program () Warrior.Model Warrior.Msg
main =
    Warrior.program
        { maps = [ Maps.straightGuardPickupPotion ]
        , players = [ ( "Player", Player.takeTurn ) ]
        , msPerTurn = 500
        , progressionFunction = Progression.reachExitPoint
        }
Further challenges
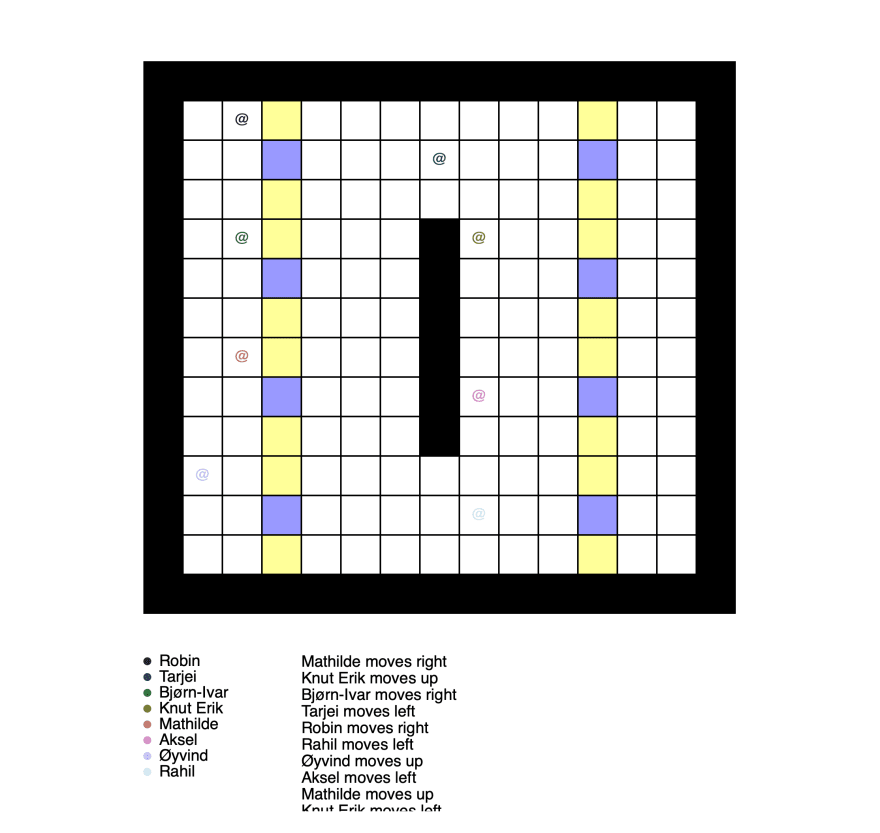
When you've successfully escaped the dungeon, you might wish you had more challenges. Elm warrior allows for both creating your own maps (and sharing with others) as well as a free-for-all deathmatch.
To create your own maps you can draw some inspiration from looking at the code of the maps you've just tried out as well as reading the map builder documentation.
For playing deathmatches, there is a separate multiplayer starter repo you can clone to get started. For extra fun, you can challenge your friends and see who has programmed the best warrior. May the best Elm programmer, win!


Top comments (2)
Wow, the game is so addictive. Puzzles are so fun and challenging. Thank you so much for making this.
👏👏👏 Aw heck yes!