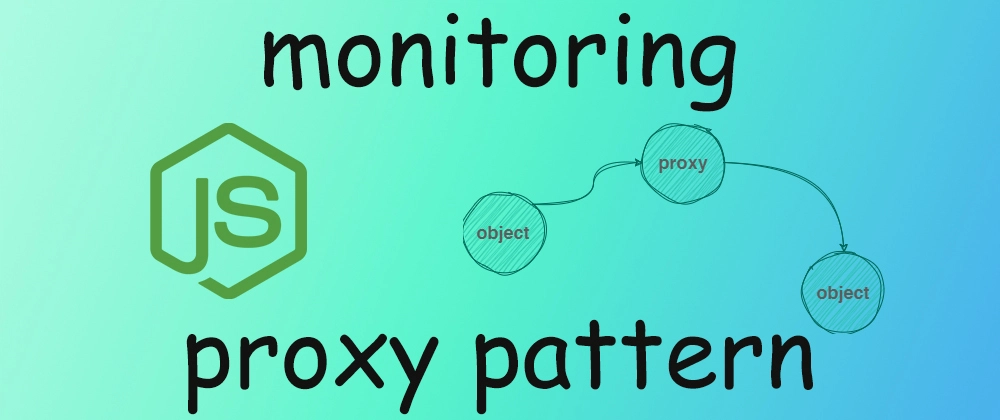
Introduction
why we need monitoring?
Imagine you have multiple machines (servers) running simultaneously, each located in a different place. To ensure they operate smoothly without issues, we need access to their logs and performance data.
This is where a good monitoring system comes handy.
What Will We Cover?
In this article, we’ll see how to use the Proxy pattern in Node.js to enhance monitoring and performance tracking.
What is Proxy design pattern?
Proxy categories as a structural and object-relational design pattern.
You might known Proxies to move a method calls over the internet.
The Proxy provides a surrogate or placeholder for another object to control access to it.
For example, imagine you have an object A on a server located across the world and you want to access to that. Instead of interacting with A directly, you create another object in your system call it B. Object B then takes responsibility for managing and controlling access to A for you.

Why Use Proxy for Monitoring?
The Proxy design pattern is great choice for monitoring because
Its lets you perform actions before and after send the request, that make your code decouple and maintainable.
Its allows you to logging every request that send to the object service and record them too.
By placing monitoring logic within the proxy, you can centralize monitoring functionality. This avoids scattering monitoring code throughout the client or the service object, making the monitoring implementation easier to manage and maintain.
Implementation
- setup our project
First, you need to install Node.js and npm on your device.
After that, create a directory for your service server and name it service.
Inside the directory, run the following command to initial NPM and install the Express package:
npm init -y
npm install express
- create service
Next, create file inside the folder and name it service.js. In this file create simple express app with POST /monitoring route.
In the same file, implement class for your data you want monitor. we'll call it ObjectService and create object from it named service.
The ObjectService class should store data related to the machine and include a monitoring method that returns its data.
Our /monitoring route will expect data in req.body, which is in our example is the city we want to monitor. Using this value, the route will call .monitoring(data) and return the result to the client.
const express = require('express');
const app = express();
app.use(express.json());

class ObjectService {
  location = 'Madrid';
  state = 'state one'
  monitoring(data) {
    console.log(`Real Service monitoring data: ${data}`);
    return `the location is ${this.location},
    the state is ${this.state}`
  }
}


const service = new ObjectService();

app.post('/monitoring', (req, res) => {
  const { data } = req.body;
  const result = service.monitoring(data);
  res.send({ result });
});

app.listen(3000, () => {
  console.log('Service running on port 3000');
});
At the end to run our service we use this command:
node service.js
- create proxy
Navigate to the main directory and then create folder named monitoring. Inside that create a file named monitoring.js
Javascript has built-in proxy object. in order to use that, we first create class with a property to carrying our proxy instance. We also define a monitoring method to call the proxy’s getter method and log the result.
To create proxy we use new proxy(target, handler)
Target (The Object to Proxy): This is the object that the proxy will wrap. It can be an object, array, or even another proxy.
-
Handler (The Object with Trap Methods): This is an object that defines traps (interceptor methods) to customize operations on the target.
Some common traps include:-
get– Intercepts property access -
set– Intercepts property assignments -
apply– Intercepts function calls -
construct– Intercepts object instantiation -
deleteProperty– Intercepts property deletion
-
class MachineMonitor {
    proxy;
    constructor(location) {
        this.proxy = new Proxy({ location }, proxyHandler);
    }
    async monitoring() {
        console.log(await this.proxy.monitoring);
    }
}
const machineMonitor = new MachineMonitor("Madrid");
Now we should create the proxyHandler object which has getter method inside that.
The get method takes two argument:
- Target Object: The object passed to the proxy.
-
Property: The property being accessed.
For example, if we call
this.proxy.x, the property is"x".
Finally after we add the proxyHandler object to our code it will look like this:
const proxyHandler = {
    async get(target, property) {
        // check the getter property
        if (property === "monitoring") {
            // call the service
            const response = await fetch("http://localhost:5000/monitoring", {
                method: "POST",
                headers: {
                    "Content-Type": "application/json",
                },
                // get location from the target object
                body: JSON.stringify({ data: target.location }),
            });
            const res = await response.json();
            return res;
        }
    },
};

class MachineMonitor {
    proxy;
    constructor(location) {
        this.proxy = new Proxy({ location }, proxyHandler);
    }
    async monitoring() {
        console.log(await this.proxy.monitoring);
    }
}

const machineMonitor = new MachineMonitor("Madrid");
await machineMonitor.monitoring();
Now open up a new terminal then navigate to monitoring folder and run this command
node monitoring.js
Then you will see the request send to our service and in our monitoring terminal we see
{ result: 'the location is Madrid,\n the state is state one' }
Also in our other terminal which we run the express service, we can see this:
Service running on port 3000
Real Service monitoring data: Madrid
Use Cases and Trade-offs
One of the main use cases of the Proxy pattern with monitoring is when you decide to create a distributed system with multiple servers.
Some trade-offs are:
- Performance Overhead
- Complexity
- Limited Control Over the Target
- Decoupled Code
- Scalability Concerns
Conclusion
In this article, we've explored how the Proxy design pattern can be used in Node.js for monitoring. By acting as an intermediary between clients and the actual service, the Proxy pattern provides a clean way to manage monitoring tasks, ensuring that your code remains decoupled and modular.
While there are trade-offs, such as potential performance overhead and increased complexity, the benefits of easier management and centralized control make this approach a valuable tool in this type of scenario. Ultimately, choosing to implement the Proxy pattern depends on your specific requirements and the scale of your application.

Top comments (14)
🔥
🫡
Amazing👏
I'm glad it was helpful❤️
😍
Can you share your contact for DM?
I just added in my profile. you can check that out
The Best.
Appreciate that
Wowwwww❤️🔥❤️🔥❤️🔥
I'm glad you like it❤️
Wow, so helpful for me.
Thank you, glad you like it
Perfect
Some comments may only be visible to logged-in visitors. Sign in to view all comments.