What is Heroku?
Heroku is a free cloud platform that lets you build, deliver, monitor, and scale applications. It supports several different programming languages, but for this specific blog post, I am going to break down how to deploy your Ruby on Rails app to Heroku.
Deploying your app to Heroku is a little tricky and there are so many scattered resources available so I set out to create a blog post with all the tips and tricks I’ve learned so far. This specific post is centered around deploying a Rails app, so the commands within your terminal may differ, but the gist should be the same (I linked an article about deploying a React App to the bottom)
Deploy Your App
Option 1: Create Your App with PostgreSQL
Step 1 : Create Your App
Rails new blog_app -- database=postgresql
Specifying-- database=postgresql changes the default database from sqlite3 in your application to make it compatible with Heroku, and this makes your life much easier when you eventually decide you want to deploy it to share with friends/family/ for your portfolio.
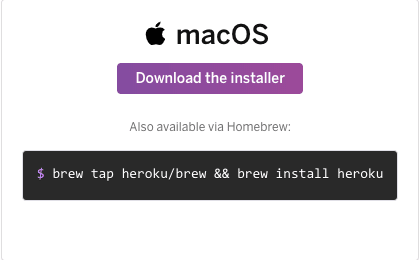
Step 2: Download and Install Heroku

https://devcenter.heroku.com/articles/heroku-cli
After downloading, run Heroku login and press enter to complete your login.
Create your free account if you do not already have an account.
(There is a limit on the number of free apps that you can deploy, hence the emphasis on free)
Step 3: Create a New Repository in GitHub
Proceed to create a new repository in your personal GitHub. To break it down further:
- click on your icon in the top right corner
- choose your repositories, and press the green “New” button. Once here, create a name for your repository, for this instance we’ll use “blog_app”, add a short and sweet description, and make sure it is public before we create the repository.
From here we can push our already existing code through the command line, or upload existing code.

Step 4: Create Your Heroku App Through the CLI
From here we heroku create. This will create some obscure for your website that you can change at a later time.
Step 5: Heroku Remote
git remote –v will let you see what remotes are connected to your project and if Heroku is listed you can go ahead and git push heroku master this is similar to git push origin master where the origin normally refers to your GitHub.
Step 6: Final Steps
heroku run rake:db migrate
If you receive a rake related error message try:
heroku pg:reset DATABASEheroku run rake db:migrateheroku run rake db:seed
And finally: heroku open
Make sure that your project has a default home page, otherwise you will need to remember to add the /login path or whatever your landing page is to see if the app deployed properly.
Option 2: Convert Database From Sqlite3 to PostgreSQL
If you created your app without specifying PostgreSQL it will most likely have defaulted to sqlite3 which is not compatible with Heroku.
Course of Action:
Find all instances of sqlite3. You can either
command + T* to search your project or search for it in the usual places: gemfile and database.yml(inside the config folder)
(*I use a Mac and have Atom set as my text editor)Replace the instances of sqlite3 with PostgreSQL
Rake db:resetis NOT supported by Heroku so to bypass this:
Runheroku pg:reset DATABASE
heroku run rake db:migrate
and finallyheroku run rake db:seed.
This will re-seed and migrate your database with the new PostgreSQL database. This is similar to runninggit statusand checking to see if your latest migration worked. Start up your local server using therails scommand for this specific Ruby on Rails project. If this database change worked you may proceed.Install the Heroku CLI and see the steps listed above to login, create a remote, push, migrate and open.
IF you have never used a PostgreSQL database, one final error you might be running into is a simple one. Open up your Postico database client (elephant icon) and make sure to turn it on! Once you've turned it on, it should remain running and you'll never have to think about it again. This is easily overlooked since it's a one-and-done kind of thing.
To download: https://eggerapps.at/postico/
Additional Help:
One thing worth noting :
As an additional resource, I recommend checking out this article on deploying a React App. The author, Chris, downgraded his Ruby version to make his app compatible but should only be done as a last option. He also specified different courses of action for his front and back end deployment and they were instrumental in the deployment of my apps.
https://medium.com/coding-tidbits/react-app-deployment-heroku-44a91f8903c6
I know Heroku can be frustrating, so I hope this post resolved some of your issues!


Top comments (1)
Thanks Sofia! This post was super helpful to get my mod 2 project's database moved over from sqlite3 to postgres and then deployed to Heroku