Setup A Basic REST Assured Maven Project In Eclipse IDE
In this post we will learn to setup a Maven – REST Assured in Eclipse IDE.
Pre-requisites
To begin your project, you must have the following installed and configured on your computer.
Java and Eclipse IDE •
TestNG which is unit testing framework •
Maven (either we can add jar file manually to our project or we can create a maven project)
Lest’s get started with creating the project.
Creating Maven Project in Eclipse
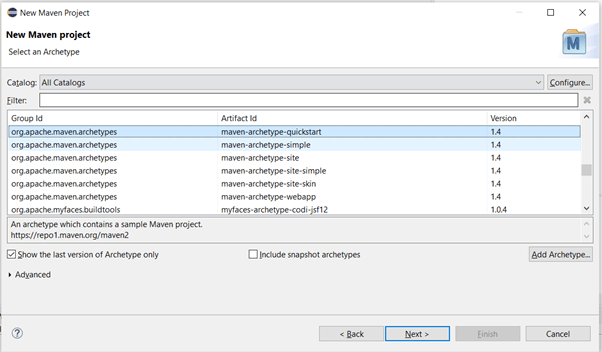
In the wizard text box, type Maven and then select Maven from the list box, as shown below. Click the Next> button.
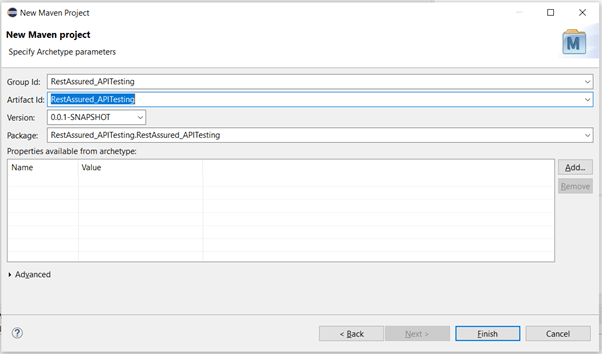
Type in the Group Id and Artifact Id (You can give any name to that) and click Finish button

Finally, the Maven Project “RESTAssured_APITesting” is successfully created. Please keep in mind that this Maven project generates pom.xml, as highlighted and shown below.

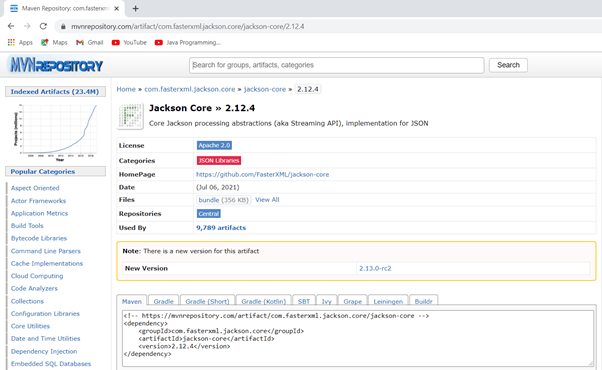
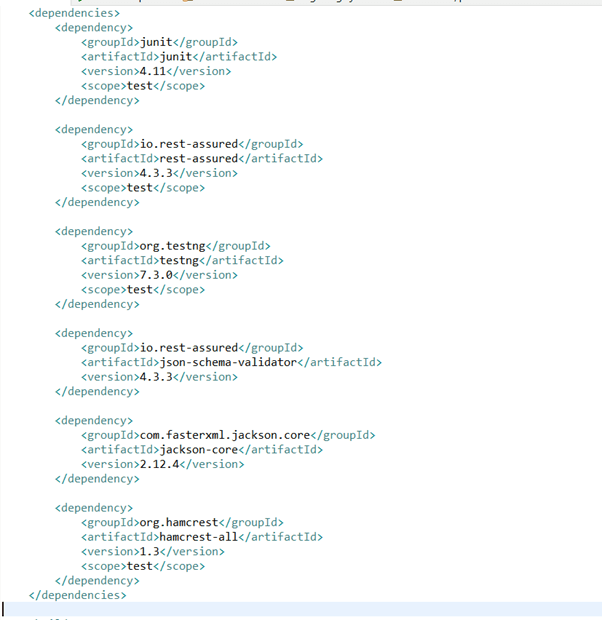
Add dependency of rest assured in pom.xml. For getting maven dependency, visit Maven Repository.

Add Maven dependency of TestNG/Junit in your framework. These tests framework will help in managing tests. TestNG is preferable as compared to Junit because of additional features in TestNG. You can copy the dependency from Maven Repository and then paste it in pom.xml.
- Add Maven dependency of Jackson JSON java parser and JSON Schema Validator in pom.xml. JSON Schema Validator will be used to validate JSON Schema while JSON java parser will be used for parse JSON to map java objects to and from JSON.


Top comments (0)