After creating a review for the Hacktoberfest event that you can read here. In this story, I would like to share steps by steps for contributing to the Hacktoberfest event. I made this story because my friends asked me to write about how to do it. I hope it can be helpful to others too.
The Workflow
Above is the workflow of these stories. You don't need to read all of these stories if you already understand the workflow. But, there may be in the world, there still ones who will use this article. So, let me write it.
The Content
Without taking more intros, let's work into the main point of this story.
1.Find the accepted project in GitHub. If you confuse about which repos you should contribute, begin with my article before.
Tips: whenever you try to find a project you want to contribute to, read the CONTRIBUTING.md files. In this project, the owner is asking for the contribution of something like this.
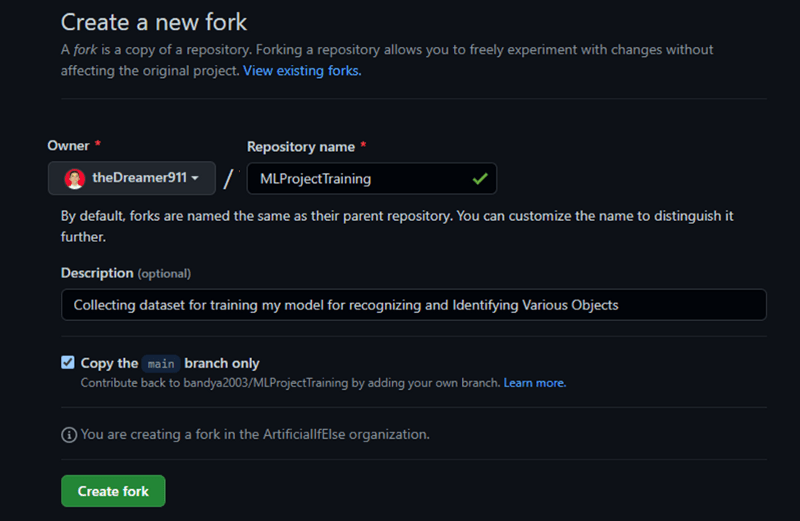
Because it's beginner friendly, let's use this repo as our project. After finding one you are interested in, click the fork button.
2.It will bring you to new pages for those who don't understand a fork. It's not a plagiarism act. It's the same method duplicated in Windows OS brought by GitHub.
3.After the fork is completed, you can see that the project owner is your account, with there is a note that the project is forked from the source's repos.
4.Clone the repositories by copying the git command from here.
After copying the clone command in your command line, run this command.
git clone <your_coppied_command>
It will download the data.
5.The clone command is the same as the download command.
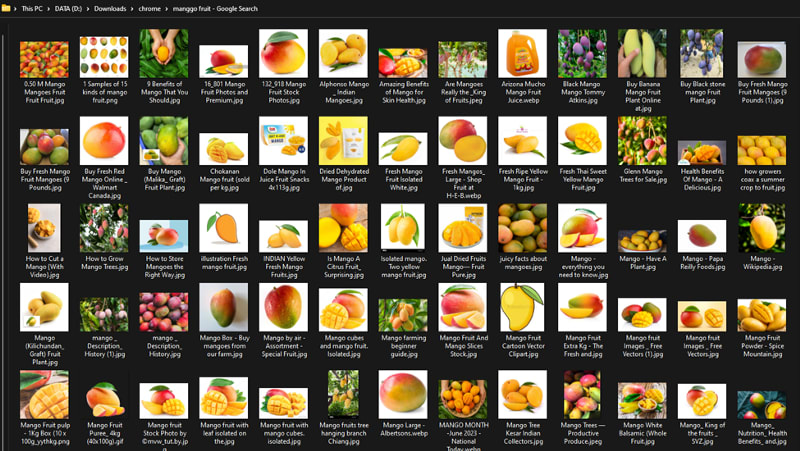
6.Here is the crucial steps because your contributions start here. As we read in CONTRIBUTION.md, we should add a picture to a dataset. For example, I would like to add mango to the fruits, so I try to find mango images from google. Also, I use Fatkun Batch Downloader to download image files in the collection of pictures automatically. For more information, you can read my previous article here.
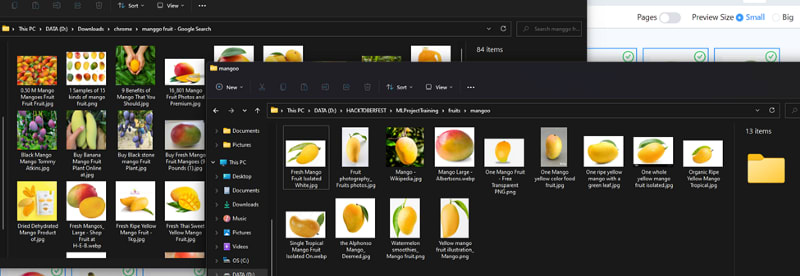
7.Because I am using the fatkun batch downloader, it will download all images based on the mango fruit search. But, well, it does not contain good images, so I have to filter which image I will use to contribute.
8.After that, I move all the filtered data into the project I want to contribute to. In this case, I already created a mango directory in the fruits section. I placed all the filtered data here.
9.After the data is ready, let's contribute using these steps. Save the local cache into git using the command (without backslash #).
git add . # adding your changed in local git
git commit -m <your message> # write a commit message from your added content using this command
git push -u origin # push the local change into your GitHub account using this
Or easily see the documentation below.
The message Branch 'main' must be set up to track remote branch 'main' from 'origin.' in the command line. It means there is no error when pushing your change to your GitHub.
10.The header message will be written as your previous commit.
11.Finally, push your changes to the origin repo by clicking the contribute button.
On the redirected page, fill in the commit you want; it will be better if you add a message.
Your Pull Requests (PR) should be on the waiting lists.
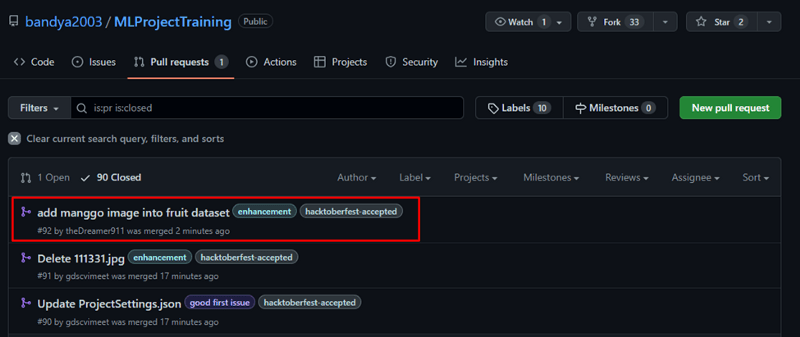
The speed of merging depends on the owner of the repo; it can take minutes, hours, days, even weeks, or never maybe. If they already accept your PR, it will be moved to the Closed section, and your PR will be written there.
Check out your Hacktoberfest, and their teams should count it like this.
The Hacktoberfest team will check your PR, and it took about seven days to change into Accepted.
Well, be patient and contribute only great resources.
Conclusions
After reading this, more people can join this event. Because this event is not only for the developer, but the primary purpose of this event is also to create open-source resources that are free to everyone. Thanks for reading, and remember this story is just an example you can follow it or find other reports. Just remember this, don't spam, and be a wiser contributor. Thanks. 😇


Top comments (0)