While GitHub profiles are the new hot thing it's not the only new thing GitHub has done as of late, so why don't we use the other thing they've released to create our new GitHub profile README, I'm of course talking about the new GitHub CLI tool GH.
Lets create a GitHub profile README using GH! 🎉
What is GH? GH is GitHub's new command-line tool, and while it's currently in beta don't let that fool you, it's powerful - letting you create forks, open pull requests, list, and close issues and so much more, you can see the full power on their documentation.
While I won't go over the installation here, GitHub has provided an impressive list of installation options on their documentation.
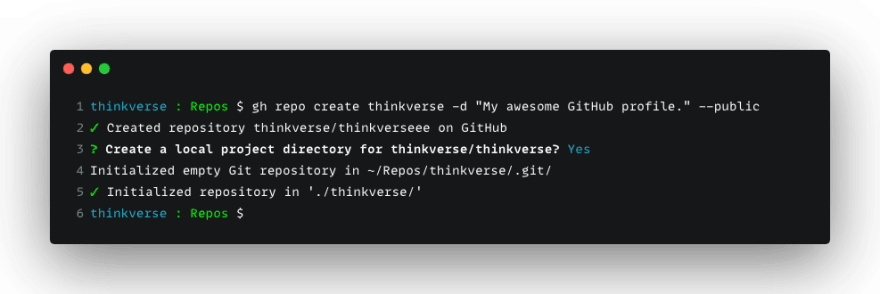
So, let's jump into it, the first thing we need to do is run the following command gh repo create, we will pass in two flags, the first flag is -d which is the shorthand for --description to give our new repository a nice description and the --public flag, indicating that our new repository will be public.
In the current version v0.11.1, you will get a prompt asking if you want a local version of your repository.
After accepting the prompt, your remote and local repository will have been created.
We will now cd into our newly created folder and cat some text into a README.md file, after that we will run ls to see if the file was created successfully.
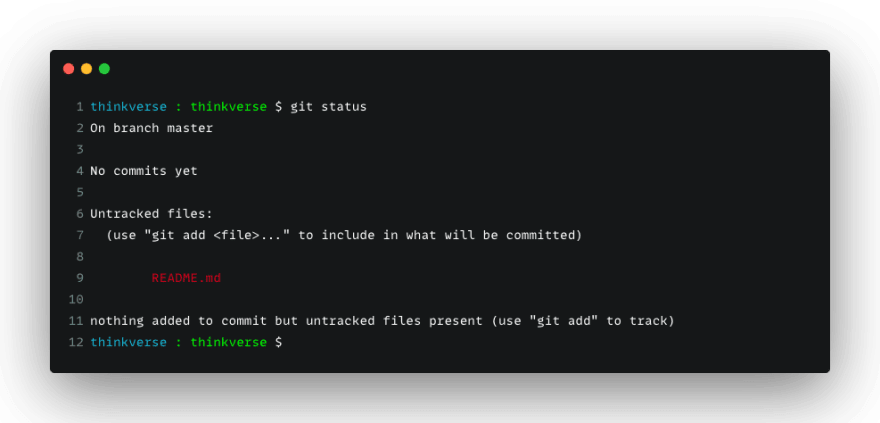
Using our trusty git status we will check the status of our new README.md
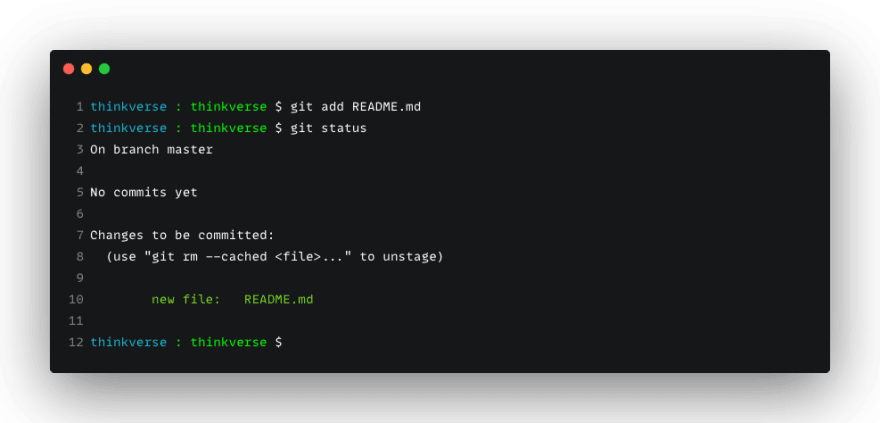
Running git add README.md we will stage our README.md file to our local staging area.
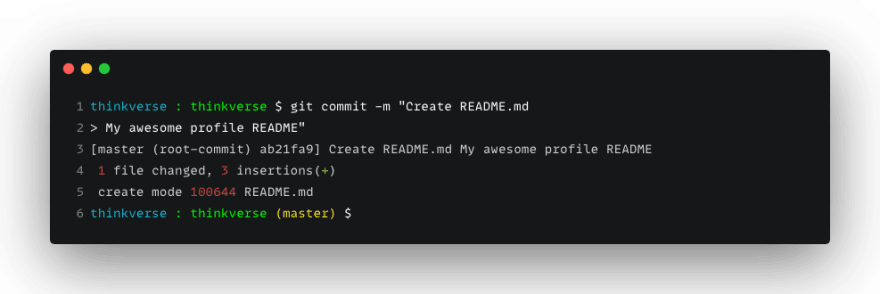
We will now run git commit with a nice message about our changes, in this case, we created a file.
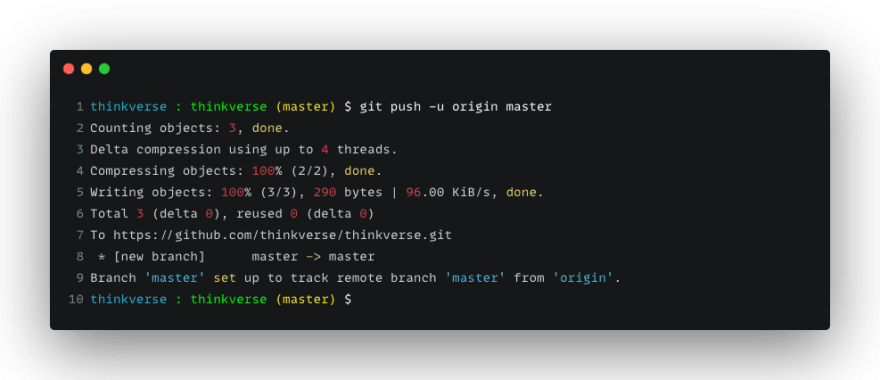
With all our work done, now we only need to git push our local version to our remote origin and we are done.
You will now have your very own GitHub profile README, created using only the command line. 👍
Challenge time. 🔥
To give yourself a challenge, why don't you create a new branch locally for your next changes and create a pull request for it using gh? 😎





Top comments (0)