What is Vim?
It's a powerful open-source text editor that allows you to edit your text files on the command line. You technically don't need to leave the Terminal to code.
Setup
I spent like 30 mins trying to figure out how to install Vim when I first heard about it, so I'm saving you the wasted effort: Vim comes pre-installed in MacOS. No need to install if your current version is the latest stable version. The most current version at this time of writing is Vim 8.1. Check out the latest stable Vim version at vim.org/download.php.
Updating Vim
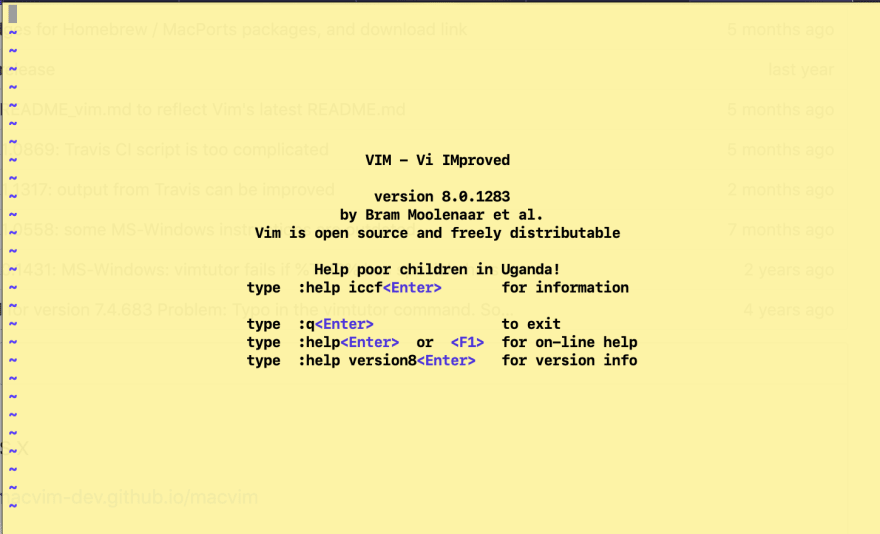
My current Vim is at version 8.0.1283. Sadly, it's not the latest stable version so I'm going to update it to ^ 8.1.x. FYI my laptop is a MacOS Mojave 10.14.4. If you are not a Mac user, click here for device-specific instructions (Unix or MS-Windows).
Get Current Version of Local Vim
To figure out what your local version of Vim, enter the command vim -v.
It should return something like below:
MacVim for OS
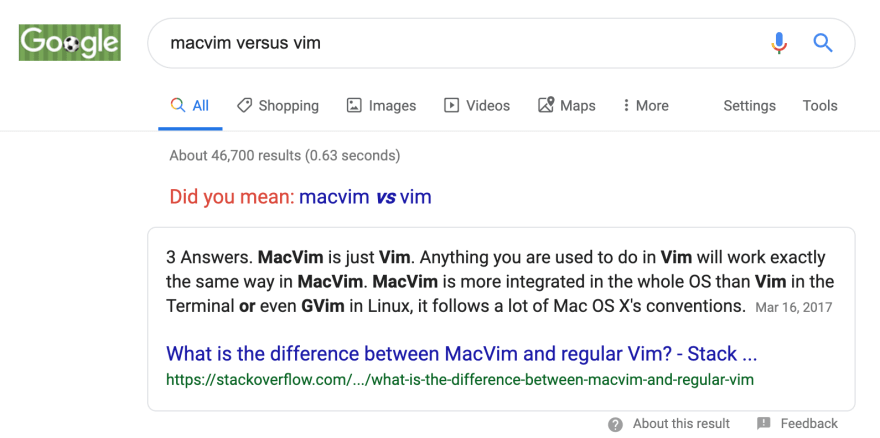
I decided to update using MacVim. There are other options though! If you're like me, you're wondering what the difference is between MacVim and Vim. Google says there's no difference 😁
Installing MacVim
- Go to https://github.com/macvim-dev/macvim/releases/latest for the latest version of MacVim and download MacVim.dmg
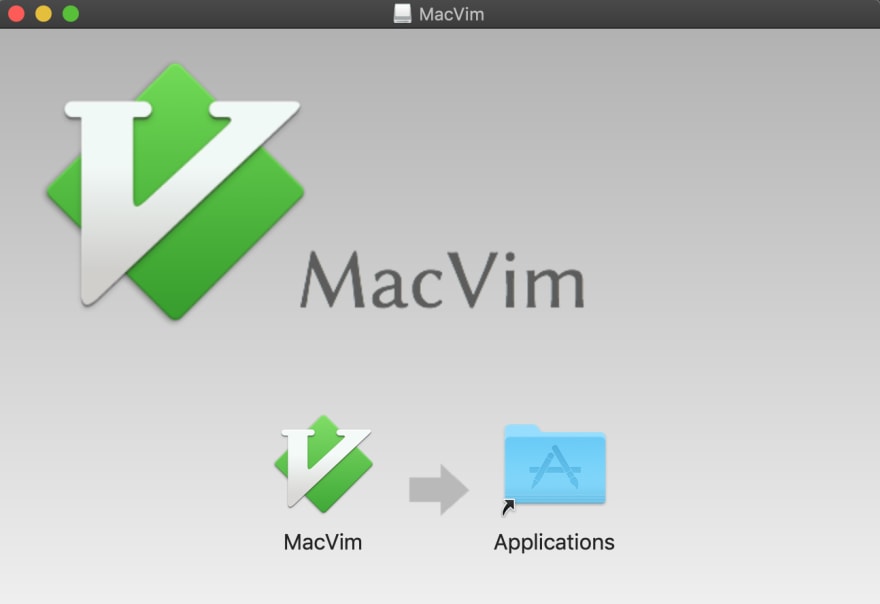
- Open the .dmg file, and copy MacVim.app to /Applications
- At this point, you can run the MacVim GUI by double-clicking the icon.
- You'll enter vim command mode once you double-click the icon.
- To exit vim command mode, type in
:qand press Enter.
Here's a list of common Vim commands below:
- type `:q<ENTER>` to **EXIT** out of MacVim mode
- type `:help mvim` for help
- type `:wq<ENTER>` to save and exit
- type `:q!` to exit without saving changes
- type `i` to enter insert mode
- press **ESC** to exit insert mode
Vim has two modes insert mode and command mode. For a starter list visit coderwall - basic vim commands.
Add mvim as a terminal command
You don't really want to rely on double-clicking the GUI every time you want to use MacVim. So, the next step is to add mvim* script to your path. In this way, your machine will know where to find the MacVim executable whenever you run the command mvim.
The easiest way to do this is to run the command:
sudo ln -s /Applications/MacVim.app/Contents/bin/mvim /usr/local/bin/mvim
The command above will link the mvim script to /usr/local/bin/mvim.
Once you do that, you can use
mvimto run a MacVim shell.To check if everything was linked correctly, enter
/usr/local/bin/mvimon the command line. It should open up MacVim.To check that you have the correct version, run:
mvim -v. You should see the latest version you just downloaded (old 8.0.x => new 8.1.x).
Optional - Make mvim your default vim
Want to use MacVim instead of the older version of Vim on the command line? Follow the steps below:
- If you already have a .bash_profile open it using the command
<bash_profile_path>; open .bash_profile;. - For example, my .bash_profile is located at my Users/ directory so I run the command
cd Users/<user_name>; open .bash_profile;. - This will open the .bash_profile text file. Add the alias below:
# ----------------------
# MacVim alias
# ----------------------
# use mvim as a default text editor, assuming you already have mvim installed
alias vim="mvim -v"
Note: If you don't know your <user_name>, run whoami on the command line.
- Viola! You're all set. Check the
vim -vand see an updated version of Vim. - Note: You need to open a new terminal shell or restart your terminal to see any of changes you've made applied to the shell.
Troubleshooting
Having trouble? Google it! StackOverflow will give you a clue how to debug. Or you can use some of the resources below.
I hope this helps someone! This is the first part of the series "Building a Docker Project Using Vim". Stay tuned for more!


Top comments (2)
Another way to install it on MacOS is using brew: brew.sh (Which is one of the tools you should be using if your Dev environment is MacOS :)) and executing the following command:
or if you prefer MacVim:
Thanks, Christian! ❤ I totally didn't include that in my article. I should've clarified that I wrote this because I wanted to learn how to update Vim without a package-manager like homebrew and symlink the application myself.