Introduction
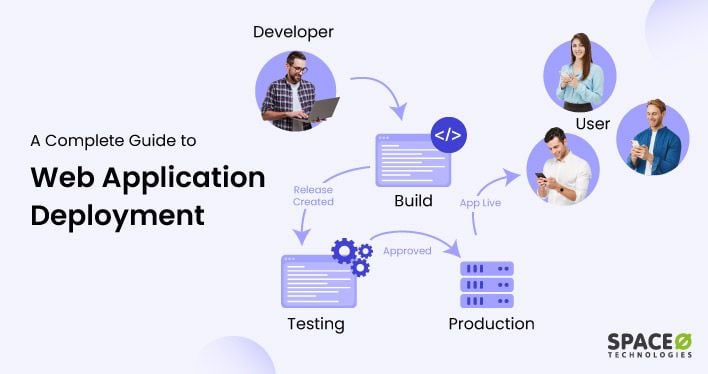
Imagine you’ve built an amazing web application, but now comes the crucial part—deployment. You need a scalable, high-performance, and reliable way to serve your users. This is where Nginx, MySQL, and AWS come into play.
In this guide, we’ll walk you through deploying a web app using Nginx as a reverse proxy, MySQL as the database, and AWS as the cloud provider. Whether you’re a beginner or an advanced DevOps engineer, this guide will help you set up a robust deployment pipeline.

Table of Contents
- Prerequisites
- Setting Up AWS EC2 Instance
- Installing and Configuring Nginx
- Setting Up MySQL Database
- Deploying the Web Application
- Configuring Domain and SSL
- Troubleshooting Common Issues
- Real-World Use Cases & Comparisons
- Resources & Further Reading
1. Prerequisites
Before we begin, make sure you have:
- An AWS account
- Basic knowledge of Linux commands
- A web application ready for deployment
- A registered domain (optional but recommended)
2. Setting Up an AWS EC2 Instance
Step 1: Launch an EC2 Instance
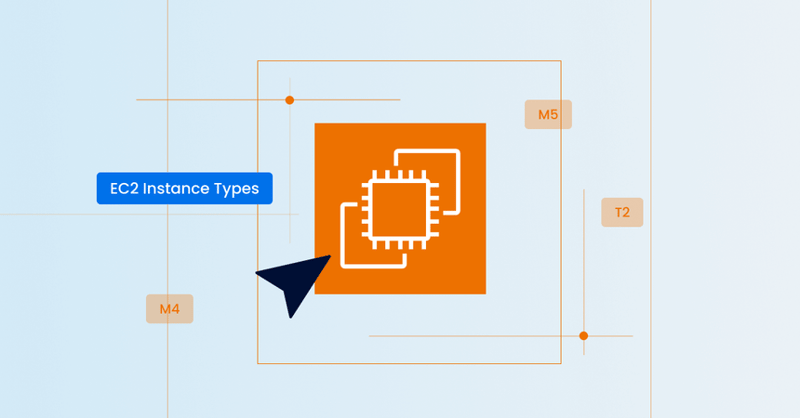
- Log into your AWS account and navigate to EC2.
- Click Launch Instance and choose an Amazon Linux or Ubuntu AMI.
- Select an instance type (t2.micro for free-tier users).
- Configure security groups to allow HTTP (80), HTTPS (443), and SSH (22) access.
- Launch and connect using SSH:
ssh -i your-key.pem ec2-user@your-ec2-public-ip
3. Installing and Configuring Nginx
Step 1: Install Nginx

sudo apt update && sudo apt install nginx -y
sudo systemctl start nginx
sudo systemctl enable nginx
Step 2: Configure Nginx as a Reverse Proxy

- Open the Nginx config file:
sudo nano /etc/nginx/sites-available/default
- Update the file with:
   server {
       listen 80;
       server_name your-domain.com;
       location / {
           proxy_pass http://localhost:3000; # Change port based on your app
           proxy_set_header Host $host;
           proxy_set_header X-Real-IP $remote_addr;
       }
   }
- Restart Nginx:
sudo systemctl restart nginx
4. Setting Up MySQL Database

sudo apt install mysql-server -y
sudo mysql_secure_installation
Creating a Database and User
CREATE DATABASE webapp_db;
CREATE USER 'webapp_user'@'localhost' IDENTIFIED BY 'yourpassword';
GRANT ALL PRIVILEGES ON webapp_db.* TO 'webapp_user'@'localhost';
FLUSH PRIVILEGES;
5. Deploying the Web Application
Cloning the App and Running It
git clone https://github.com/your-repo/webapp.git
cd webapp
npm install # or pip install -r requirements.txt
ohup npm start &
6. Configuring Domain and SSL with Certbot

sudo apt install certbot python3-certbot-nginx -y
sudo certbot --nginx -d your-domain.com
7. Troubleshooting Common Issues
| Issue | Solution |
|--------|----------|
| Nginx not starting | Check logs: sudo journalctl -xe |
| MySQL connection error | Verify credentials and user grants |
| Web app not running | Check app logs: cat nohup.out |

8. Real-World Use Cases & Comparisons
How Companies Use This Setup
- Startups: Deploy scalable applications quickly
- E-commerce: Handle high traffic efficiently
- SAAS Products: Secure, optimized database and web server setup
Comparison: Docker vs Virtual Machines
| Feature | Docker | Virtual Machines |
|---------|--------|-----------------|
| Performance | Faster | Slower |
| Resource Usage | Low | High |
| Isolation | Limited | Full |

9. Resources & Further Reading
What do you think? Comment below!
Subscribe for more DevOps insights and follow us on LinkedIn!


Top comments (0)