
Why this post?
Because I could not find any resource that tells me how to build a basic website with Liquid tags on GitHub. Through the GitHub web interface, not through any CLI, whether Jekyll or Git. Without needing to install Jekyll (which isn't officially supported for my Windows machine anyway).
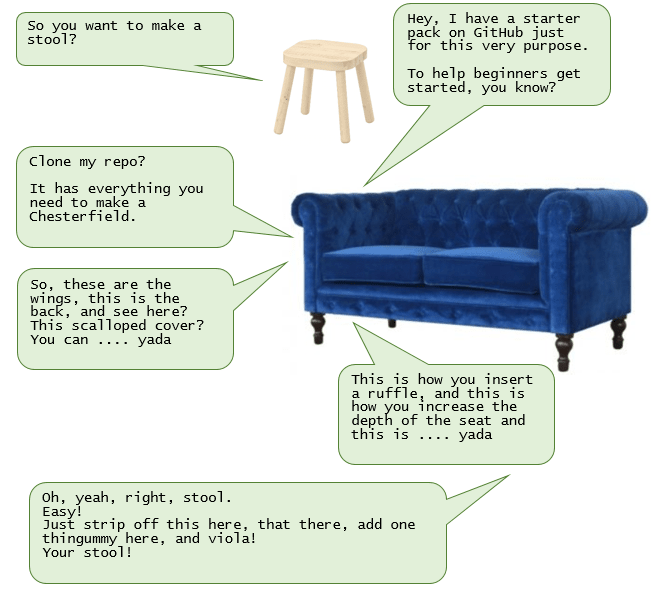
Also because the official Jekyll documentation (and the official Jekyll tutorial) assumes a level of knowledge that I do not have. Also because all the so-called starter packs I found on GitHub (and through Google) have way too many files to be useful to me as a beginner.
So, this post.
This post is for people like me who get frustrated when they encounter something like this:
This post assumes you know the basics of HTML and CSS.
GitHub is a source-code repository; it also gives you a webpage for each of your repositories. The intention of this post is to show you how to make use of GitHub's hosting facility to build your website.
GitHub uses Jekyll to render the pages on your website.
This means, GitHub's publishing engine expects the same directory structure that Jekyll's publishing engine expects. Which is something like this, if you start off with the barest minimum files:
- _layouts        # folder to contain HTML templates
  -- default.html
- css             # folder to contain stylesheets
  -- main.css
- topics          # folder to contain pages of the website
  -- page1.html
  -- page2.html
  -- page3.html
- _config.yml    # basic configuration info
- index.html     # landing page of the website
Jekyll uses the Liquid template engine to create webpages. This means, you can use Liquid variables in your HTML pages, and during build time, the value of these variables will be inserted onto the page. So, for example, if you have something like this:
<p>I graduated in {{ grad_year }} and have since worked with {{ company_1 }} ({{ comp1_start_year }} - {{ comp1_end_year }}), {{ company_2 }} ({{ comp2_start_year }} - {{ comp2_end_year }}), and {{ company_3 }} ({{ comp3_start_year }} - {{ comp3_end_year }}).</p>
it'll be rendered on the page like this:
I graduated in 2020 and have since worked with WB (2020 - 2025), YOLO (2025 - 2074), and FIK (2134 - 2135).</p>
You can immediately see the possibilities that Liquid gives you, right? You can almost build dynamic webpages with a static site generator. Almost. Without needing to install or configure anything.
So go ahead, create that GitHub repo and build a website. Once you're comfortable with this basic setup, you can explore the full power of the objects, tags, and filters of Liquid.
If you need a template to take off running, I've created one for the files you'd need: jekyll-github-starter-pack. It also has a README to help you get started.
Was this useful?


Top comments (0)