Jenkins is an open source automation tool which made CI and CD super easier to implement. But for beginners, it would take loads of time to come up with a solution for a feature. It has limitations, but comes with a wide range of plugins which would add lots of features.
Here is my Part 1 which explains on some UI tweaks which can be added to Jenkins.
Prerequisites
As we are discussing about tweaks, All you need is:
- Basic Understanding on how to write pipelines in Jenkins.
- Basic Linux and Java skills to understand the working.
- Groovy for scripting
Setting up pipelines:
In Jenkins pipeline can be defined in two types of syntax
- Declarative
- Scripted
Declarative approach helps us to to write and read Pipeline code easier. It provides support for various technologies like Docker and Kubernetes. I will be using this approach.
pipeline {
    agent any
    stages {
        stage('First Stage') {
            steps {
                echo 'Hello world!'
            }
        }
        stage('Second Stage') {
            steps {
                echo 'Hello Hello world!'
            }
        }
    }
}
Scripted approach was the first implementation of Pipeline as Code and is imperative programming approach.
node {
    stage('First Stage'') {
        echo 'Hello world!'
    }
    stage('Test') {
        echo 'Hello Hello world!'
    }
}
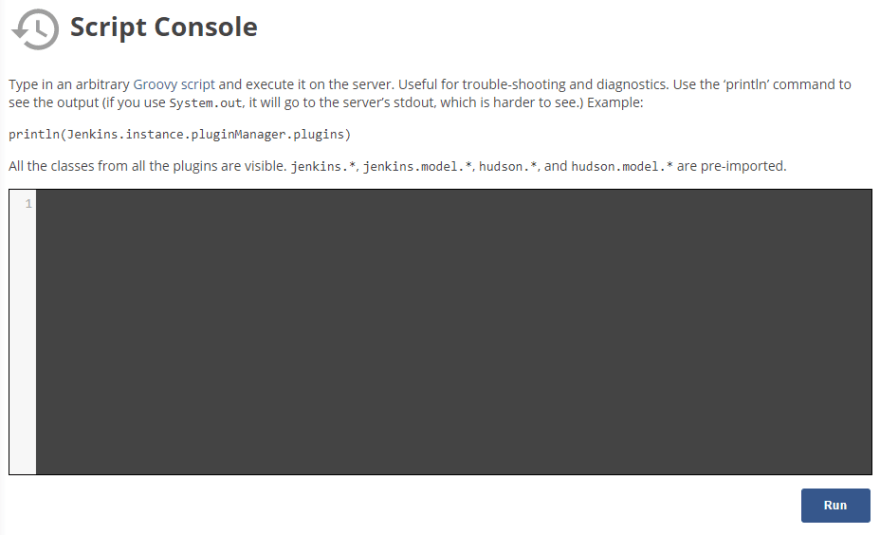
Script Console
The script console in Jenkins provides an environment to try out scripts which can be used in Jenkins without Script approval. 😆
Don't ever reload the page without copying the script
You can find the script console by navigating to
YOUR_IP:PORT/script
for example:
107.235.18.170:8080/script
Adding Parameters to Pipeline:
Parameters in Jenkins can be used to define environment variables which can be accessed in the pipeline for performing certain tasks.
Go to your project > Configure > Checkbox "This project is parameterised"
Snippet Generator
Snippet Generator will generate pipeline script which can be used inside the pipeline. It generates scripts for installed plugins. I have already explained in my last blog on how plugins can add features to Jenkins.
Go to your Project > Select Pipeline Syntax from the LeftPane > Snippet Generator
Generate Scripts for Declarative Syntax
Go to your Project > Select Pipeline Syntax from the LeftPane > Declarative Directive Generator
Conclusion
Lets conclude the above learnt steps from an example
Install Extended Choice Parameter
Manage Jenkins > Manage Plugins > Search for " Extended Choice Parameter " > Install without restart
Extended Choice Parameter is similar to Choice Parameter where user is provided with choice, but extended choice provides enhanced features by providing a way to use Groovy Script which can be used to return array of values.
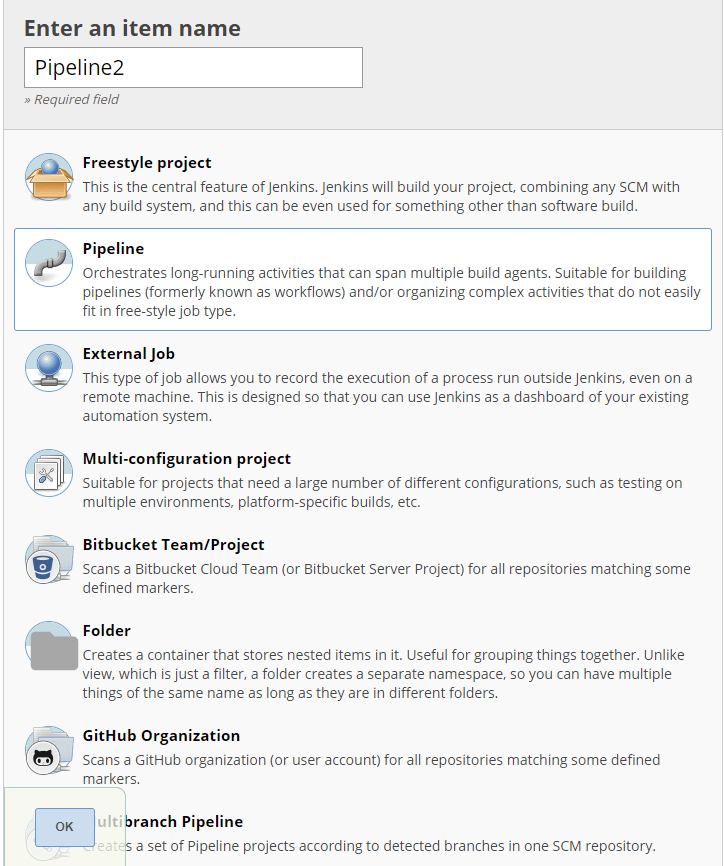
Create a pipeline
New Item > Select
Pipeline> Enter an item name > OK
Lets copy the pipeline script provided at top in declarative approach to Pipeline script
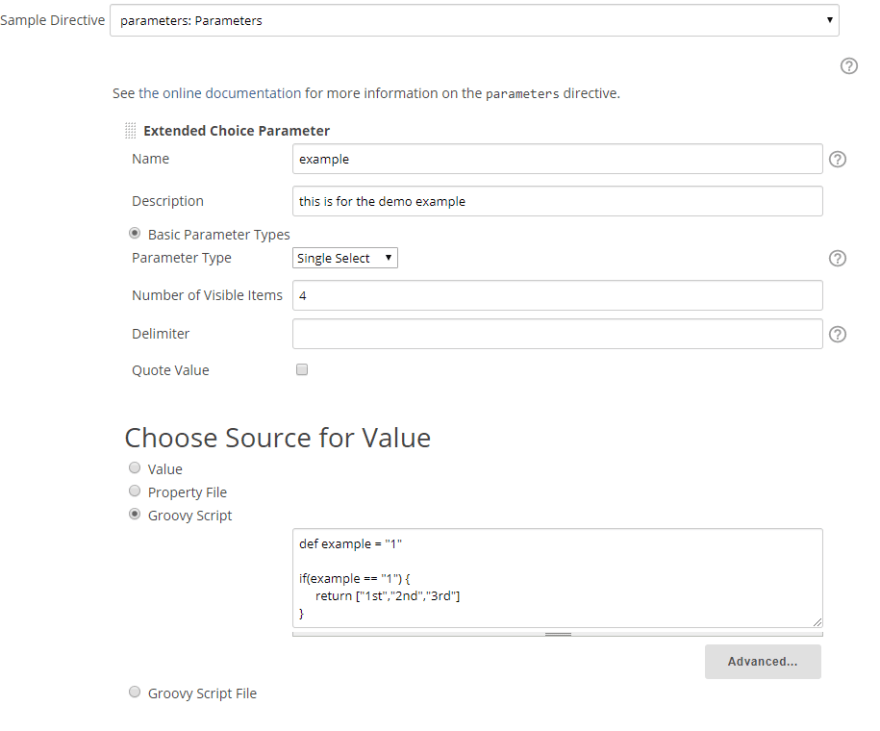
Generating extended choice parameter from Declarative Generator
In the Declarative Generator > From the dropdown select parameters: Parameters > Add > extendedChoice: Extended Choice Parameter
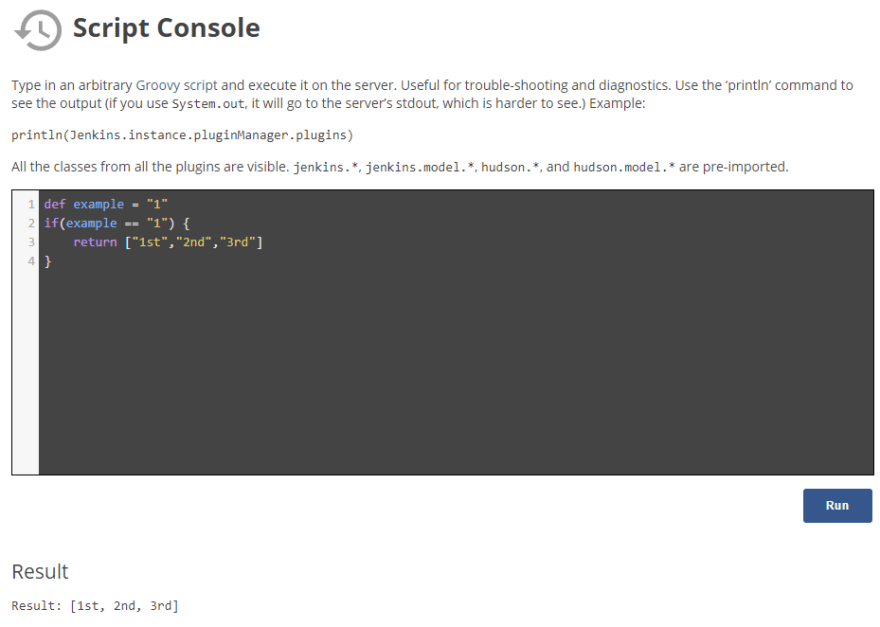
Verify the working of script in Script Console
In another tab, verify the working of the script

Generate Declarative Directive from Declarative Generator and Copy
Here is the final pipeline which I can use in the Pipeline Script of the project.
pipeline {
    agent any
    parameters {
      extendedChoice bindings: '', description: 'this is for the demo example', groovyClasspath: '',
        groovyScript: '''def example = "1"

      if(example == "1") {
           return ["1st","2nd","3rd"]
      }''', multiSelectDelimiter: ',', name: 'example', quoteValue: false, saveJSONParameterToFile: false, type: 'PT_SINGLE_SELECT', visibleItemCount: 4
    }

    stages {
        stage('First Stage') {
            steps {
                echo 'Hello world!'
            }
        }
        stage('Second Stage') {
            steps {
                echo 'Hello Hello world!'
            }
        }
    }
}
Now build the Project using Build Now
After the first build, the Build with Parameters replaces Build Now
Click on Build with Parameters to Select to select the parameter and Build
These tweaks can make Jenkins awesome for CICD pipelines and is loved by many ❤️.
Thanks!!


Top comments (0)