⚠️ UPDATE 7/7/2019: This post was written before themes was stable. Some API and code in this post might not be accurate now. Proceed with caution. ⚠️
With the introduction of theming in Gatsby, it’s easier than ever to get started building a Gatsby site. Shared functionality, data sourcing, and design can all be prepackaged as a Gatsby Theme that’s an NPM install away. — Gatsby Themes Introduction
A Gatsby theme is a reusable block of a Gatsby site that can be shared, extended, and customized (source). It was introduced 6 months ago and is still in experimental phase. As such, among hundreds of currently existing “starters” (boilerplate sites), very few are specifically built to use with themes.
In this post, we are going to use the gatsby-theme-blog-mdx theme in a blank site created with the long-standing hello-world starter. This is the most basic Gatsby starter site, which is equivalent to initializing a package, installing yarn add gatsby react react-dom, and returning one line of hardcoded page. I want to see if I could build a theme-powered site with the minimum amount of theme-specific knowledge and packages.
I’m going to start with the “happy path” so you can follow along and see how things work. After that, I’m going to show you the issues I encountered and how I got around them, followed by my notes and conclusion.
Table of Content:
- ☀️ The Happy Path
- ⛈ The Winding Path
- 📝 My Notes
- 🚪 Conclusion
☀️ The Happy Path
⚠️ Gatsby Themes are currently experimental. Theme API might change in the future. ⚠️
1. Create a Gatsby site
We use the official gatsby-starter-hello-world to create a new Gatsby site. I create it in a folder called eka-hello-world-starter; you might want to replace it with your own name. 😀
# create a new Gatsby site using the hello-world starter
gatsby new eka-hello-world-starter https://github.com/gatsbyjs/gatsby-starter-hello-world

# go to the site folder
cd eka-hello-world-starter

# run to check if it works
# (stop by pressing Ctrl + C)
gatsby develop
2. Import the theme
yarn add gatsby-theme-blog-mdx
3. Add the theme to our site
The starter we use does not have gatsby-config.js, so create it in the root of your site with the following content:
// eka-hello-world-starter/gatbsy-config.js
module.exports = {
  __experimentalThemes: [
    {
      resolve: `gatsby-theme-blog-mdx`,
      options: {},
    },
  ],
}
As you can see, this resembles how we add plugins to our site. We can also set specific options, which we can see in the theme's README.
4. Add your page content
Create a folder called posts in the root of your site, and create an .mdx file inside.
# create "posts" folder
mkdir posts

# create a file called "hello-world.mdx" in "posts"
touch posts/hello-world.mdx
Write your page content in the file. This is just an example; you can write anything as long as you fill the title field in the frontmatter.
---
title: Hello World
---
Hello, world! This is a demo post for `gatsby-theme-blog-mdx`.
Note: The folder name posts is defined in the theme. You have to use that name unless you override the code (which is beyond the scope of this post). However, the file name can be anything you want.
5. Create an author list
We don’t actually use an author list in the UI, but the file is required by the theme. I’m going to discuss more about this in the next section. For now, let’s create a folder called data inside src, and create a file called author.yaml there.
# if you're still in "posts" directory, move up to project root
cd ..

# create "data" folder in "src"
mkdir src/data

# create a file called "author.yaml" in "data"
touch src/data/author.yaml
Add a field called id with any value.
# eka-hello-world-starter/src/data/author.yaml
- id: eka
6. Remove our site’s index.js
The starter site comes with an index page component. But in this case, we would like to use the theme’s index instead, so we shall delete our eka-hello-world-starter/src/pages/index.js file.
7. Run the app
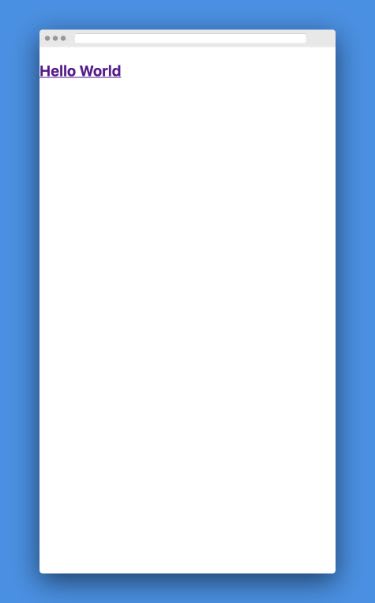
Run gatsby develop. If everything goes well, we can open http://localhost:8000 in the browser and see a simple page with a title and a link to our posts page (“See writing”).
Clicking the link takes us to http://localhost:8000/blog, the post list page. We can see our post title, “Hello World”.
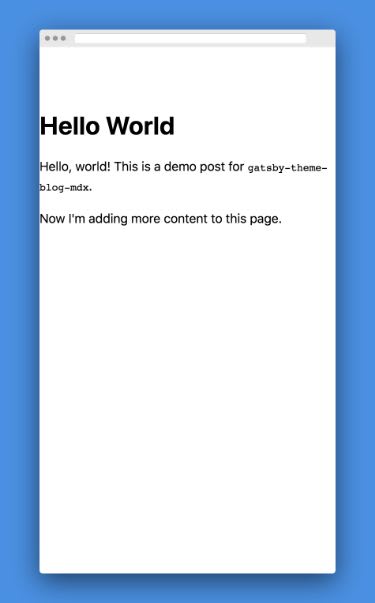
When we click the title, we go to http://localhost:8000/posts/hello-world, which contains the text we wrote in hello-world.mdx earlier.
Add another line to our hello-world.mdx, and you can see the page automatically update with the new content.
We’ve got us a blog! 🎉
8. Add a cat (optional)
Now let’s add another page. I’m adding a file called cat.mdx here:
---
title: Happy Cat
---
Hello from a happy cat!
But wait… we’re going to do something else now. With MDX, we can add React components to a Markdown page.
We are going to add this wonderful package miukimiu/react-kawaii and import it into our new page.
# if you're still in "posts" directory, move up to project root
cd ..

# install the package
yarn add react-kawaii
Now let’s go back to our post file and add a component from the newly-installed react-kawaii package.
---
title: Happy Cat
---
import { Cat } from "react-kawaii"

Hello from a happy cat!

<Cat size={320} mood="excited" color="#FFD882" />
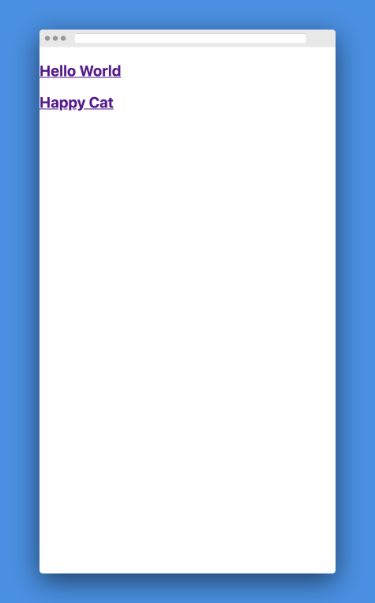
Run the app with gatsby develop, open http://localhost:8000/blog, and we can see our new post there.
When we open the post page, we can see our post with the SVG cat image.
The ability to import components—whether components installed from an external packages or local ones—means we can add all sorts of interesting things to our pages! With Markdown and transformer plugins, we can already embed external media, but now we can add even more rich, interactive content. ✨
Next, I’m going to retrace my (confused) steps before arriving at the “happy path”. You may also skip to the Notes and Conclusion at the end of this post.
⛈ The Winding Path
gatsby-theme-blog, the one who got away
- I initially began from the Getting Started page. I installed
gatsby-starter-blog-themeas per the instruction. I assumed this would be a starter site for using thegatsby-theme-blog, but the starter does not exist (discussed in this issue). - I searched for
gatsby-theme-blogand found the package. It was then I wondered if it’s possible to usegatsby-theme-blogin a regular Gatsby site—ie. one not created specifically forgatsby-theme-blog—which led me to write this post. Only one way to find out… - I created a basic
hello-worldsite and addedgatsby-theme-blog, which was the same as steps 1 to 4 in the section above:- Ran
yarn add gatsby-theme-blogin my site folder - Added
__experimentalThemes = ["gatsby-theme-blog"]togatsby-config.js - Created an example post and the home page as instructed in steps 2-3 in the page
- Ran
- With bated breath I ran
gatsby develop, and…
Error: TypeError [ERR_INVALID_ARG_TYPE]: The "path" argument must be   of type string. Received type undefined

gatsby-config.js:67 module.exports
[eka-hello-world-starter]/[gatsby-theme-blog]/gatsby-config.js:67:34
- As we can see, this error occurred because I did not supply the
path, whatever it might be. I opened the theme’sgatsby-config.jsinnode_modulesfolder. Thetypographyplugin options seemed to be the culprit, so I commented it out.
{
  resolve: 'gatsby-plugin-typography',
  // options: {
  //   pathToConfigModule: path.relative(
  //     root,
  //     require.resolve('./src/utils/typography')
  //   ),
  // },
},
- Then cleared cache and restarted the app. The error above was gone… but it’s replaced by another error:
GraphQLError: Expected type MarkdownRemarkFieldsEnum, found frontmatter___date; Did you mean the enum value frontmatter___title?
### other log message
TypeError: Cannot read property ‘allMarkdownRemark’ of undefined
gatsby-node.js:44 graphql.then.result
[eka-hello-world-starter]/[gatsby-theme-blog]/gatsby-node.js:44:35
-
I checked the offending line in the theme’s
gatsby-node.js. It wasconst posts = result.data.allMarkdownRemark.edges, which merely stated the GraphQL query failed, hence noresultdata. The message before that hinted that the error might be related to the file frontmatter.- I checked and made sure that: (1) I have Markdown files in both
pagesandpostsfolders (just to be sure), and (2) the files havetitlefield in the frontmatter. - I also checked the theme’s
gatsby-config.jsto ensuregatsby-source-filesystemandgatsby-transformer-remarkplugins existed. - Last, I checked the README to ensure there is no required option to include. (Also tried the
postsPerPageoption just because.)
- I checked and made sure that: (1) I have Markdown files in both
Restarted the app, and… same error. Gave up, made myself coffee. 😬
Then I saw in Gatsby’s official themes list that
gatsby-theme-blog-mdxhad an example site, so decided to use it instead.
gatsby-theme-blog-mdx
- This theme has a corresponding starter, but I did not use the starter directly because I wanted to have better understanding of adding a theme. I just peeked at the starter when I found a problem (more on this below) to compare the code.
- I took steps 1-3
- I had no idea where to add my content (the MDX files). I’d have been able to investigate in
gatsby-config.js, but I found out faster by looking at the example site that the MDX path isposts. All in all, there are three places I could discover where to put my content:- 1) the theme files (this theme provides a sample post format, but I guess other themes might not?)
- 2) the theme’s associated starter site
- 3) the theme’s
gatsby-config.jsfile
- The example MDX file has three frontmatter fields:
title,date, andauthorout of eight available fields. At this point, I did not know which ones were mandatory. I just deleted everything excepttitle; I would add them back if there were any errors. -
[Related to Step 5 in the previous section] A quick look at the starter showed the existence of
src/data/author.yml. But I ran the app anyway, wanting to go with as minimum modification as possible. As expected, I got a error:
Error: MdxFrontmatter.author cannot convert to OutputType the follow ing string: ‘AuthorYaml’
- I opened the theme’s config and found the culprit, the line
mapping: { "Mdx.frontmatter.author":AuthorYaml}. I commented out the offending lines, then ran the app again. It worked!! 🙌🏾 - Now that I knew the app worked, I wanted to fix the
AuthorYamlissue without modifying the package file. Modifying package content is not good practice in the long run—if I were to update the app, I’d have to repeat the step above. If I shared my project in a repo, I’d have to tell everyone cloning the project to do it. I tried to override themappingvalue with poorly-thought attempts like"Mdx.frontmatter.author": false😝 to no avail. - So the choices are either to: (a) modify the theme file, or (b) create
author.ymlfile in my site. I went with the latter, adding only theidand omitting other fields. - At this point, the app already worked. However, I did not know what the URLs of the pages generated by the theme. The “hacky” way to find out is to type any unavailable path (eg. http://localhost:8000/aaa), which would show Gatsby’s dev error page and list the available paths. But I wanted to see the theme’s index page! So… ↓
-
[Related to Step 6 in the previous section] I removed the
src/pages/index.jsfrom thehello-worldstarter and restarted the app. Voila, I got what we saw in Step 7!
That’s the end of my trial and error; the remaining steps went smoothly.
📝 My Notes
These are the notes and random thoughts I had about using themes. Bear in mind these are mostly my subjective thoughts and I have not fully mastered themes, so they might not be fully accurate!
🤔 What kind of Gatsby site can use themes? How much do I have to learn in order to use themes?
Any Gatsby site—built on any starters OR without starter (ie. you manually installed the dependencies)—can use themes. The single required step is to add __experimentalThemes field containing the theme name in gatsby-config.js.
🤔 So why do we have starters specifically built for a specific theme?
A theme’s functionality can range from adding one single empty file—like this “smallest possible Gatsby theme”—to a whole complex site. As you can see in our experiment above, even with a fairly simple theme, we still needed to figure out where to put our posts and what the frontmatter should consist of, to name but a few.
Thus, I understand the need for a theme-specific starter to onboard users painlessly. As described in Themes Introduction, “an install of a starter will consist of demo content and a compact gatsby-config”. You may also convert your old starter to a theme and then consume it from any site.
Despite that benefit, however, I feel that reliance on theme-specific starters would defy the motivation of themes. Themes are supposed to be modular “LEGO blocks”—such as blog, ecommerce, search, data from any source—that developers can assemble to meet their needs (source). As such they should be resilient enough to be added to any kind of Gatsby site, big or small.
My current approach, if I were to add a Gatsby theme in a real-life situation, would be to treat the theme-specific starter site as a documentation of how to implement that theme (file formats, paths, etc).
🤔 I keep seeing yarn workspace in tutorials. Is it required?
You do not need yarn workspace to use themes; you need it to create themes locally (in your machine’s folder). If you import a theme published on NPM, like we do in this post, yarn workspace is not necessary. Check out this great post to learn more about yarn workspace: Setting up Yarn Workspaces for Theme Development
🍃 Topic I’m keen to explore later: Conflict between different themes, especially once a project grows in size. For instance, what if multiple themes use the same path and file format as source (eg. /posts) without capability of customizing the path? We would either need to write lots of conditionals in our config, or modify theme files directly. Is that even likely?
🚪 Conclusion
For the most part, Gatsby Themes live up to its promise: a theme is indeed “an NPM install away”, and it indeed enables users to add content without touching code. (In my opinion, building a themed site still requires at least intermediate familiarity with Gatsby in general—which is greatly helped by Gatsby’s exhaustive documentation.) Themes’ helpfulness largely relies on documentation (“how to use this theme?”) and/or a corresponding starter site.
Up next in this series: I’m going to create a Gatsby theme locally.
Stay tuned and thanks for reading! 🙌🏾
📚 For a list of Gatsby Themes resources, go to the end of my Introduction post


Top comments (0)