Webpack 是一個帶有豐富多樣功能的前端網站包裝工具,將我們網站的各項資產 HTML, CSS, images, JS 進行包裝/壓縮/相容性排除/效能提昇等工作,這次就讓我們透過 Webpack 5 Up and Running 這本書一一剖析 Webpack 的各種強大功能吧!
1. Without Webpack or Other Module Bundler Library
首先先來測試看看,我們在沒有 Webpack 的情境下,應該如何進行作業。
Let's Do This Now 🔥
- 專案初始化
# 初始化專案
mkdir 01-sample-app && cd 01-sample-app
npm init -y
自動產生 package.json
{
  "name": "01-sample-app",
  "version": "1.0.0",
  "description": "",
  "private": true,
  "main": "index.js",
  "scripts": {
    "test": "echo \"Error: no test specified\" && exit 1"
  },
  "keywords": [],
  "author": "",
  "license": "ISC"
}
- 撰寫 JS Component
Dir: src/index.js
function component() {
  let element = document.createElement('div');
  // _ 使用 lodash 第三方 Lib
  element.innerHTML = _.join(['Testing', 'without', 'webpack'], ' ');
  return element;
}

document.body.appendChild(component());
- 撰寫 HTML
Dir: index.html
<!doctype html>
<html>
  <head>
    <title>Webpack - Test</title>
    <!-- 引用 lodash Lib -->
    <script src="https://unpkg.com/lodash@4.16.6"></script>
  </head>
  <body>
    <!-- 載入 index Component -->
    <script src="./src/index.js"></script>
  </body>
</html>
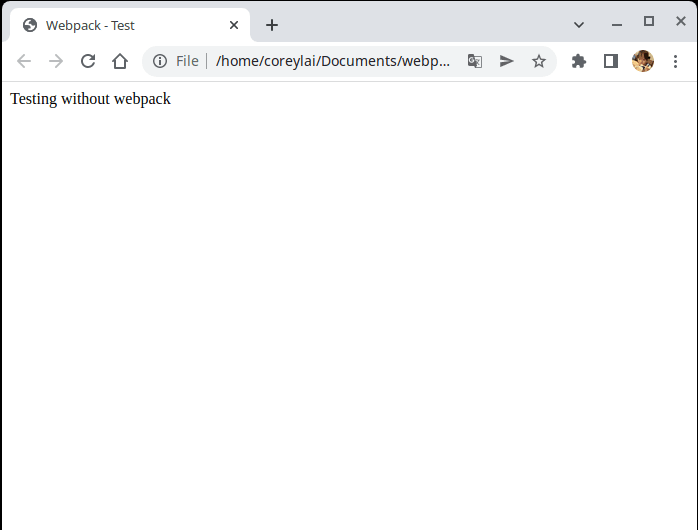
- 結果預覽

完成我們的第一步驟! 實做如何在沒有 Webpack 的狀況下完成我們的網站 !
2. With Webpack
- 專案初始化
# 初始化專案
mkdir 01-sample-app && cd 01-sample-app
npm init -y
# 安裝 webpack lib
npm install webpack webpack-cli --save-dev
# 安裝 lodash lib
npm install lodash
自動產生 package.json 看到多增加了 webpack / lodash 🌈
{
  "name": "01-sample-app2",
  "version": "1.0.0",
  "description": "",
  "main": "index.js",
  "scripts": {
    "test": "echo \"Error: no test specified\" && exit 1",
    "build": "webpack --config webpack.config.js"
  },
  "keywords": [],
  "author": "",
  "license": "ISC",
  "devDependencies": {
    "webpack": "^5.69.1",
    "webpack-cli": "^4.9.2"
  },
  "dependencies": {
    "lodash": "^4.17.21"
  }
}
- 撰寫 JS Component
Dir: src/index.js
// 透過 webpack 的封裝我們可以直接使用 import 來引用我們所需要的 lib
import _ from 'lodash';
function component() {
  let element = document.createElement('div');
  element.innerHTML = _.join(['Hello', 'Webpack'], ' ');
  return element;
}

document.body.appendChild(component());
- 撰寫 HTML
Dir: dist/index.html
不需要在引用我們的lib webpack 會自動幫我們進行包裝
<meta charset="utf-8"/> ⬅️ 缺少這句在 Webpack5 production mode 狀況下會發生錯誤
<!doctype html>
<html>
  <head>
    <!-- webpack mode=production -->
    <meta charset="utf-8"/>
    <title>Getting Started</title>
  </head>
  <body>
    <script src="main.js"></script>
  </body>
</html>
- 使用 Webpack 進行編譯
npx webpack mode=development
- 開啟 index.html 預覽結果
好了我們的第一章節 Introduction to Webpack 5 結束 🎉
後面的章節會再介紹有關 Webpack 的強大功能!敬請期待!


Top comments (0)