This is the fourth and last part of a series about the Flask framework, a common tool used to create web applications with Python.
Objectives
The part 4 will focus on connecting the web API with a remote database.
The full example is available here: Python-Flask.
Topics
Remote Database
Let's connect with a remote MySQL database now.
Follow the instructions in this article or in this repository to create a database and get the connection string.
If you followed them correctly, you must have a user table in your remote database. Change it by adding a column named age.
Here is an easy script to do it:
ALTER TABLE user ADD age INT NOT NULL;
Now, return to VSCode, add PyMySQL into the requirements.txt and install it by running:
pip install -r requirements.txt
Inside the db_api.py, import the PyMySQL package:
import pymysql.cursors
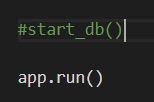
Comment the start_db function because it won't be needed anymore:
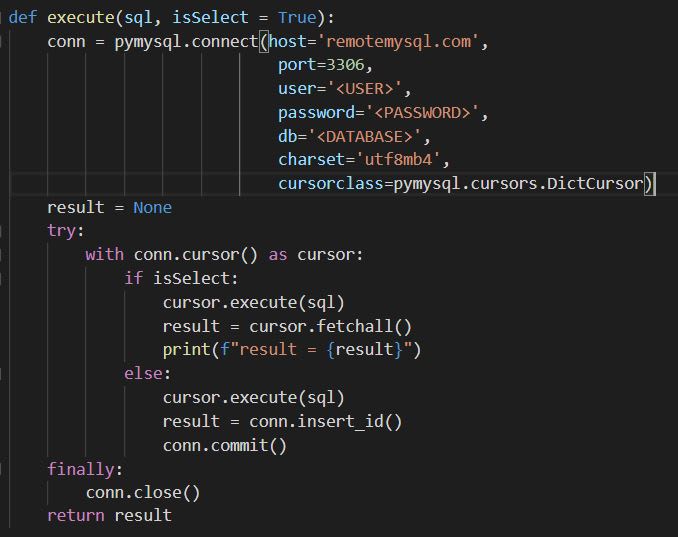
Modify the execute function to receive the MySQL connection by adding the connection string:
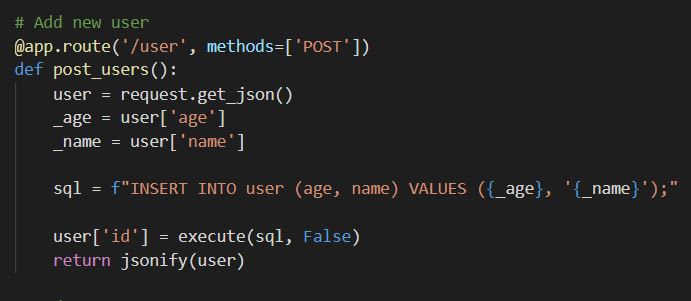
Change the post_users function to receive the inserted id:
Now, run the API again:
python .\api\db_api.py
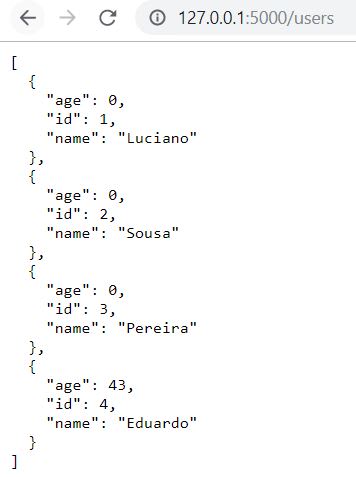
Make a GET request to the get_users function. The result will be something like this:
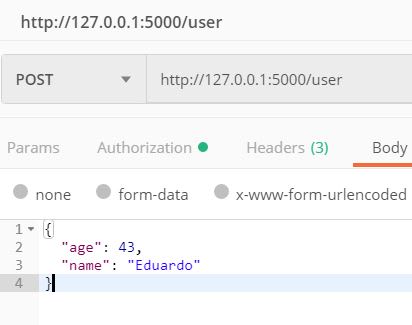
Make a POST request to create another user:
Another GET request and the result will be:
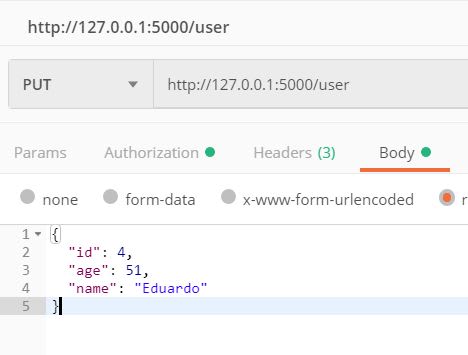
Modify the age from your new user with a PUT request:
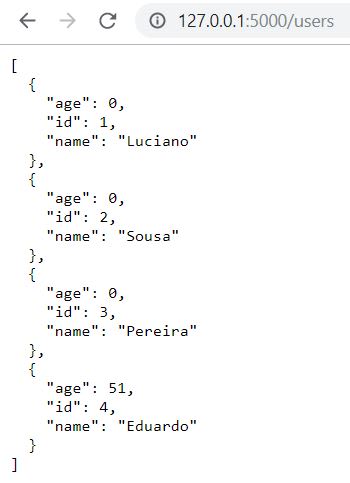
Check it out:
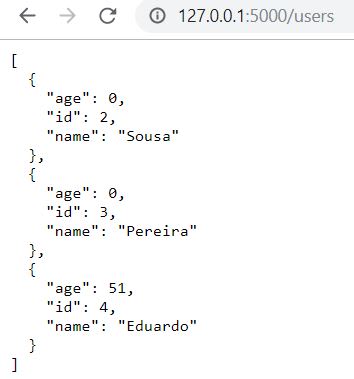
Delete another user:
And... it is gone!
Conclusion
In this series, you have seen how a web API behaves in a Python environment with Flask framework.
During our tests, runtime and persistent data were used.
The local and remote database had similar functions, equal results and were easy to manipulate.






Top comments (0)