Little Bits is a series of short articles explaining quick solutions to common dev problems. No unnecessary descriptions or code snippets. No bullshit.
What we are going to do?
Deploy GatsbyJS project to AWS S3 bucket, with live URL to view the website.
What tools we are going to use?
Plan
- Create AWS account.
- Setup credentials
- Install the Serverless framework globally.
- Create an IAM User and Access Key
- Setup AWS credentials on your machine.
- Create GatsbyJS starter project.
- Install the Serverless project and serverless-finch plugin.
- Setup configuration for the plugin.
- Deploy the website.
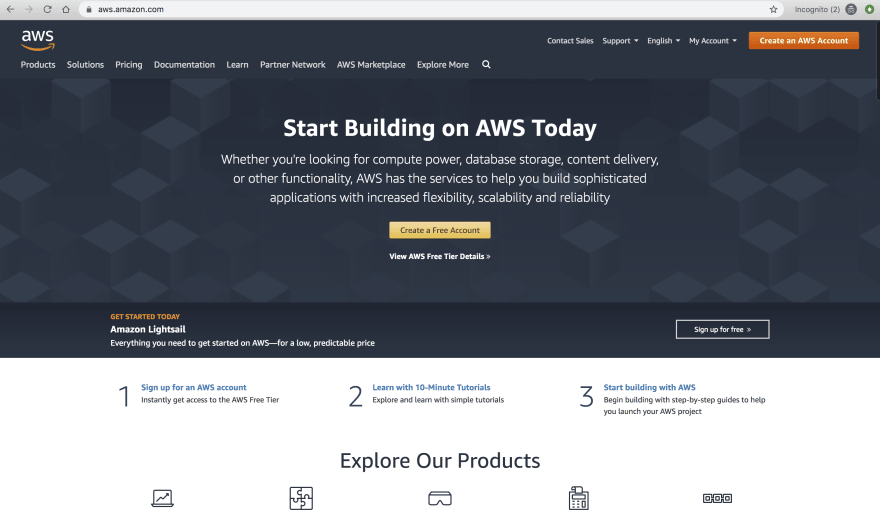
1. Create AWS account.
Pretty self-explanatory. To start using AWS, you need to create an account.
NOTE: You'll have to add your credit card details, but don't worry, AWS have free tiers and you'll probably won't go over them. Unless you'll use some massive AI calculations, and stick with the S3, you're sorted.

2. Setup credentials
Install Serverless framework globally.
From your terminal run:
npm install -g serverless
or, if you're using Mac:
sudo npm install -g serverless
Create an IAM User and Access Key
Login to your AWS account and go to the Identity & Access Management (IAM) section. Create a new user with Admin permissions.
Setup AWS credentials on your machine
Get your access key and secret key from IAM account and run the command from your terminal:
serverless config credentials --provider aws --key <your-access-key> --secret <your-secret-key>
Watch this awesome, short video from Serverless if you're stuck.
3. Create gatsby starter project.
From the terminal run:
gatsby new my-awesome-website https://github.com/gatsbyjs/gatsby-starter-default
Of course, it doesn't have to be GatsbyJS project, you can use whatever you want.
4. Install the Serverless project and serverless-finch plugin.
In terminal go to your new website folder:
cd my-awesome-website
Now simply run:
serverless
and follow the prompts. Remember to choose AWS Node.js environment.
Now install the serverless-finch plugin. To do it, run:
npm install --save serverless-finch
5. Setup configuration for the plugin.
To set up the plugin, update your serverless.yml file with:
plugins:
  - serverless-finch
custom:
  client:
    bucketName: unique-s3-bucketname #Bucket will be created automatically.
    distributionFolder: public
    #You can find more config options on the plugin's GitHub page.
Your serverless.yml file should look something like that(after removing all the comments from the installation process):
service: awesome-name
app: awesome-name-app
org: your-name

provider:
  name: aws
  runtime: nodejs10.x
plugins:
  - serverless-finch
custom:
  client:
    bucketName: unique-s3-bucketname #Bucket will be created automatically.
    distributionFolder: public
    #You can find more config options on plugins github page.
functions:
  hello:
    handler: handler.hello
6. Deploy the website.
From the terminal run the build process for your website:
npm run build
After that run the deployment command:
serverless client deploy
and follow the prompts. At the end of the proccess, you'll receive an URL for your shiny new website.
Summary
That's it, you've managed to successfully deploy your static website to AWS S3 Bucket. Now you can try and add a custom domain name, connect your website to CloudFront or whatever else is needed.
If you liked this article, and you think that short, compact form is cool (or if you don't 😃) let me know in the comments section.


Top comments (0)