I have recently completed the amazing Advanced React course by Wes Bos. In the course he taught to built, an online store with the latest technologies listed below.
Most of the students built something else with what he taught, after they learned. I will build an Indian Restaurant Billing App from what i learnt.
I will keep updating the app on my github, but will not give the complete steps to make it on blog. The complete steps are complicated and also copyrighted by Wes and don’t want to produce a course with the same.
I will be posting the changes which i made to the ecommerce app by Wes, to make it a Restaurant Billing App.
Now, i don’t like the traditional menu used in the App which is as below.
I wanted to convert it into a hamburger menu, so that it could be used on a tablet also easily.
We will understand a bit of the frontend flow, to make this hamburger menu. The NextJs app starts from a file _app.js, which is in the below screenshot.
Next, we will make the Page component. We have some basic styled components used here with theme and also have an injectGlobal from styled component, which is used to inject global styles to all components.
    import React, { Component } from "react";
    import Header from "./Header";
    import Meta from "./Meta";
    import styled, { ThemeProvider, injectGlobal } from "styled-components";

    const theme = {
    …
    …
    };

    const StyledPage = styled.div`
    background: white;
    color: ${props => props.theme.black};
    `;

    const Inner = styled.div`
    max-width: ${props => props.theme.maxWidth};
    margin: 0 auto;
    padding: 2rem;
    `;

    injectGlobal`
    @font-face {
    font-family: 'radnika_next';
    src: url('/static/radnikanext-medium-webfont.woff2') format('woff2');
    font-weight: normal;
    font-style: normal;
    }
    …
    …
    `;

    class Page extends Component {
    render() {
    return (
    <ThemeProvider theme={theme}>
    <StyledPage>
    <Meta />
    <Header />
    <Inner>{this.props.children}</Inner>
    </StyledPage>
    </ThemeProvider>
    );
    }
    }

    export default Page;
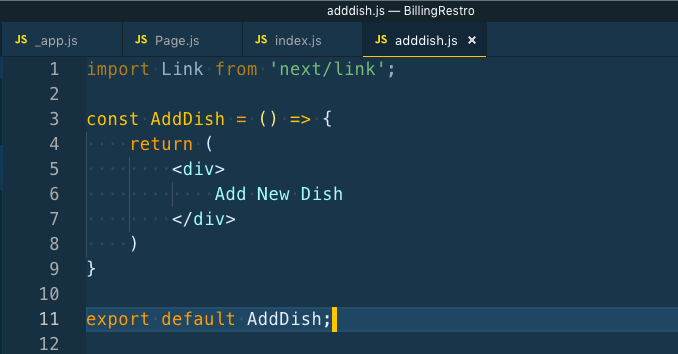
We also have two pages in our app. One for Home and other for a page to Add the dishes.
Now, we will create the Header component, which will contain our Nave menu , title and a future button to save the bill.
Now, we will finally create our hamburger menu. For this we will use react-burger-menu
For the hamburger menu to work properly, we have to inject some css in the global level.
So, in our styled component project we inject in Page.js inside injectGlobal
    /*Below Styles for the burger menu*/

    /* Position and sizing of burger button */

    .bm-burger-button {
    position: fixed;
    width: 36px;
    height: 30px;
    left: 26px;
    top: 26px;
    }

    /* Color/shape of burger icon bars */

    .bm-burger-bars {
    background: #373a47;
    }

    /* Color/shape of burger icon bars on hover*/

    .bm-burger-bars-hover {
    background: #a90000;
    }

    /* Position and sizing of clickable cross button */

    .bm-cross-button {
    height: 24px;
    width: 24px;
    }

    /* Color/shape of close button cross */

    .bm-cross {
    background: #FFFAFA;
    }

    /*

    Sidebar wrapper styles

    Note: Beware of modifying this element as it can break the animations - you should not need to touch it in most cases

    */

    .bm-menu-wrap {
    position: fixed;
    height: 100%;
    }

    /* General sidebar styles */

    .bm-menu {
    background: rgba(169,169,169,0.8);
    padding: 2.5em 1.5em 0;
    font-size: 1.15em;
    }

    /* Morph shape necessary with bubble or elastic */

    .bm-morph-shape {
    fill: #373a47;
    }

    /* Wrapper for item list */

    .bm-item-list {
    color: #b8b7ad;
    padding: 0.8em;
    display: flex;
    flex-direction: column;
    }
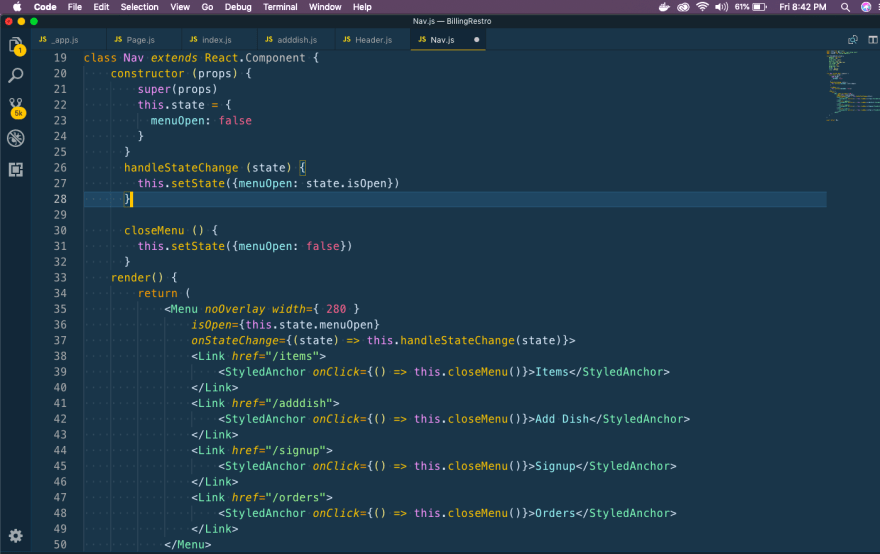
Now, we will write the code for the navbar in Nav.js
We start with importing Link and react-burger-menu. Next, we write a style component for the anchor tag, which we will use inside the Link tag.
Next, we will write the Menu and give some custom property. These all are taken from react-burger-menu documentation. Notice that we are using state to close the Menu, whenever the user click on any item on the Menu.
Now, on going to localhost:7777 and clicking on the hamburger, we get the menu coming from the right. Click on Add Dish to change to that page.
You can find the code for the same in my github repository in this link.


Top comments (0)