Welcome to part 2 of the series.
This series is inspired by this awesome YouTube series by The Net Ninja.
We will start by learning about keyframes and applying them to create Mario Kart Animations.
So, first create a folder mario and inside it two files index.html and style.css
Next, put this basic html in index.html
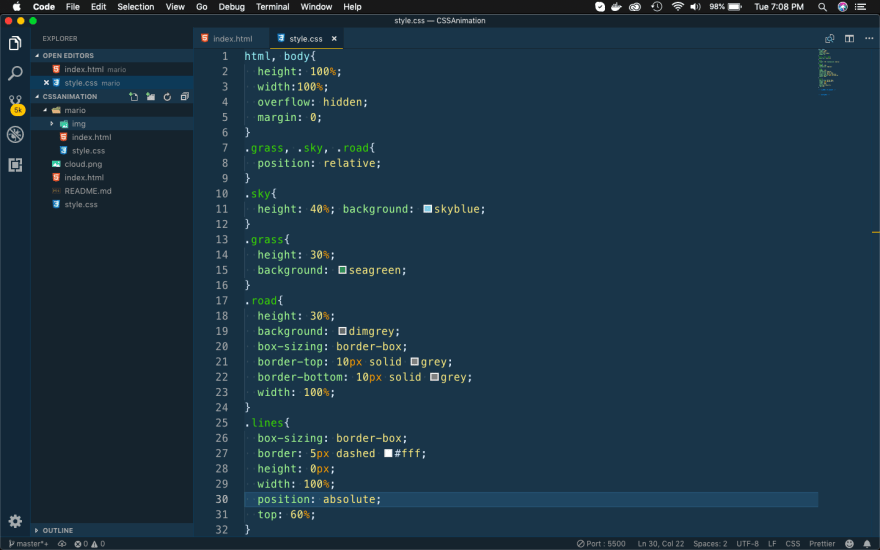
Next, put these basic styles in style.css
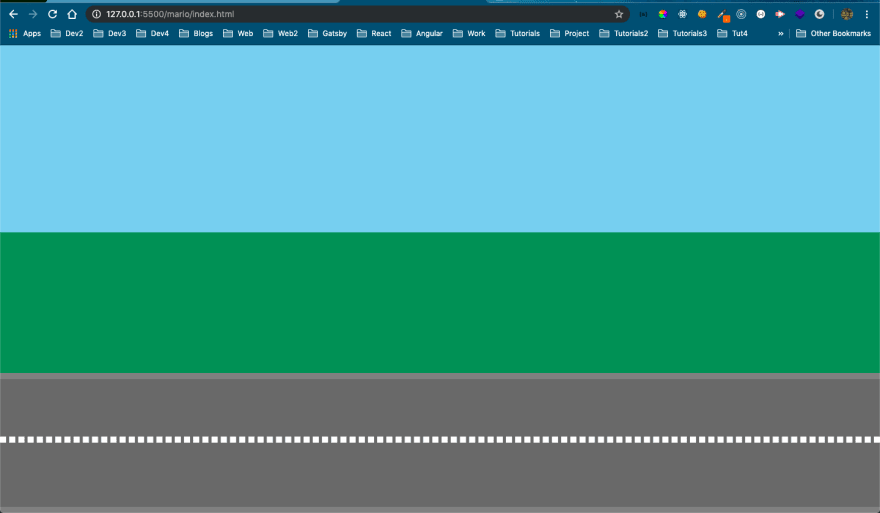
And in the web-browser open the index.html . It will show the background for our Mario to play.
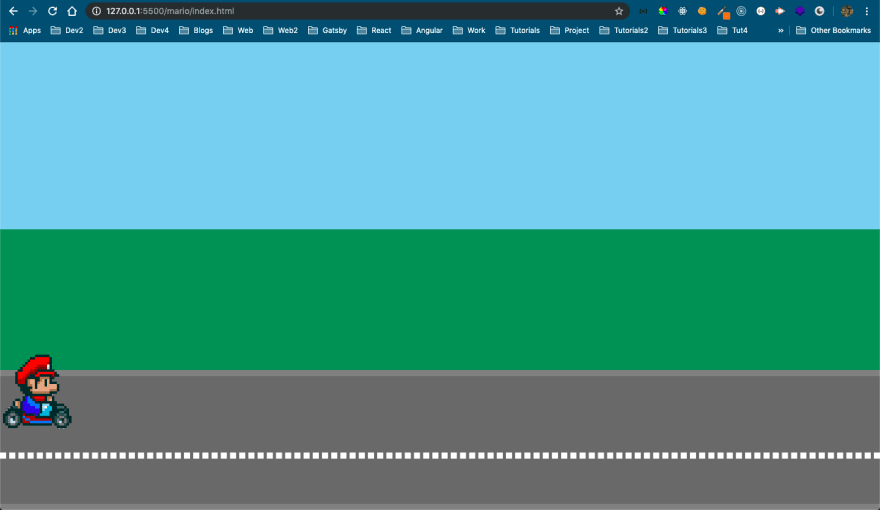
Now, it’s time to put Mario image in the tracks. We already have some images in the img folder. Make sure to have it. You can get it from my github source code for the project.
Now, it will show our hero Mario in the tracks.
Now, we will animate Mario but first will fix him a bit by moving him up.
It will move him a bit up.
Now, we will add our animation by keyframes. We declare a keyframe animation drive and then have a from and to properties in it. We put translateX inside them. It means Mario will start from 0 on x-axis and go till 1200px on x-axis.
We then add that in our mario class by giving animation-name: drive . We also add an animation-duration: 3s
It will show this nice Mario animation.
As, you might have seen in the above animation that after Mario reaches to the end i.e. 1200px, he returns back to his original position.
We can change this by animation-fill-mode: forwards; It means that it should stay at the to position i.e. 1200px after the animation is over.
It will show the below animation.
Now, we will use animation-fill-mode: both;to make Mario extend the animation property in both directions. We are also using animation-iteration-count: infinite; to achieve the infinite loop.
We are also staring Mario off screen and ending him off screen.
It will show our hero Mario, moving nicely on the track infinitely.
This concludes part 2 of the series. You can find the code for the same here.


Top comments (0)