Introduction
In my last blog, I realized that I actually bumped onto a tip of iceberg, the google keep input form is a lot more complicated and the previous blog didn't do any justice to explain the complexity.
Hence I started this series with the previous blog as part 1. If you haven't read the previous part yet, you can check it out
The problem with input tags
The problem with using input tags is that you can only have a single line input.

So multiline input was a problem, then I thought of trying out textarea, but adding new rows to textarea dynamically was a pain, so textarea also didn't work out.
Divs to the rescue
Turns out I didn't need any input tag to solve the problem, but a very useful property of div's (useful at least in this scenario).
contentEditable Divs
If you guessed contentEditable divs you deserve a pat on the back. It turns out divs with contentEditable attribute solves our problems.
Let's jump into our code and use them. If you're following up from the previous part, you can just update your code or you can check out full code at here.
HTML
<div id="createForm">
  <div class="input" id="title" contentEditable></div>
  <div class="input" id="content" contentEditable></div>
</div>
CSS
For CSS I'll just update the form with the id createForm and input with class input.
JS
In JS only the form selector needs to be corrected i.e
const form = document.getElementById("createForm");
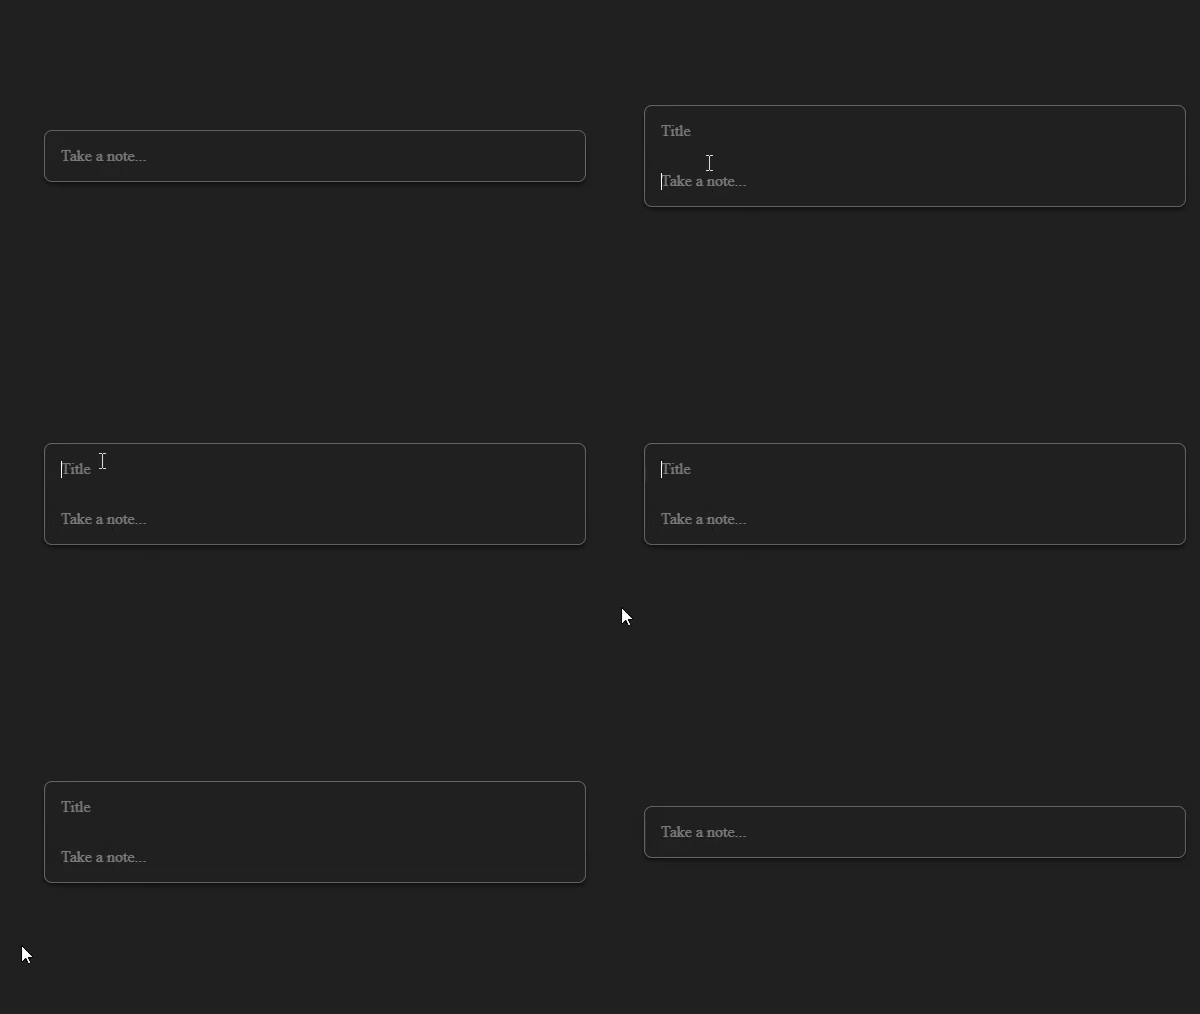
The final result should look like this.

Adding Placeholder
The absence of placeholder is hard to ignore, let's work on fixing that.
Luckily there are some neat css properties we can use just to do that, so no need to add javascript.
We need to add some text content to our divs, if you guessed content property of pseudo-elements then you deserve a pat on back. But here's a catch we only need to add content when there there is no text present in our div, here again we're going to use css saving us a bunch of JS logic, we're going to use :empty pseudo-class, a combination of both of them is just what we need.
#title:empty::before {
  content: "Title";
  opacity: 0.5;
}
#content:empty::before {
  content: "Take a note...";
  opacity: 0.5;
}
Better Approach
Suppose we're working on a solution which requires us to do something like this and we have a lot of editable divs, by using this style we're writing css for every div that contains a placeholder and not to mention we're also writing same css for styling placeholder causing our css to bloat up.
We can solve this by adding an attribute in our div tag that will hold the value of placeholder and using that value in our css with attr() function.
<div id="createForm">
  <div class="input" id="title" contentEditable data-placeholder="Title"></div>
  <div class="input" id="content" contentEditable data-placeholder="Take a note..."></div>
</div>
.input:empty::before {
  content: attr(data-placeholder);
  opacity: 0.4;
}
One last problem
If you're using firefox you may not notice it, but there's a bug in our input form. When we focus out of div that contains title, instead of focusing out we focus back on the content div.

If you want to know why this is happening you can look at the explanation here by a stack overflow user.
As mentioned in the solution we can get around with this bug by simply wrapping our contentEditable divs inside a div.
<div id="createForm">
  <div><div class="input" id="title" contentEditable data-placeholder="Title"></div></div>
  <div><div class="input" id="content" contentEditable data-placeholder="Take a note..."></div></div>
</div>
Wrap up
I hope you learned some new tricks from the blog, as always feel free to use comment section for suggestions or corrections.


Top comments (0)