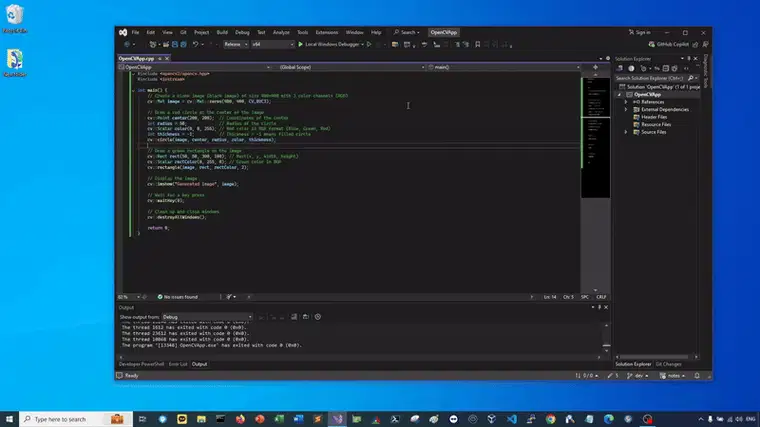
To build an application with OpenCV we need to do two things, as stated in official docs:
- Tell to the compiler how the OpenCV library looks;
We can do this by setting the path where the library files are and specify in which one of them to look.
- Tell to the linker from where to get the functions or data structures of OpenCV;
During the build the linker will look into these libraries and add the definitions and implementation of all used functions and data structures to the executable file.
Outline
Source code: https://github.com/tuttelikz/notes/tree/main/opencv-vs/OpenCVApp
Get OpenCV
Download OpenCV
Download latest OpenCV from the official Github repository: https://github.com/opencv/opencv/releases/tag/4.10.0, choose the one which ends with "windows.exe"
Extract downloaded archive
Specify a folder to extract (We will further call it "source-dir") > Extract
Confirm the extraction is completed to "source-dir"
Configure CPP project
Create a new cpp project
Open Visual Studio > Create a new project > Set "C++", "Windows" and "Console" filters to find the template > click Next
Give a project name
Set any name to the project > click Create
Set configuration
Solution configuration should be set same as follows: Configuration > "Release", Platform > "x64"
Specify Include directories
Navigate to Project > Properties
Then C/C++ > Additional Include Directories > Edit
Specify the build directory including the parent "source-dir", where OpenCV was extracted, eg. [source-dir]\opencv\build\include > OK
Modify Linkers
In the same properties menu choose Linker > Input
Then C/C++ > Additional Dependencies > Edit
Specify all ".lib" dependencies including the parent "source-dir", where OpenCV was extracted, eg. [source-dir]\opencv\build\x64\vc16\lib*.lib > OK
Define Post build events
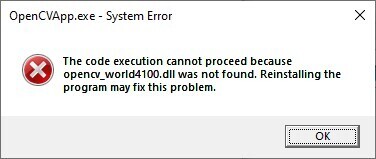
If Windows path variable related to OpenCV is not set, the code execution cannot proceed.

Therefore, we must make sure that the required DLL files from OpenCV are copied to the project’s build directory. Instead of manually copying and pasting files after every build, this process can be automated using a post-build event. To do that, in properties menu, go to Build Events > Post-Build
Then, Command Line > Edit
Insert the following command, which tells Visual Studio to copy the OpenCV DLL into the appropriate build directory of your project:
xcopy [source-dir]\opencv\build\x64\vc16\bin\opencv_world4100.dll $(SolutionDir)$(Platform)\$(Configuration)\ /c /y > OK
After setting these parameters, make sure to click Apply > OK
Run code
Add code to OpenCVApp.cpp and Run
To test the imported library in C++ project, we defined a few functions from OpenCV to draw basic shapes. Add the following code to OpenCVApp.cpp
#include <opencv2/opencv.hpp>
#include <iostream>

int main() {
    // Create a blank image (black image) of size 400x400 with 3 color channels (RGB)
    cv::Mat image = cv::Mat::zeros(400, 400, CV_8UC3);

    // Draw a red circle at the center of the image
    cv::Point center(200, 200);  // Coordinates of the center
    int radius = 50;             // Radius of the circle
    cv::Scalar color(0, 0, 255); // Red color in BGR format (Blue, Green, Red)
    int thickness = -1;          // Thickness = -1 means filled circle
    cv::circle(image, center, radius, color, thickness);

    // Draw a green rectangle on the image
    cv::Rect rect(50, 50, 300, 100); // Rect(x, y, width, height)
    cv::Scalar rectColor(0, 255, 0); // Green color in BGR
    cv::rectangle(image, rect, rectColor, 2);

    // Display the image
    cv::imshow("Generated Image", image);

    // Wait for a key press
    cv::waitKey(0);

    // Clean up and close windows
    cv::destroyAllWindows();

    return 0;
}
Press Start debugging to see the result
Thanks for reading! Stay tuned for more content, and feel free to share your thoughts and feedback! Your reactions help me improve and create even more useful posts 🙂
Alternate URL: https://github.com/tuttelikz/notes/tree/main/opencv-vs


Top comments (0)