In this short article, let's discover how to seamlessly integrate Google's VertexAI with the open source platform LibreChat to craft a state-of-the-art chatbot.
Google VertexAI Setup
VertexAI is a machine learning platform available on Google Cloud. It offers a variety of services to train and deploy AI models, including those for Generative AI.
To get started:
- Navigate to the Google Cloud Console.
- Create a new project or connect to an existing one.
- Enable the VertexAI API.
- Create a Service Account and generate a key for it. Ensure you download and securely store the associated JSON Key file, as we'll need it later.
- Install and configure the gcloud CLI on your machine. It's a useful tool to have on hand.
PaLM 2 Models
PaLM 2 offers a set of foundational pre-trained models designed for generative AI tasks, such as completion, chat, and embedding, across text, code, and images. These models are available in various sizes, ranging from "gecko" (small) to "bison" (large). For our purpose, we'll use the PaLM 2 for Chat (chat-bison) model.
To test our access to this model, we'll make a simple VertexAI API call. Generate the required authentication token using the gcloud auth print-access-token command from the gcloud CLI. Remember to have your project ID and Google Cloud location (e.g., europe-west1-b) on hand to construct the URL.
Here's how you can use Node.js to make the API call:
fetch('https://us-central1-aiplatform.googleapis.com/v1/projects/<project-id>/locations/europe-west1-b/publishers/google/models/text-bison@001:predict', {
  method: 'POST',
  headers: { "Authorization": "Bearer <token>" },
  body: JSON.stringify({
      "instances": [
        { "prompt": "Say hello in Turkish"}
      ],
      "parameters": {
        "temperature": 0.2,
        "maxOutputTokens": 256,
        "topK": 40,
        "topP": 0.95
      }
    })
})
  .then((response) => response.json())
  .then((json) => console.log(json.predictions[0].content));
The expected output in the console is:
Merhaba.
Great! This confirms that we can manually invoke the VertexAI API and the chat-bison model.
LibreChat Installation and Configuration
With the VertexAI endpoint set up and tested, our next step is to work with LibreChat. LibreChat is an open-source ChatGPT clone that can integrate with various AI models, including the PaLM 2 models via the VertexAI API. It's built using React, MongoDB, and Meilisearch technologies.
Follow these steps to get LibreChat up and running:
- Clone the LibreChat repository: ```
git clone https://github.com/danny-avila/LibreChat.git
- Create the necessary directories:
cd LibreChat
mkdir meili_data images .env.production .env.development data-node
- Edit the configuration file:
cp .env.example .env
vi .env
In the `.env` file, leave the following parameters blank to solely activate the VertexAI endpoint:
OPENAI_API_KEY=
CHATGPT_TOKEN=
BINGAI_TOKEN=
ANTHROPIC_API_KEY=
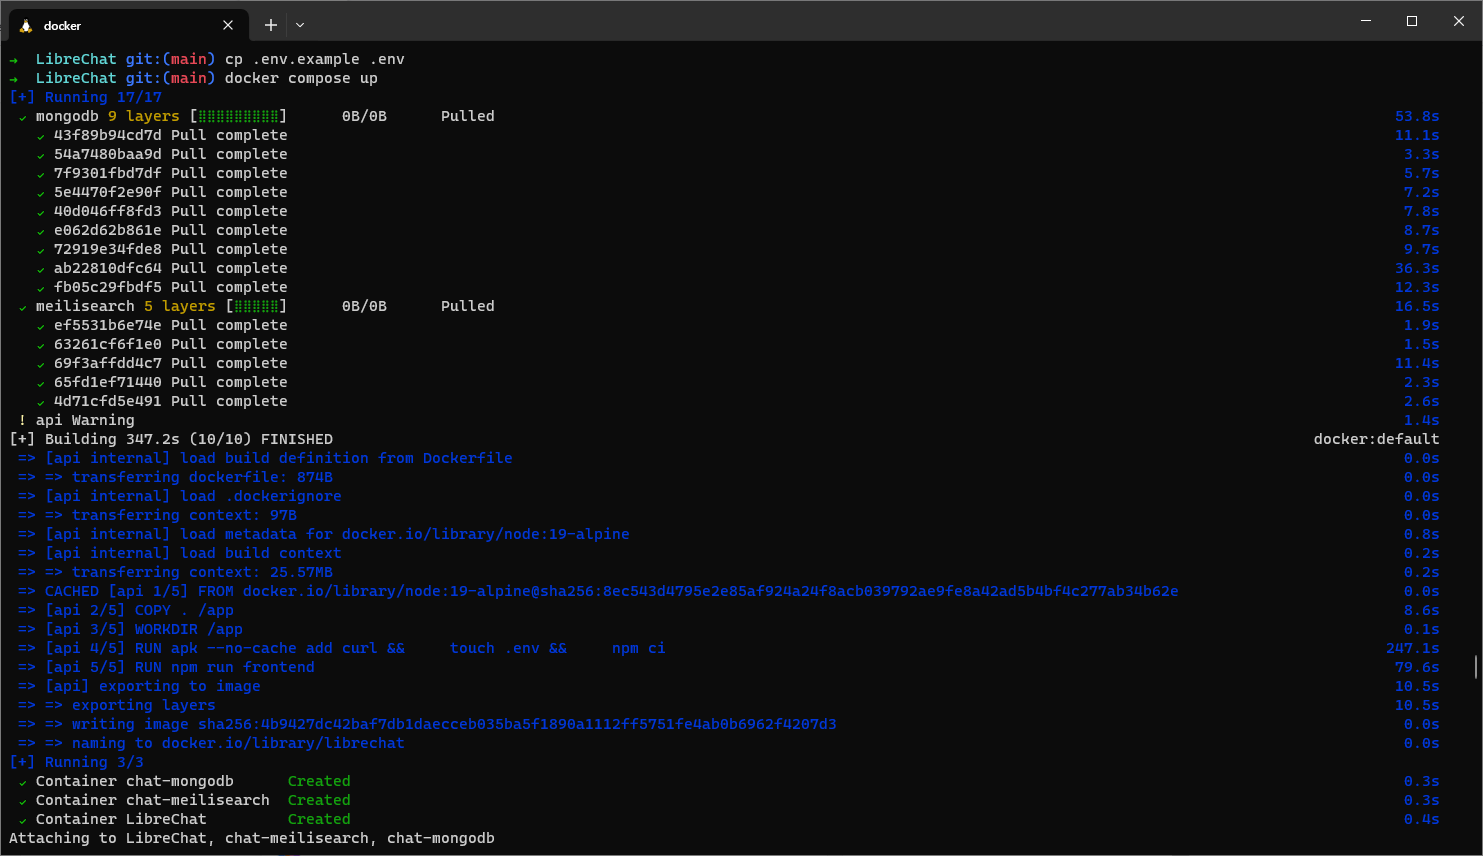
- Create and start the Docker containers:
docker-compose up

- Once the Docker images are pulled and containers are running, navigate to LibreChat's local URL using your browser: http://localhost:3080. Create a new account.
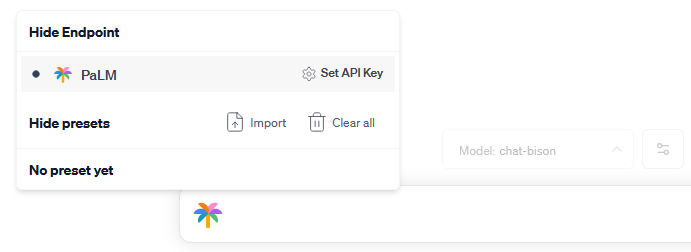
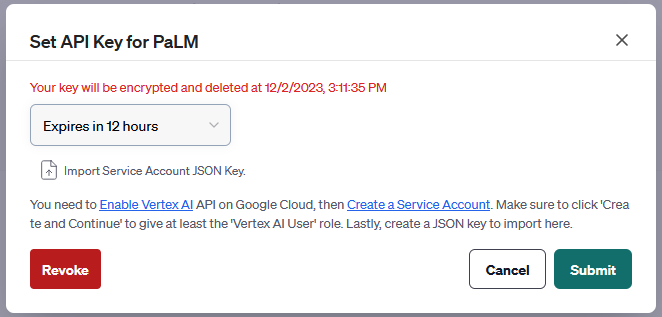
- Complete the LibreChat configuration by clicking on the Palm icon within the chat bar, followed by the *Set API key* link.

- Import the Service Account JSON Key that you saved during the VertexAI configuration.

## And... Voilà!
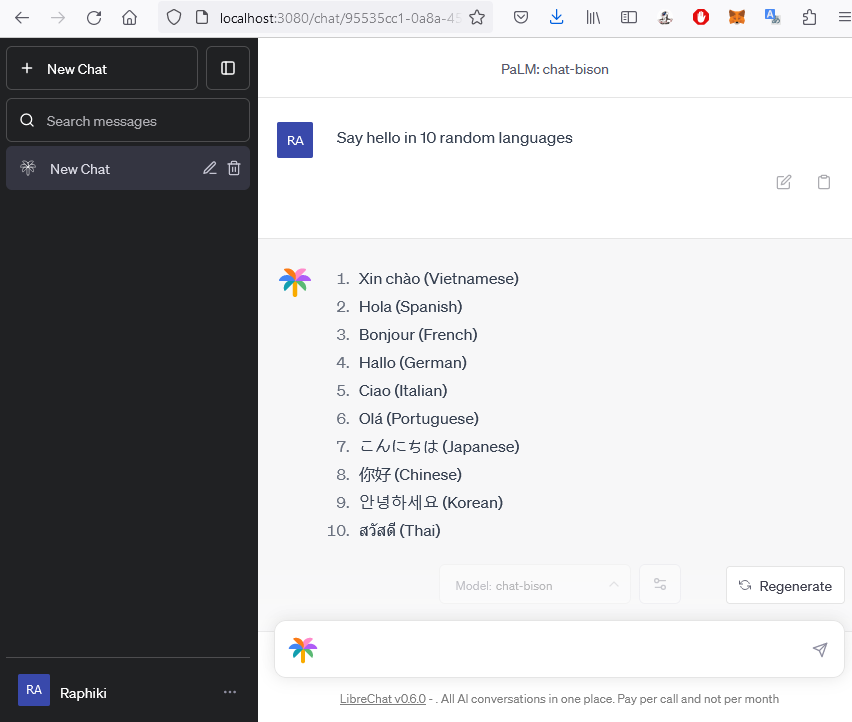
You're all set! Start a chat session using VertexAI.

That wraps up our tutorial. While we focused on the VertexAI endpoint, remember that LibreChat is versatile—it supports endpoints from OpenAI, Azure OpenAI, BingAI, and Anthropic's models. Additionally, LibreChat can accommodate GPT-compatible plugins and even allows you to [create your own](https://github.com/danny-avila/LibreChat/blob/main/docs/features/plugins/make_your_own.md)! But that's a topic for another day. Stay tuned!


Top comments (0)