In sale seasons, you may want to create an archive page to display only the products which are on sale, then this series is for you. In this practice, we’re going to show posts with specific criteria, in this case, it’s the products that are on sale.
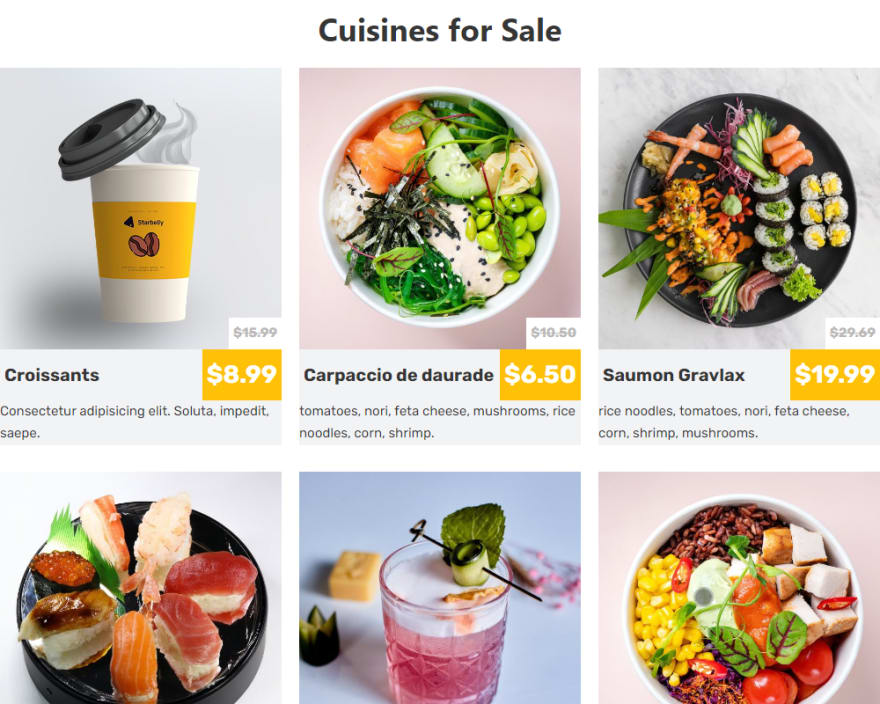
I’ll create a page using Bricks to show them like this with an example of dishes for the products.
Video Version
Before Getting Started
Each dish is a post of a custom post type and there may be some extra information you want to save in custom fields for them. In this case, I have two fields in order to save the original price and the promotional price. All the dishes which have the promotional price, which means that it’s on sale, will be displayed on the page.
In this practice, we need these tools:
- Meta Box core plugin: to have a framework to create custom post types and custom fields;
- MB Custom Post Types & Custom Taxonomies: to create custom post types;
- Meta Box Builder: to have an intuitive UI to create custom fields in the backend;
- Bricks Builder: to create the page.
Create a Custom Post Type
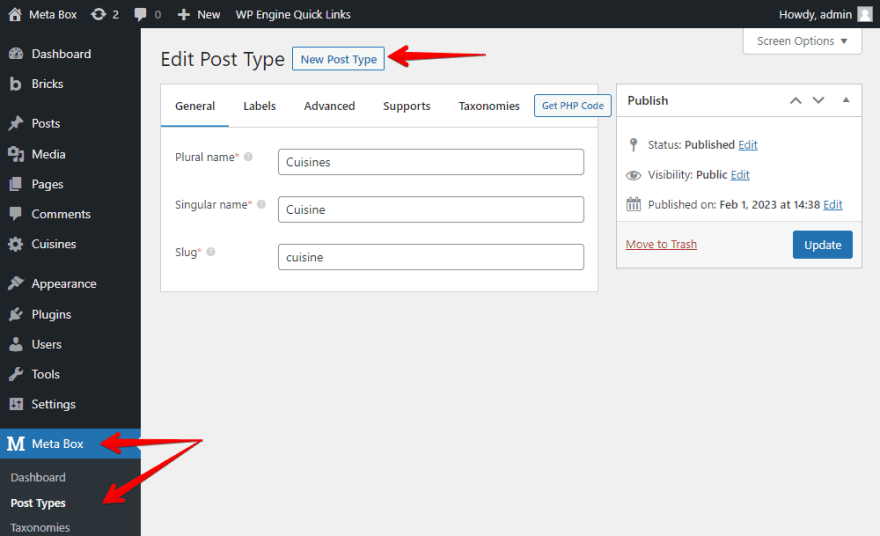
Go to Meta Box > Post Types > Add New to create a new post type for the dishes. Here, I name it Cuisines.
Create Custom Fields
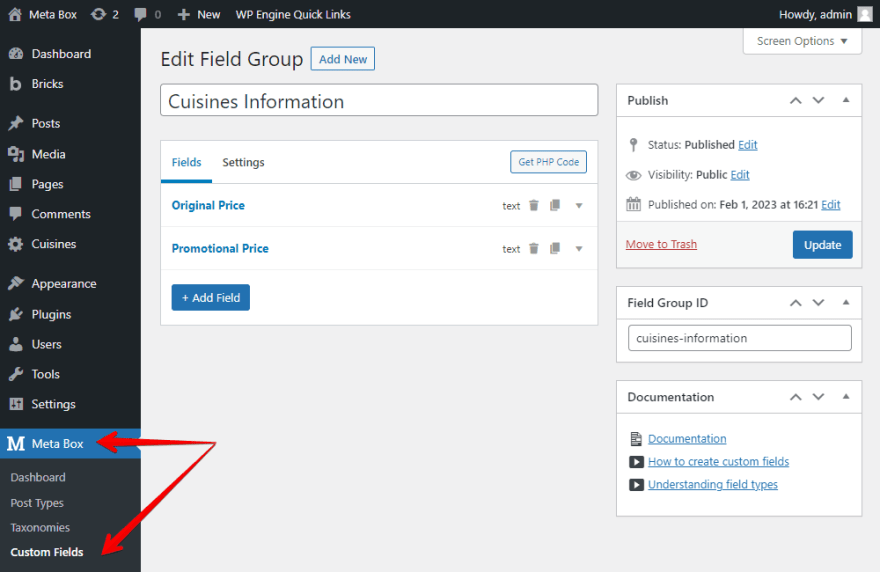
Go to Meta Box > Custom Fields to create fields.
Here are the two fields that I’ve just created.
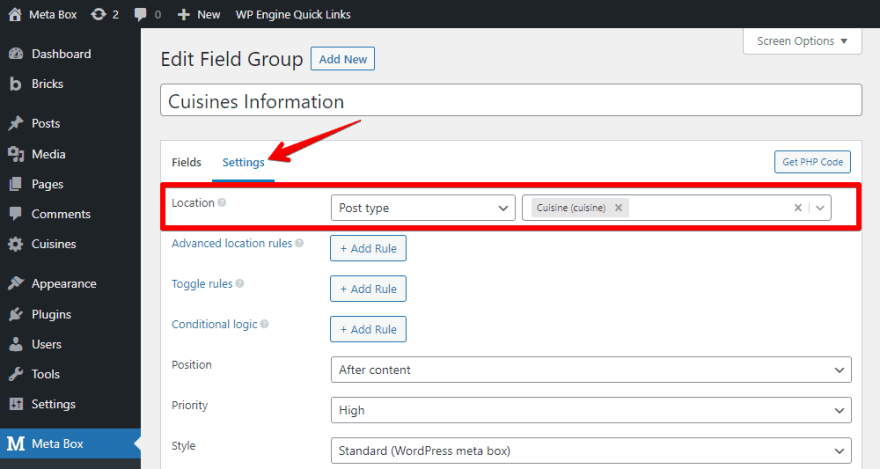
After creating all the fields, move to the Settings tab > Location as Post type > select Cuisines to apply these fields to it.
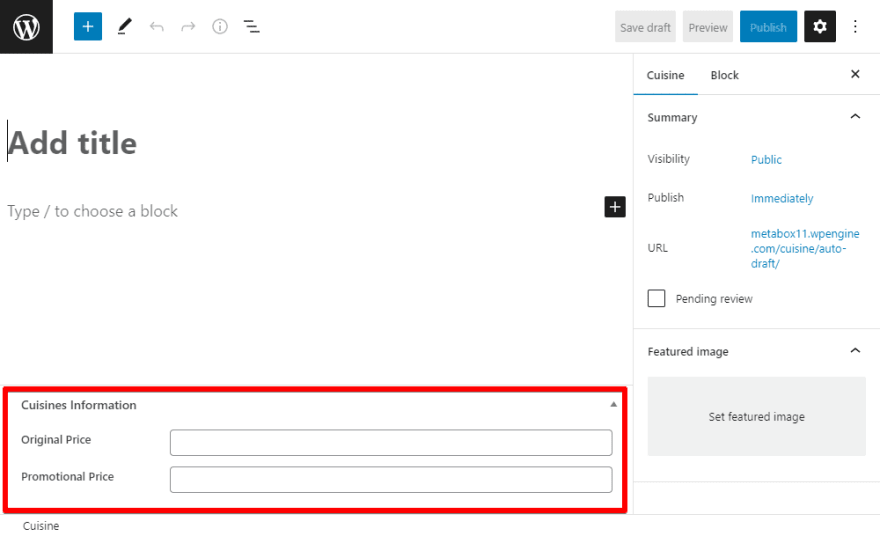
When creating any post in the Cuisines post type, you’ll see all created custom fields.
Create the Page
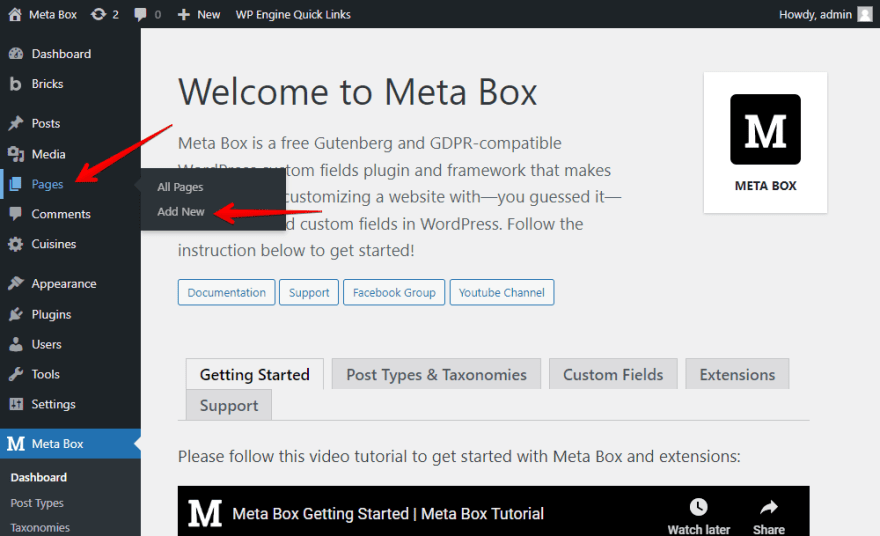
Go to Pages > Add New to create a new page.
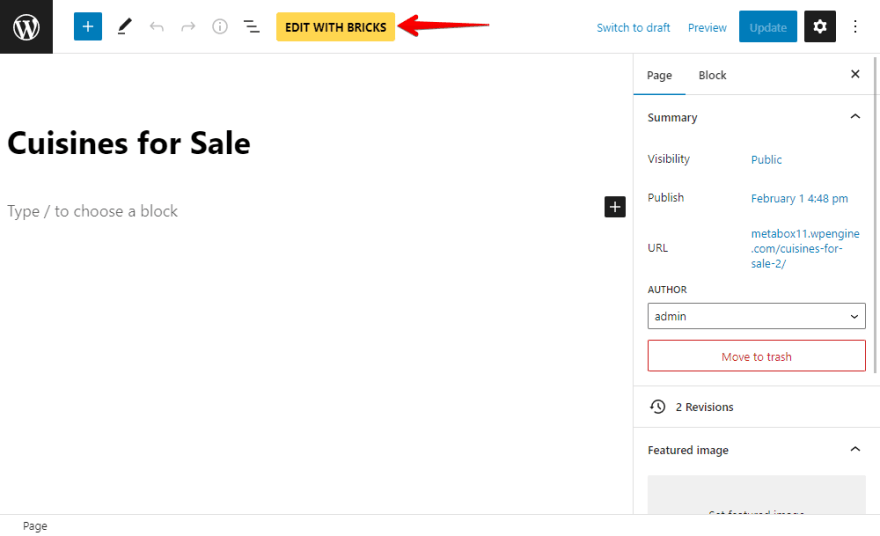
Then, let’s edit it with Bricks.
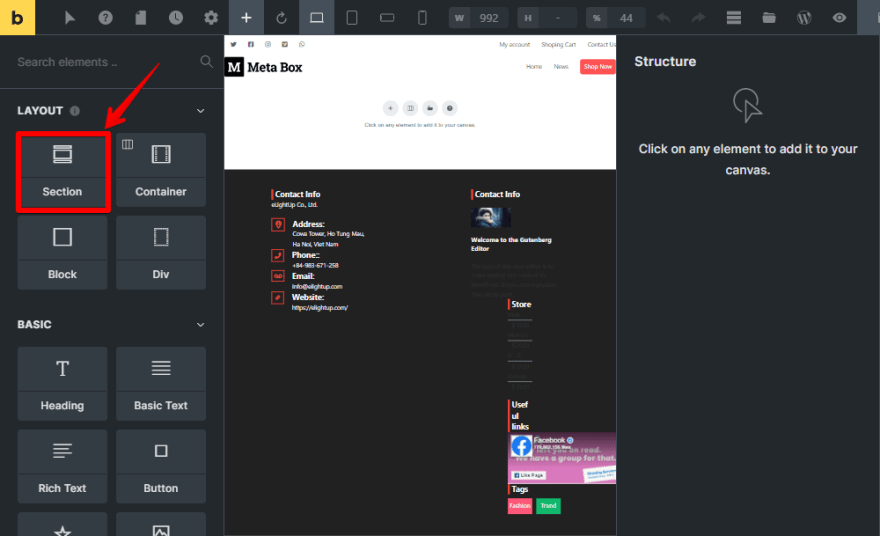
First, add a new Section element to contain all the dishes’ information.
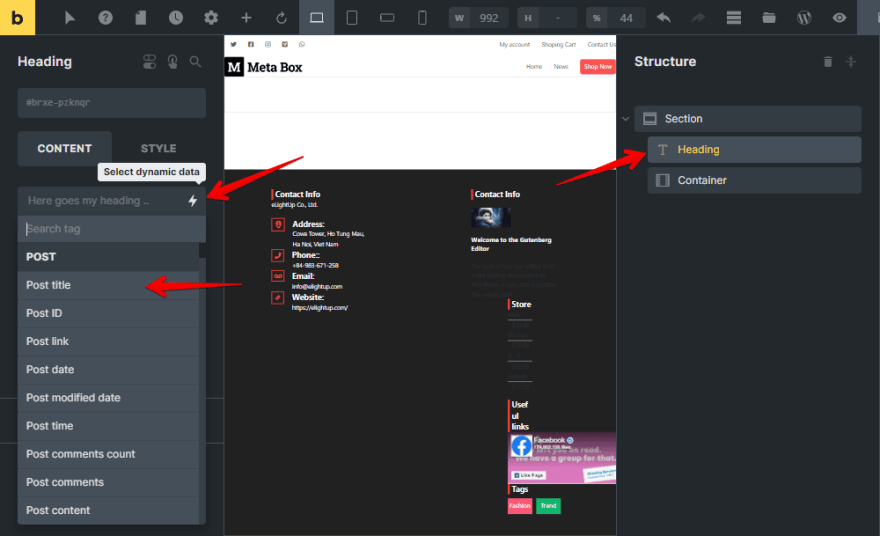
Next, add a Heading element to display the page’s title. Since the title of the page is the post title, choose Select dynamic data > Post title to get the page’s name.
Now, we’re going to get the dishes. However, we just want to display only the dishes that are on sale. So, we need to set conditions for them. Let’s see how to do it.
Set the Condition
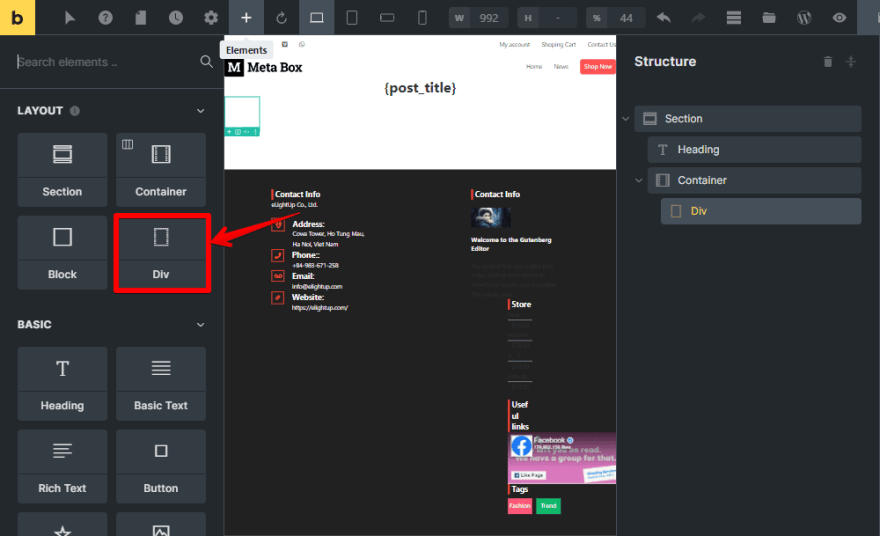
Inside the Container, add a Div element to cover all of the post.
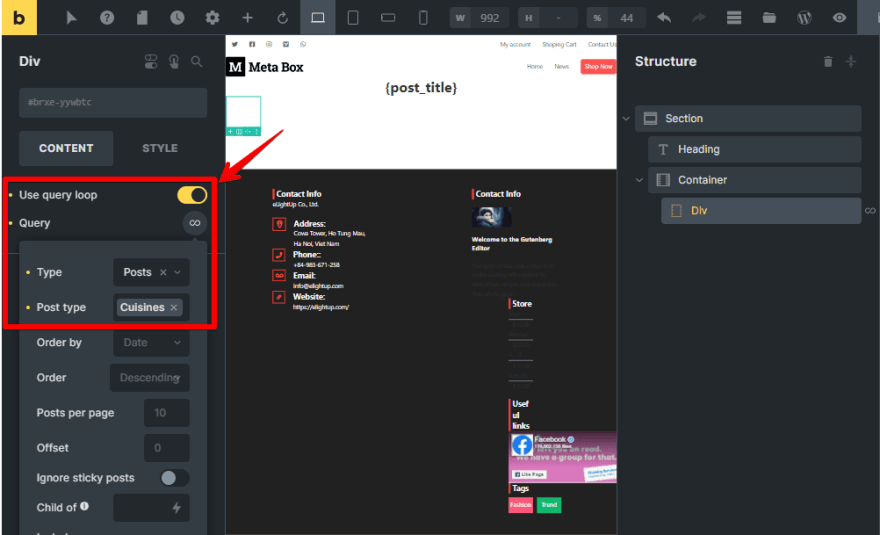
Since each dish is a post of a custom post type, switch the button to enable the Use the query loop option and set the query. Choose Post and Cuisines to get the data from posts of that post type.
Because we just want to display only the posts that are on sale, which means the Promotional Price field of those posts must have a value.
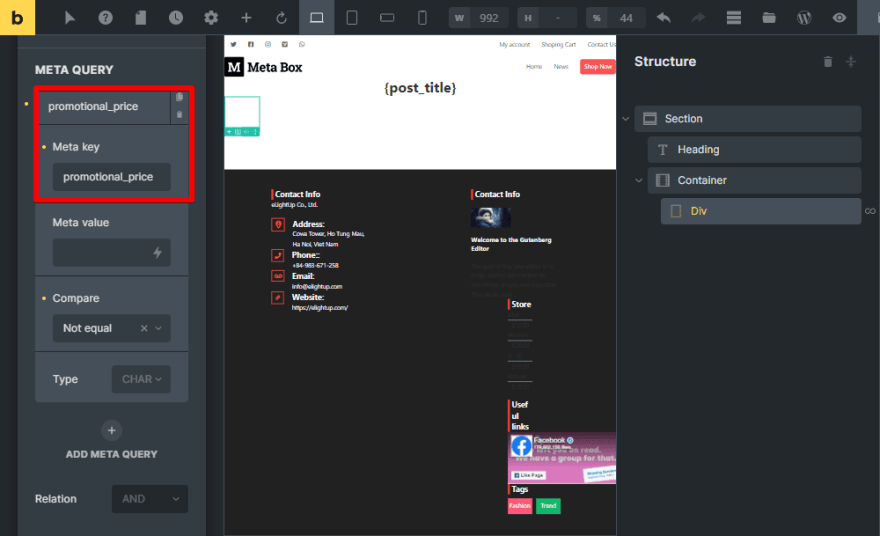
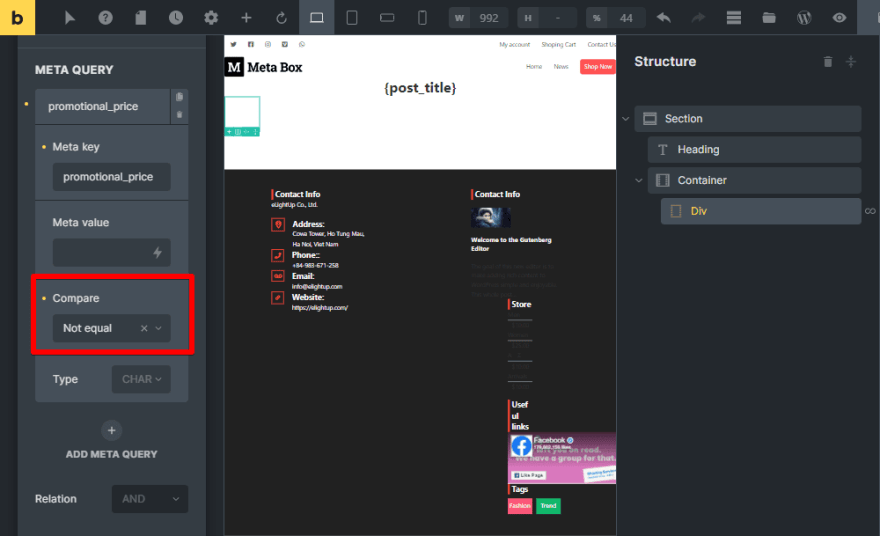
So, scroll down to the Meta Query section. Based on the value of the Promotional Price fields, we can clarify which dishes to display. Therefore, in the Meta Key, fill in the ID of the Promotional Price field.
Then in the Compare, choose Not equal. So, all the posts having value in the Promotional Price fields will be chosen to display.
That’s all for the condition. Next, we’ll display the information you want for each post.
Display the Cuisines Information
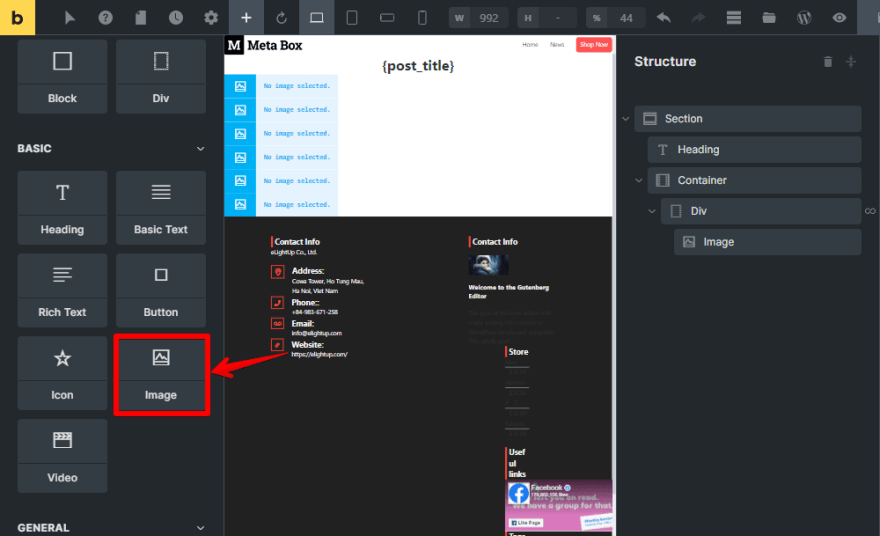
To display the image of the dishes, add the Image element.
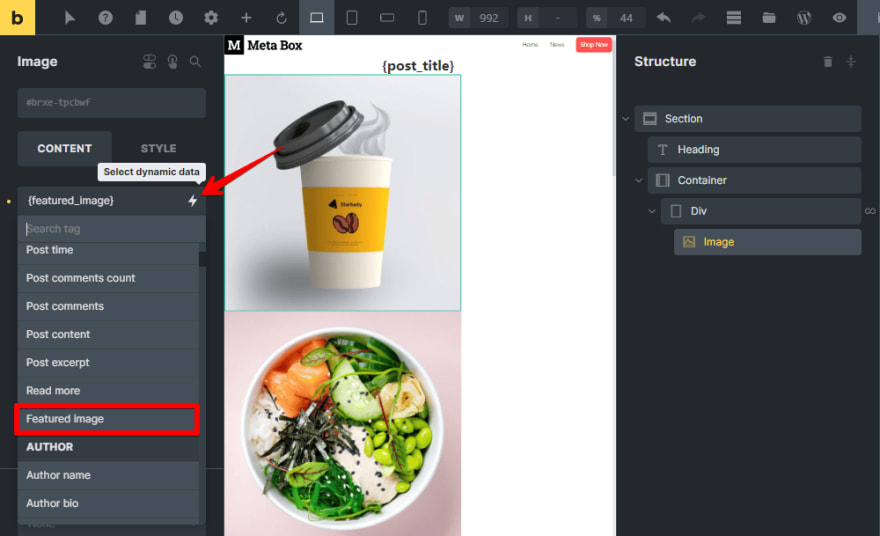
Since these images are the featured image of the post, choose the Select dynamic data button and find the Featured Image option in the Post section.
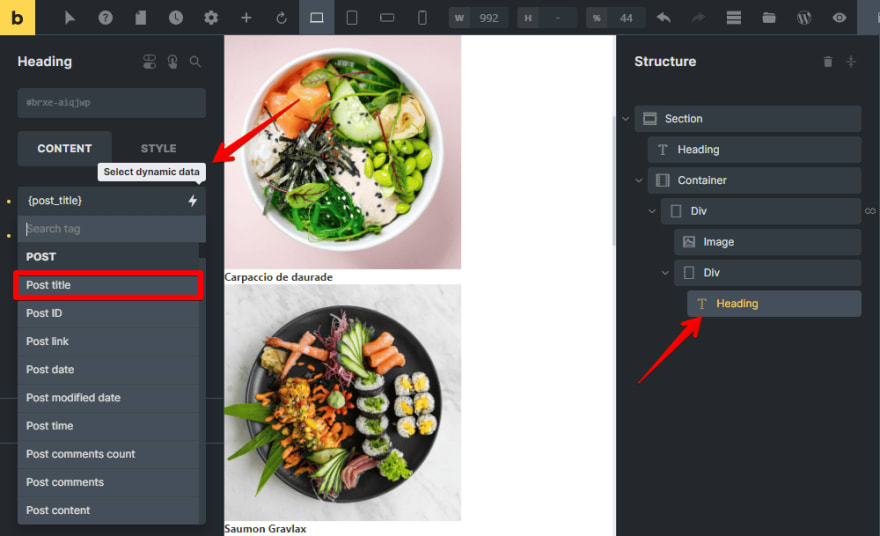
Next, to get the name of the dish which is the post title, add a Heading element, and choose the Select dynamic data button, then find Post Title.
After that, add a Div element.
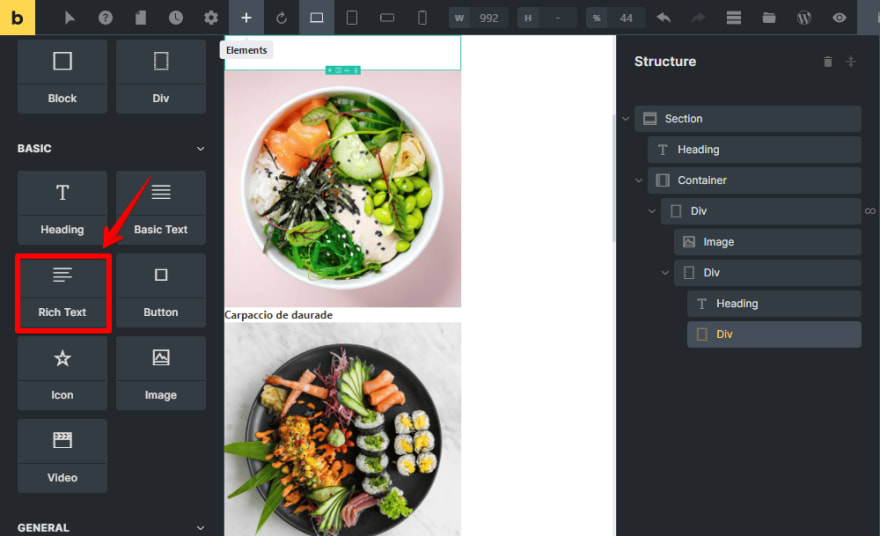
For the price of the dish, instead of adding Basic Text, I’d like to use the Rich Text element to get information about the price. The Basic Text allows you to get the data from the field only, but the Rich Text enables adding the extra text along with the data.
So, to display the original price, add a Rich Text element.
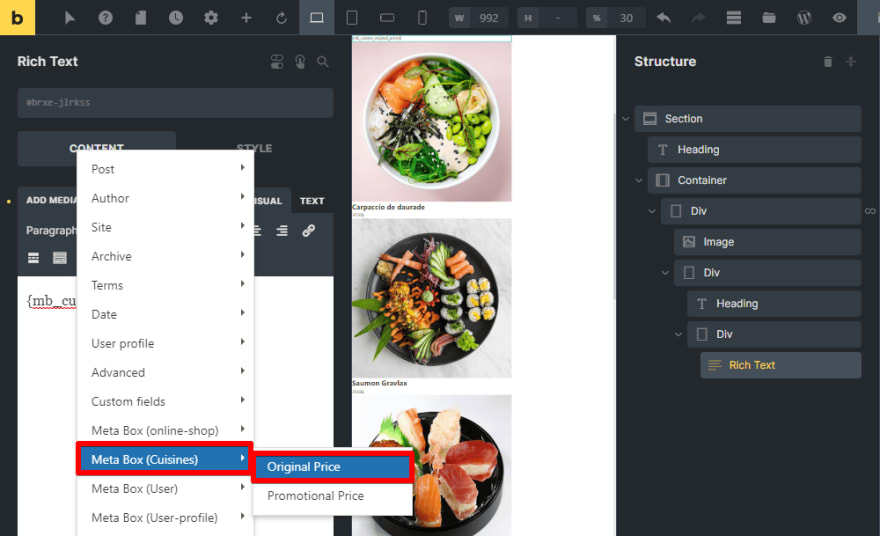
This is the section of the custom fields created by Meta Box for the Cuisines post type. Go to Meta Box (Cuisines) and then find the Original Price field.
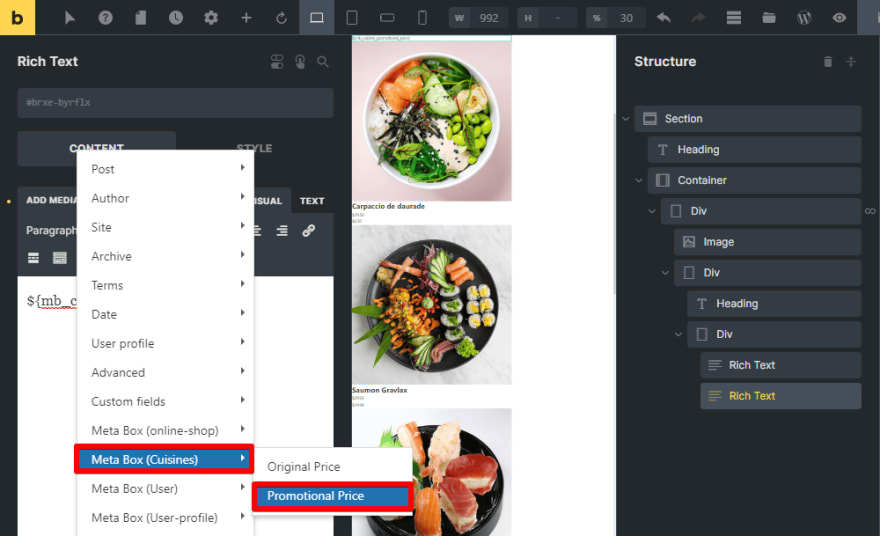
For the promotional price information, do likewise.
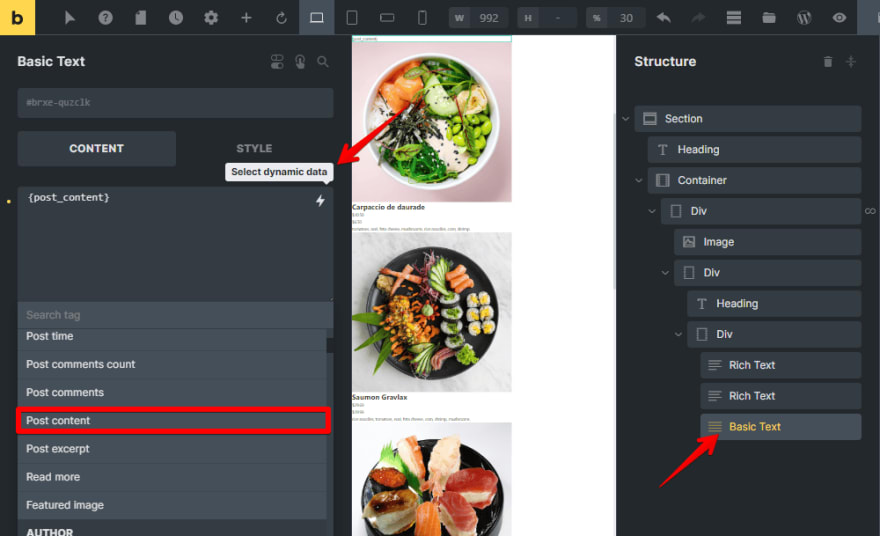
To display the description of the dish which is the post content, add a Basic text and then connect it to the Post content fields through the Select dynamic data button.
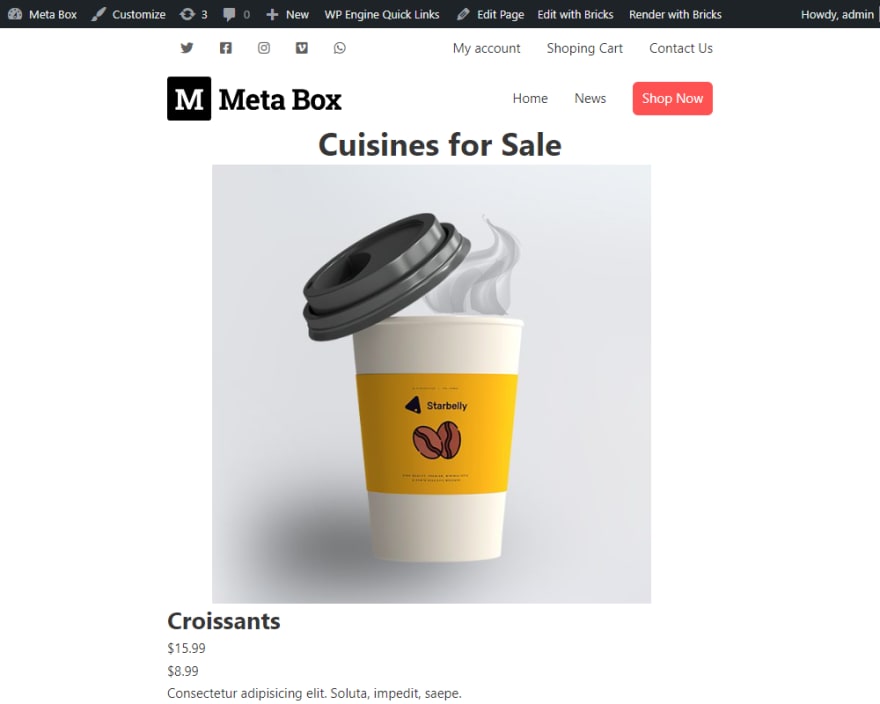
Now, all the information is shown. This is how it displays on the front end.
Style the Page
Still in the page editor with Bricks, style any element you want by changing their settings in the Style tab.
The archive page now displays beautifully.
Last Words
Using custom fields is a brilliant way to create a condition for displaying posts. If you see this practice is helpful, try it out and share the result with us. Or, if you have any suggestions about which tutorial we should make, feel free to leave your comment below. Thanks for reading!




Top comments (0)