For this step, we will create an EC2 instance to deploy our server app. Here are several steps to do it:
-
Sign in to the AWS Management Console:
- Go to the AWS Console.
- Click on "Sign in to the Console" and enter your credentials.
-
Navigate to the EC2 Dashboard:
- Open the EC2 Dashboard.
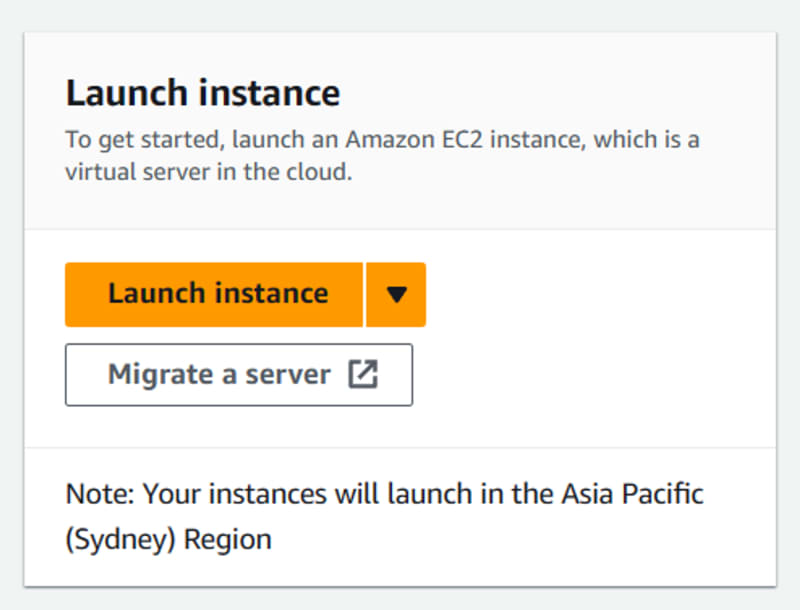
- Click on
Launch Instanceto create a new instance.
- Enter Name and Tags: Enter the name of the instance.
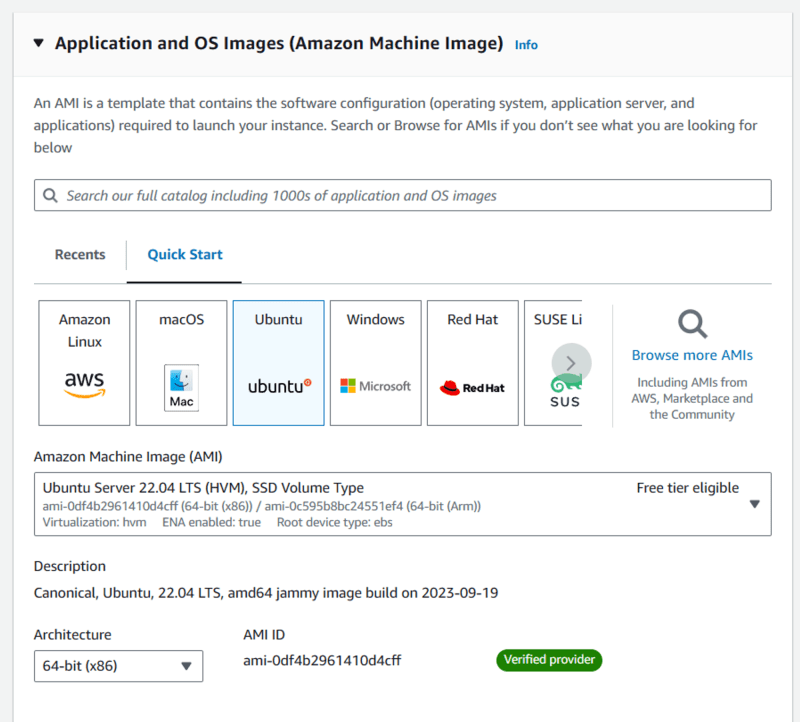
- Choose an Amazon Machine Image (AMI): AMIs are pre-configured templates for your instances. For this project, we will select Ubuntu.
- Choose an Instance Type: Instances come in different sizes, catering to various performance and cost needs. For this project, we will select the free tier.
- Create a Key Pair: Key pairs are used for secure access to your instances.
Create and download the private key file and keep it secure. We will need this file to access the instance from our computer.
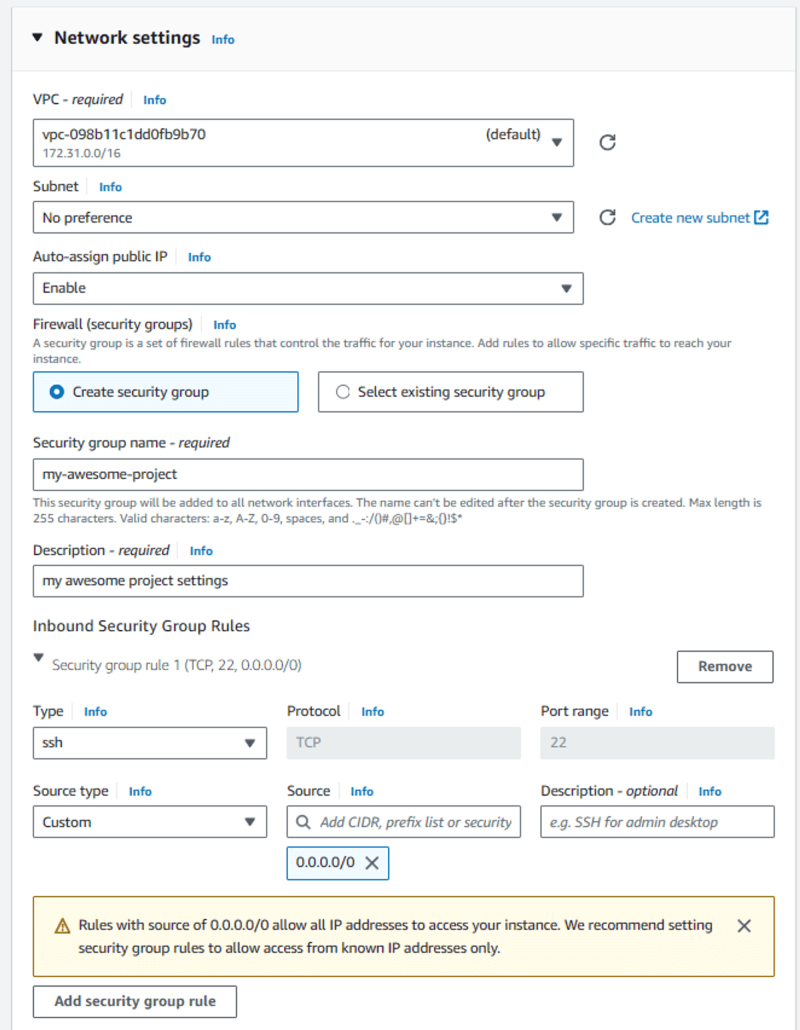
- Configure Network Settings: This security group acts as a virtual firewall for your instance, controlling inbound and outbound traffic. For now, add the group name and the source IP type; we will configure the rest later.
-
Launch the Instance:
Finally, click the
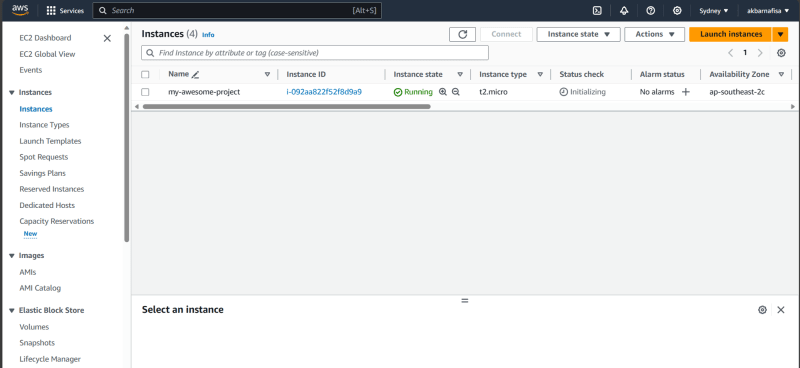
Launch Instancesbutton. AWS will take several minutes to set up the instance. The instance will be available when its state isRunning.


Top comments (0)